second and edgemont

creating space for beauty & simplicity

  • About
  • Gallery
    • Garden
    • Home

Kombucha

May 27, 2017

Hi Friends!

First off let me apologize for disappearing for a few months. For those of you who follow me on Instagram you may have figured out that I had a campaign to run. I sit as an elected official on borough council for my home town and was up for re-election. It took up quite a bit of my time and I am happy to report that I won the primary election on May 16th! It feels good to have worked so hard but also to have more free time. I am excited to jump right back into this space. I missed you all!

To make up for my absence I would like to finally honor a request made by many of you about sharing how I make my own Kombucha.

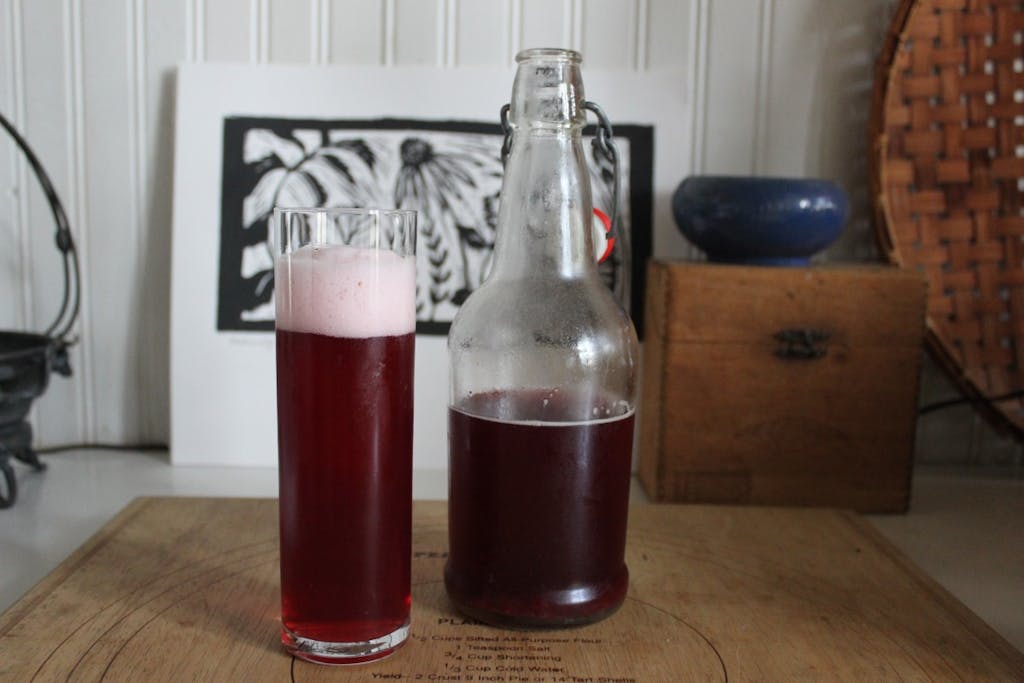
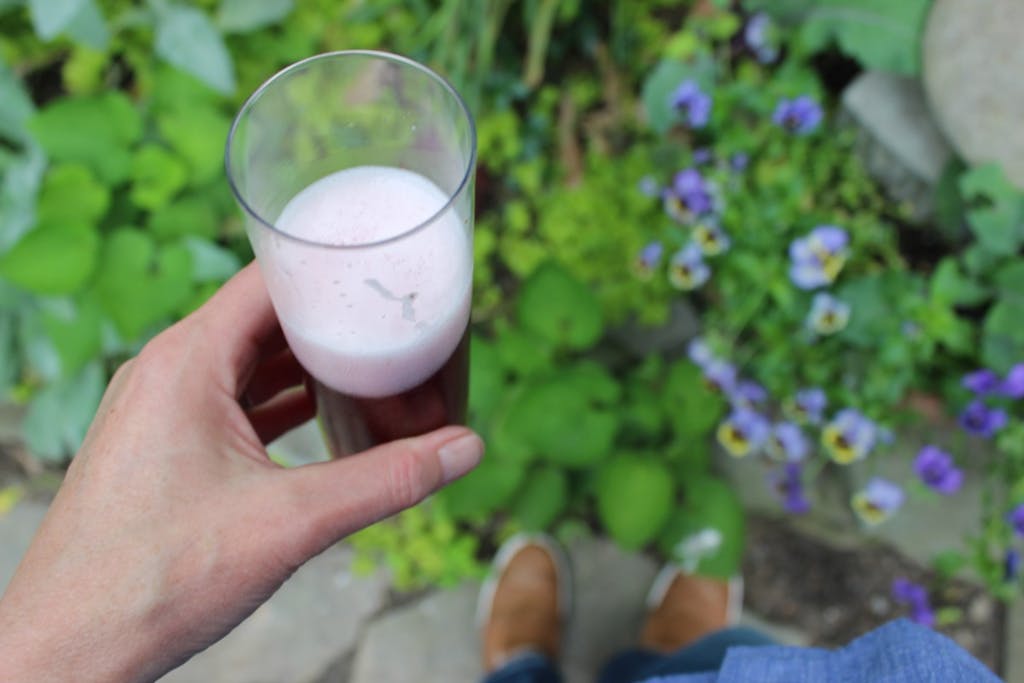
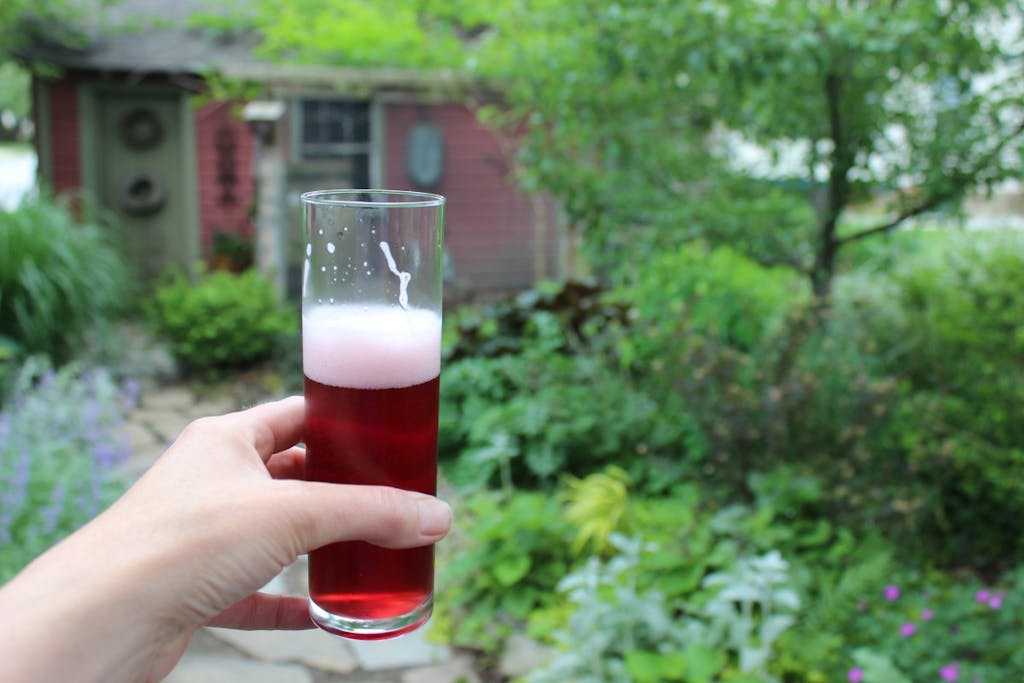
Kombucha or as we like to call it, booch, is a lightly sweetened fermented drink that is produced by fermenting tea using a symbiotic colony of bacteria and yeast (SCOBY). You can enjoy it plain or with fruits, spices or herbs for an added punch. There so many flavor possibilities and combinations and it has been fun experimenting.

I had tried store bought Kombucha a few years back and liked it but it wasn’t until I tried my friend’s homemade batch that I was hooked and had to try making my own. She walked me through the process and I got right to work collecting my supplies.  I admit to calling her each time I made a new batch to make sure I had the calculations just right but over time it definitely got easier and part of my weekly routine.

Making your own kombucha may seem intimidating (it was for me!) but I can assure you it really is quite easy, requires only a few ingredients and supplies and is much more affordable than store bought brands. There are many online sources and videos along with starter kits.  But most of what you need you can find in your own kitchen or from a friend or local source.

Supplies

+1 gallon crock or glass jar (I own a 2 gallon crock for when I want to make larger batches)

+1 dozen airtight glass jars/bottles .

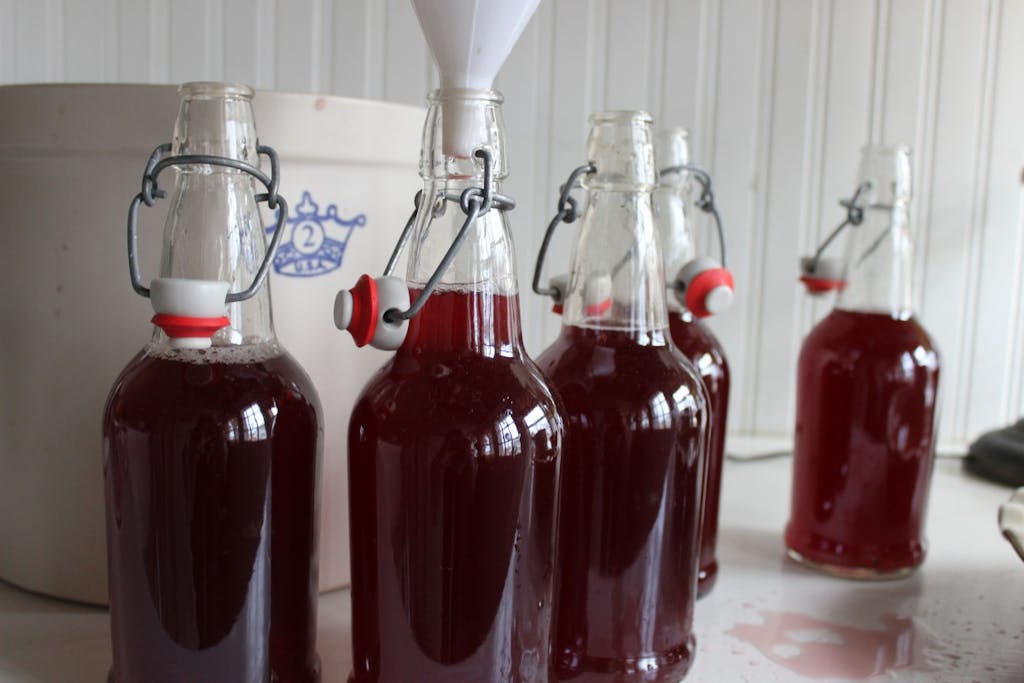
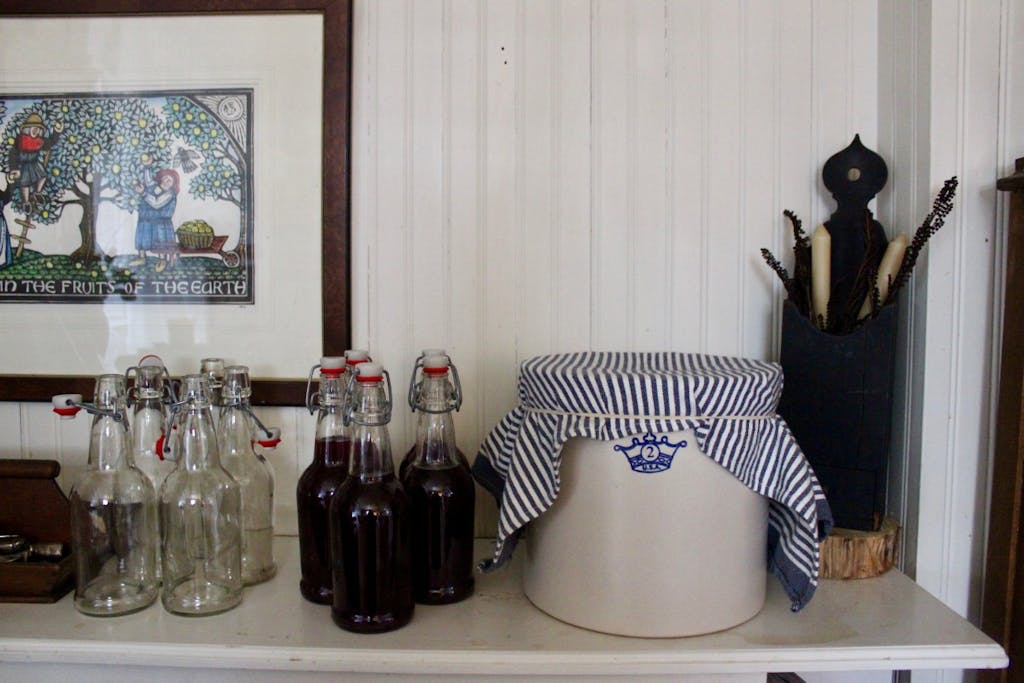
Note: While essentially any glass container with a lid can be used to store kombucha, to achieve the best carbonation, it is important to bottle kombucha in airtight bottles. While canning jars work well, they are not truly airtight, allowing for carbon dioxide to leak from them reducing the fizziness of your kombucha. Since I love a really fizzy booch, I use these 16 oz EZ cap bottles. They work great for the second fermentation/carbonation phase and they are the perfect serving size.

+plastic funnel (plastic utensils are recommended as metal is generally detrimental to kombucha. The only possible exception is stainless steel.)

+plastic or wooden stirring utensil

+tightly woven cloth like a cotton dishtowel

+large rubber band

+measuring cups


Ingredients

Makes up to 8 16oz bottles

+ 10 organic green tea bags

Note: The type of tea used to brew kombucha can affect the health of the SCOBY as well as the taste of your finished brew. If you’re just getting started, it is recommended to use plain black tea to insure a healthy SCOBY. I have used both black and green tea, both of which have worked well. After getting a few batches under your belt and allowing your SCOBY to grow big and strong you could experiment with white tea, rooibos, oolong, Yerba matte and other herbal teas.

+ 1/2 cup organic sugar

+ 16 cups filtered water

+ Active SCOBY  (Read here about where to find a healthy SCOBY.) Anyone who is making kombucha tea usually has more than enough to share. I got mine from a friend. Ask around, or check for fermenting groups in your area. I have even seen posts about SCOBY sharing on Facebook and Craigslist. When you find a good source for a SCOBY also ask for 2 cups of starter tea, enough to make your first batch.

+ 2 cups starter tea (See above. If you can’t obtain starter tea from a friend you can use a bottle of store-bought raw, unflavored kombucha tea.)

+ 2 cups organic juice with no added sugar. We have used sour cherry, pomegranate and grape. You can also use fresh fruit, herbs and spices. Use seasonal fruits. I just tried a homemade strawberry rhubarb booch that was to die for!


Instructions

Bring water to a boil.

Turn off heat and add sugar. Stir until sugar is dissolved.

Add tea bags.

Cool the mixture to 68-85ºF. The tea may be left in the liquid as it cools or removed after the first 10-15 minutes. The longer the tea is left in the liquid, the stronger the tea will be.

Remove tea bags

Add starter tea.

Add active SCOBY

Cover crock or jar with a tight-weave towel and secure with a rubber band

Allow the mixture to sit undisturbed at 68-85°F, out of direct sunlight, for 7-30 days, or to taste. The longer the kombucha ferments, the less sweet and more vinegary it will taste. Time of year will affect the rate of fermentation. My booch takes much longer to ferment in the winter months. I keep it on top of our radiator to help speed things up. In the summer months it ferments much quicker. I typically let it sit for 10 days. How do you know if fermentation is taking place? Flavor becomes less sweet  and more vinegary, SCOBY thickens, look for stringy brown yeast particles, tea has lightened in color.

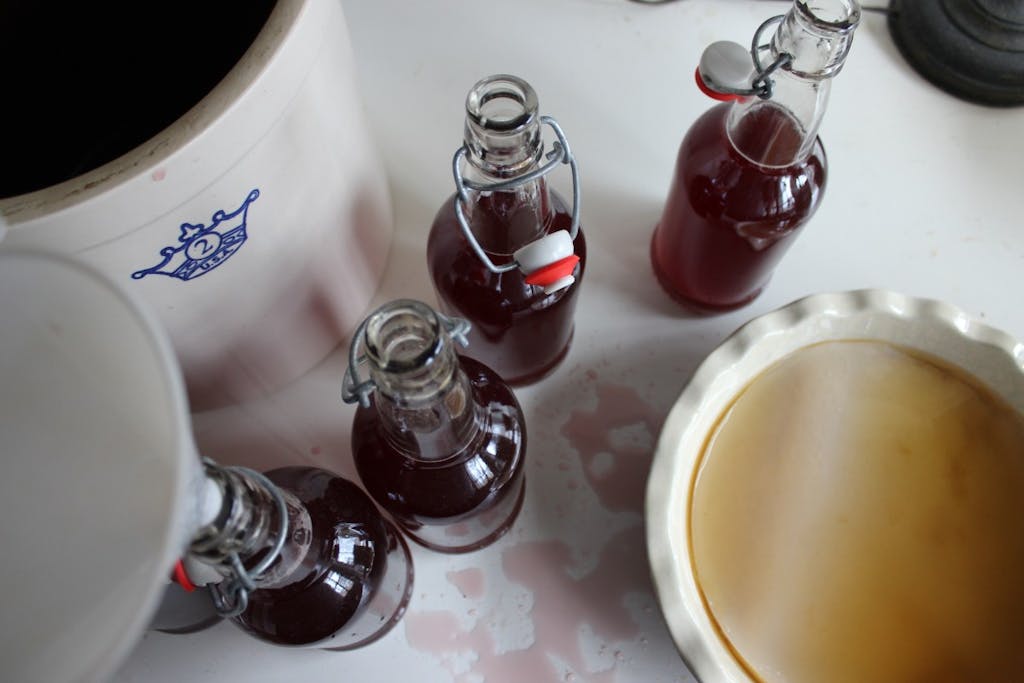
Remove SCOBY and 2 cups of tea (this will be your starter for the next batch) and hold in a separate container.

The finished kombucha can be flavored and bottled,  or enjoyed plain.

If wanting a flavored non-carbonated booch, add 2 cups of juice. Mix and store in glass jars in refrigerator for up to 14 days. You can also add fresh fruit whole or pureed and strained to each jar. Have fun experimenting. An easy one is adding lemon rind and a large chunk of ginger to each jar or bottle.

If wanting a plain non carbonated booch, simply pour into glass jars and store in refrigerator.

Now if you are wanting to bring it to the next level for a delicious, refreshing fizzy carbonated brew there are just a few more steps, but well worth the trouble and wait!

Making A Fizzy Carbonated Booch 

To make a fizzy Kombucha, a second fermentation is required.

A second fermentation period allows the flavors to meld and achieve a deeper and more complex flavor. Additionally, if bottled in an airtight container, the carbon dioxide produced during fermentation will remain, giving the kombucha the fizzy texture.

  1. Add the desired flavoring and mix to combine.
  2. Using the funnel pour flavored kombucha in to airtight bottles leaving a few inches of head space.
  3. Leave the bottled kombucha to ferment for 2-14 days at room temperature.
  4. Once the second fermentation process is complete, store  in the refrigerator.

When it’s time to pour yourself a glass of booch use caution when opening bottles. Creation of carbon dioxide during the secondary fermentation period means the contents of the bottle will be under pressure. Cover the bottle with a cloth to catch any spraying liquid and open the bottle slowly over the sink.
And now it’s time to make yourself a whole new batch of Kombucha!
I know this is a lot of information to absorb but before you know it you will have a continuous brewing routine and system and a fridge full of refreshing Kombucha to enjoy. You will have fun experimenting with different flavors and get to know your booch. It has a mind of it’s own and with intuition you can work with it for the perfect texture and flavor.
Let me know if I can answer any questions you may have. Or for you fellow booch brewers out there please share your tips!
Enjoy!


This Week’s Vignette

March 16, 2017

this week's vignette  this week's vignette this week's vignetteIMG_5234this week's vignette

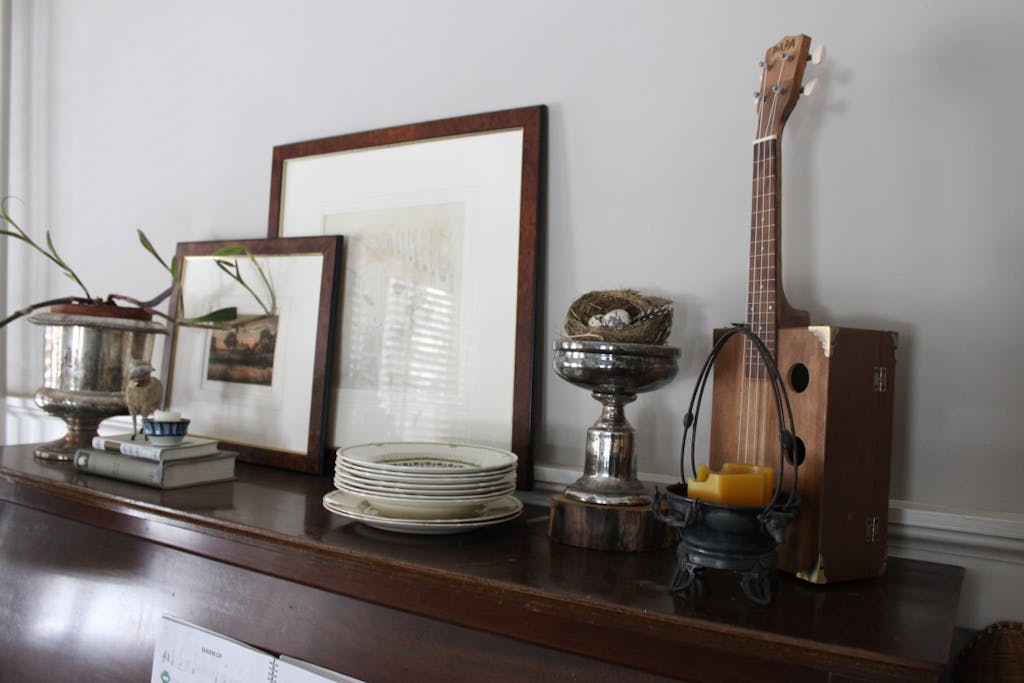
This week’s vignette or shall I say vignettes live atop my piano. I wrote about this piano a few years back and am happy to report I still love it here. I haven’t played as much as I would like to admit but it works beautifully as a place for vignettes. Because the piano is a centerpiece in our home I like to create little scenes on top that change throughout the  seasons showcasing some of my favorite things that I have either foraged or collected over the years.

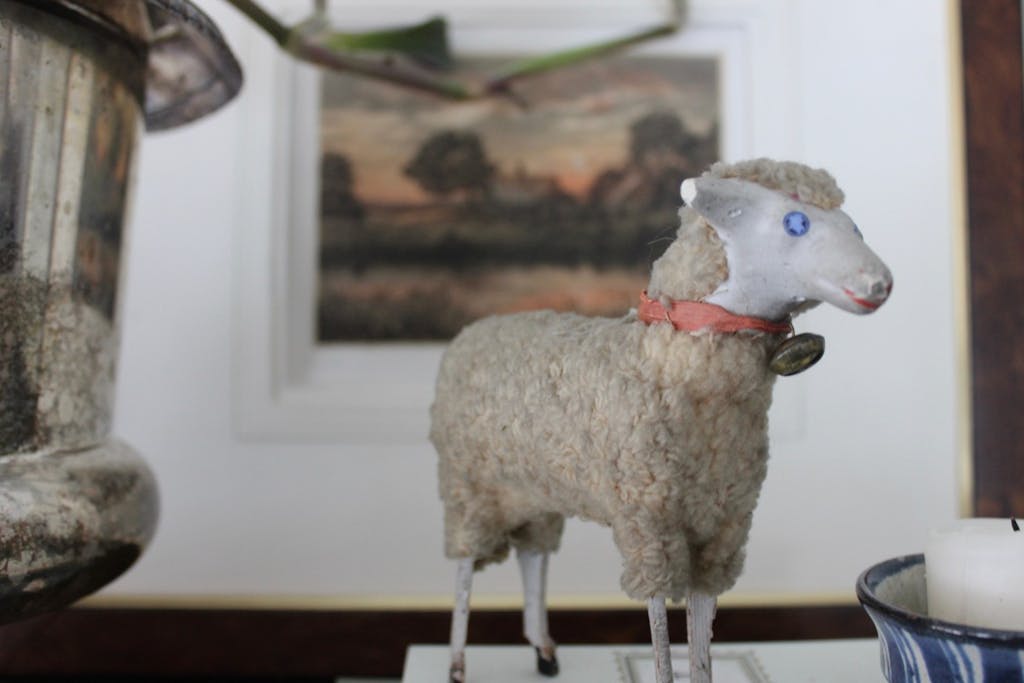
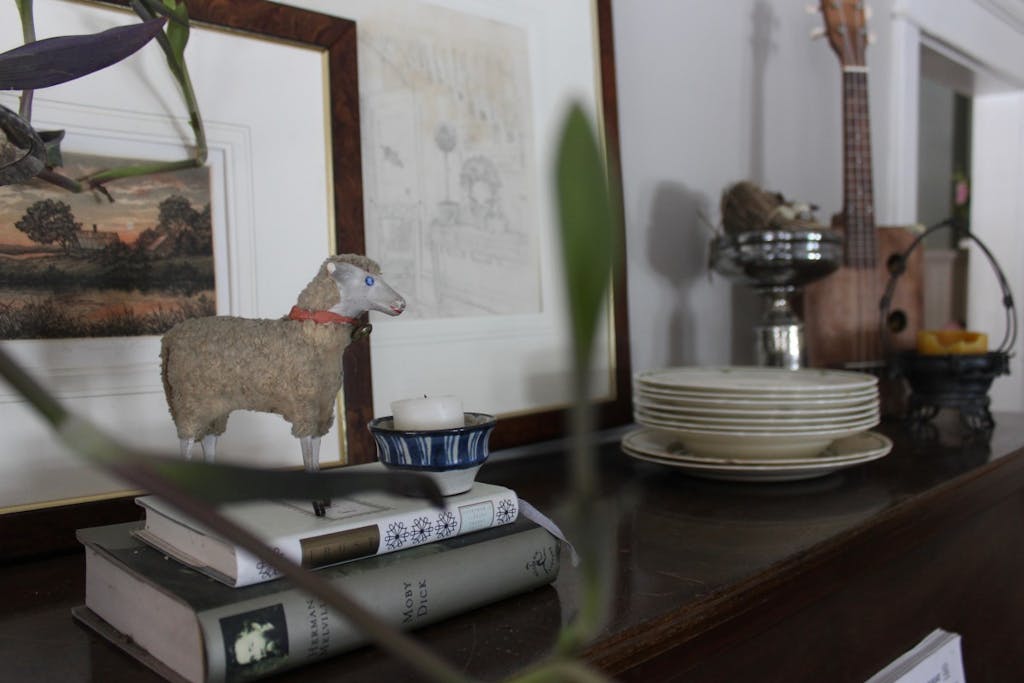
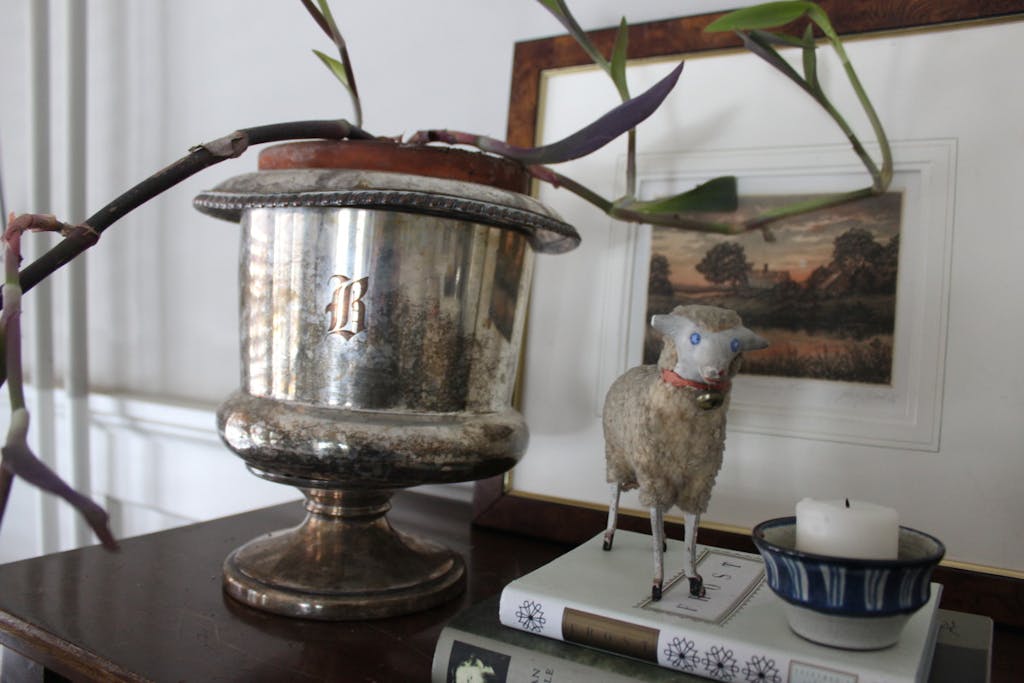
Sitting to the far left is an antique silver ice bucket etched with the letter B for Boston (my mother’s maiden name) that was given to me by my mom. It holds a Tradescantia pallida ‘Purpurea’ plant that I overwintered from my window boxes. Next to the ice bucket sits a stack of books (two of Chris’s favorites) paired with an antique lamb which I found this summer while away at the lake. Next to the lamb sits a thrifted tiny studio pottery bowl which I use as a votive holder.

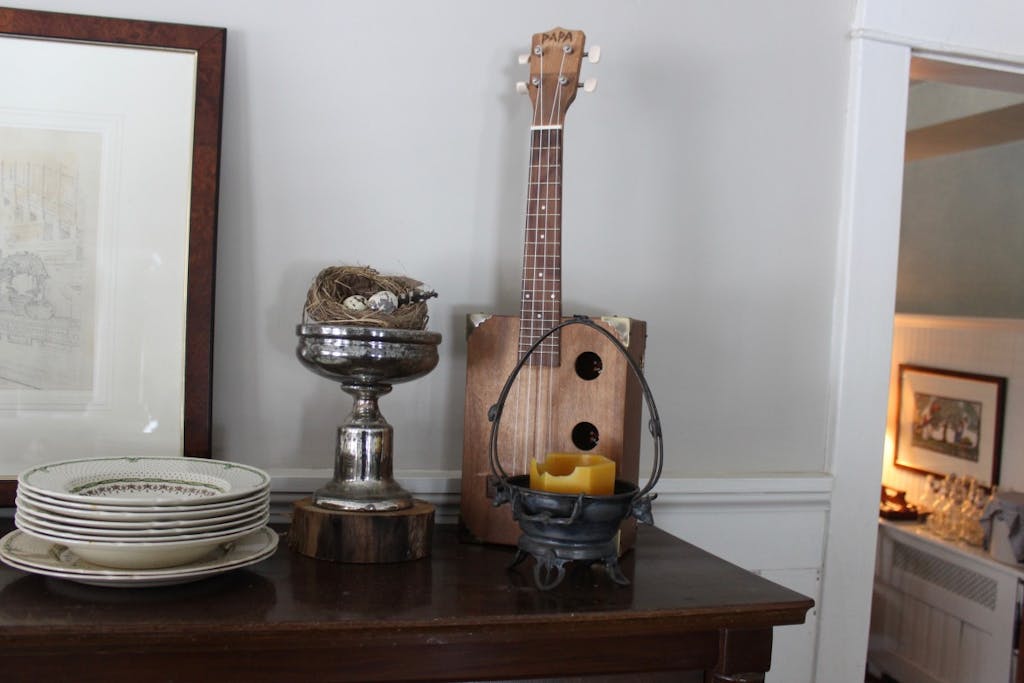
To the far right sits my handmade ukulele made by Chris. Next to it sits a mercury pedestal holding a foraged bird nest and feathers with blown out quail eggs. In front of it sits an antique pewter handled vessel which I adore. It is adorned with tiny pewter flowers, bull heads and horns and reminds me so much of this favorite story of mine. Inside sits a handmade beeswax candle made by a friend.

A stack of antique dishes and bowls that get used daily at meals also sits on top along with two prints- a pointillism drawing made by my mom in college and a watercolor titled “The Humming River” gifted to me by my mom.

In tomorrow’s post I will talk more about lambs, the month of March and spring inspired decor.

This week’s vignette

February 23, 2017

vignette

vignette

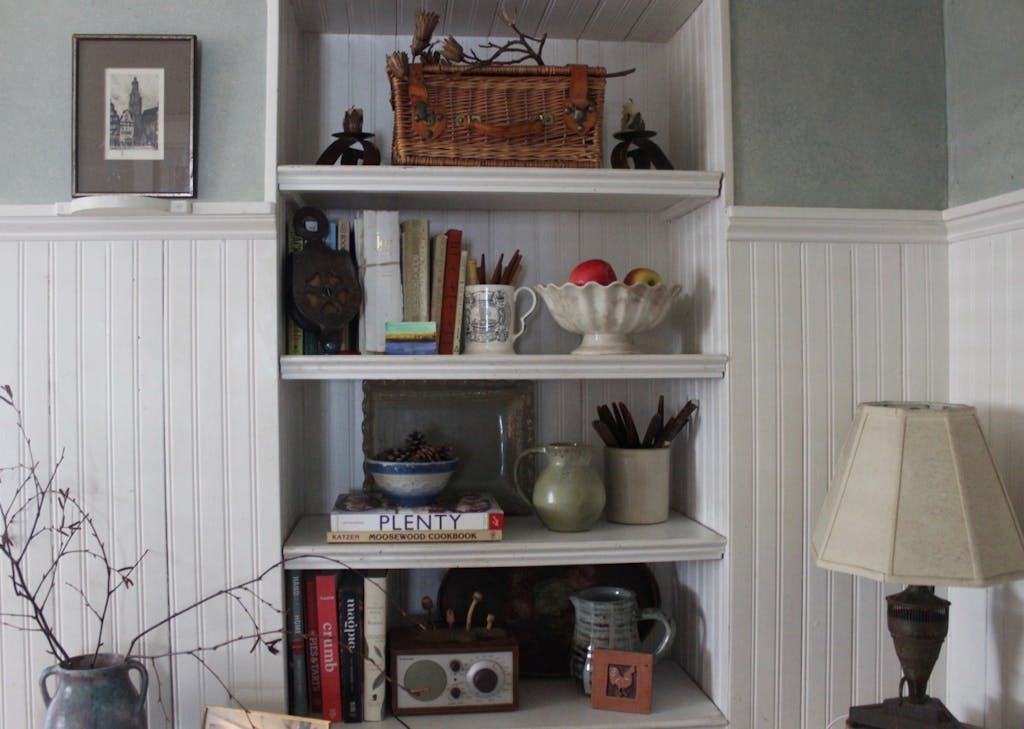
A bookshelf is the ideal venue for a vignette .  Each shelf acts as a little stage for props to be set up and designed on creating that perfect scene. It’s almost as if a little performance is about to begin at any moment!

This built-in lives in my kitchen and holds a variety of things, many of which get used daily. When creating your own vignettes I urge you not to shy away from things that get utilized on a regular basis. Little clusters or groupings of objects that are both beautiful and useful can make a room feel inviting and give purpose. Just grab what you need and after you are finished back into the vignette it goes!

The top shelf holds a basket of linen napkins that get used on special occasions. On each side of the basket sit an antique copper candlestick that gets used on my dining room table when we are seating a larger group and the leaf needs to be put in. A Tulip Poplar branch found on a hike sits on top of the basket.

The second shelf holds an array of well loved cookbooks. My Joy of Cooking, gifted to me by Chris on our first Christmas together as a married couple, is so ell loved it is held together by a rubber band. It’s my go to for baking. An antique English Adams farmer mug holding a cluster of wood handled steak knives acts as a book end. A white scalloped pedestal bowl holds apples. Leaning up against the books is an antique hay barn pulley  and a little watercolor I painted.

On the third shelf sit more cook books, pottery and utensils. A ceramic serving tray acts as a backdrop.

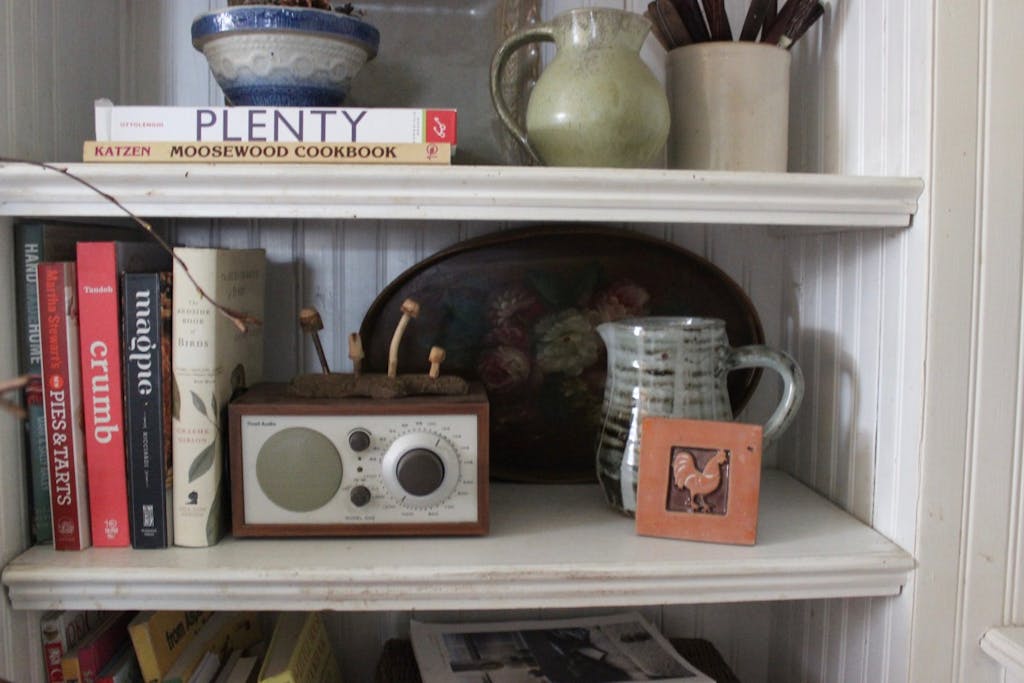
The fourth shelf on the bottom holds even more cookbooks, a Tiviola radio, and a pottery pitcher and chicken tile. On top of the radio sits a hand carved grouping of mushrooms made by a woodcarver friend. A wooden hand painted, floral serving tray leans behind.

As I have mentioned before vignettes are not meant to be permanent. These shelves are in constant flux. As the seasons change along with my mood so do the vignettes that live here.


I’d love to hear from you my friends. Let me know if you are enjoying this series and what other types of series  you might like to see!


Winter getaway

February 20, 2017

Winter get away  winter get away winter get away winter get away winter get away winter get away winter get away winter get away winter get away winter get away winter get away winter get away

winter get away

Winter getaway

February 19, 2017

IMG_4800 IMG_4798 IMG_4808 IMG_4818 IMG_4828 IMG_4857 IMG_4871 IMG_4876 IMG_4901 IMG_4904 IMG_4916 IMG_4926 IMG_4958

A winter weekend at the lake

February 16, 2017

IMG_4741 IMG_4743 IMG_4746

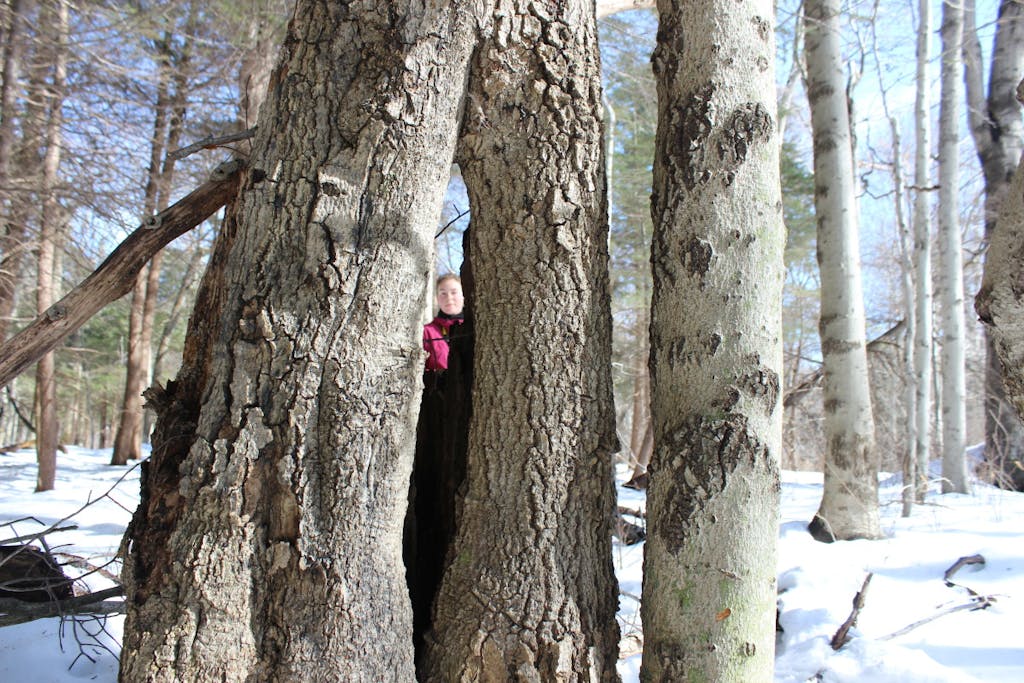
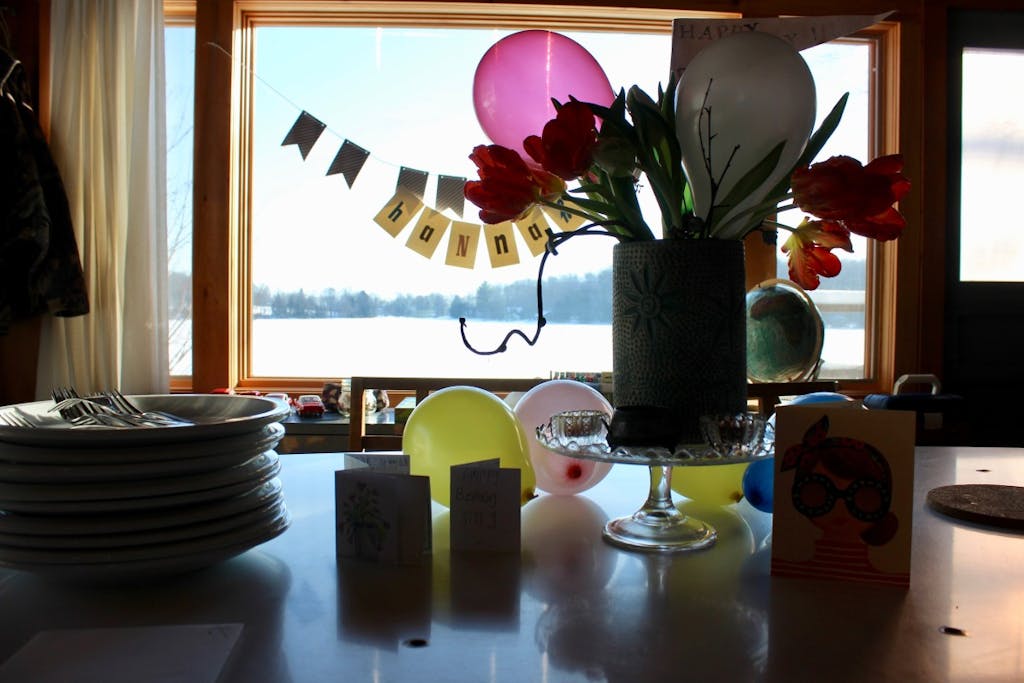
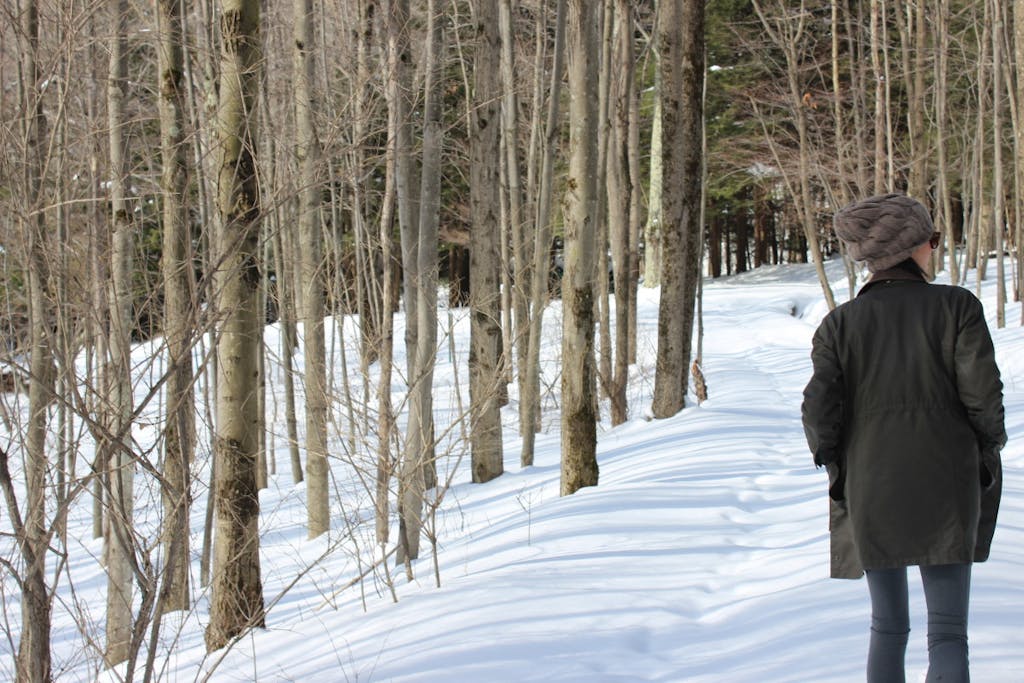
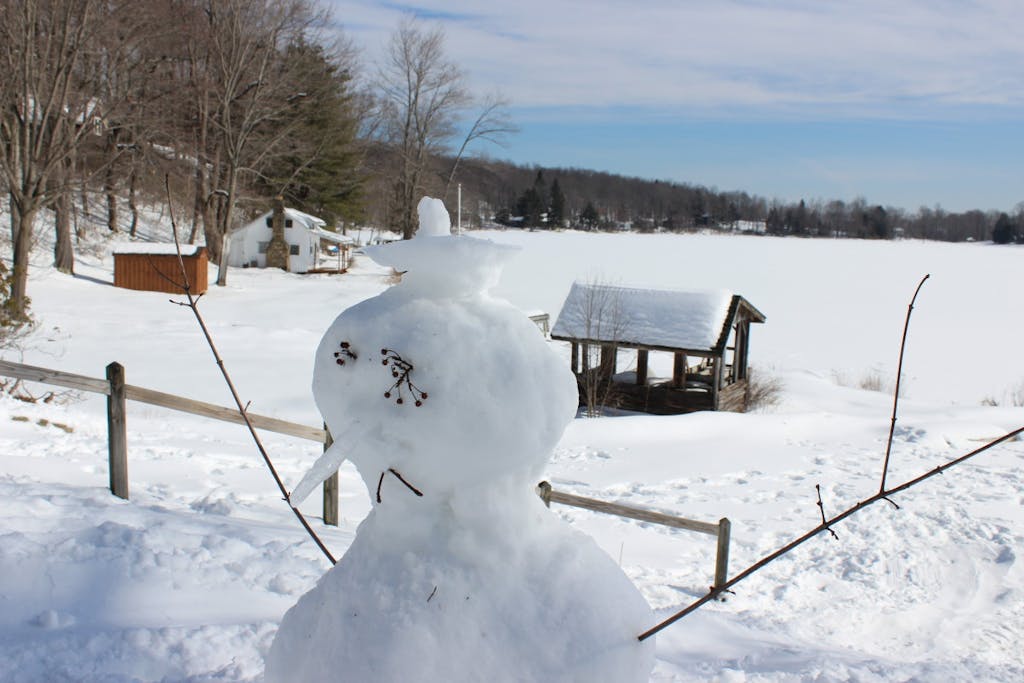
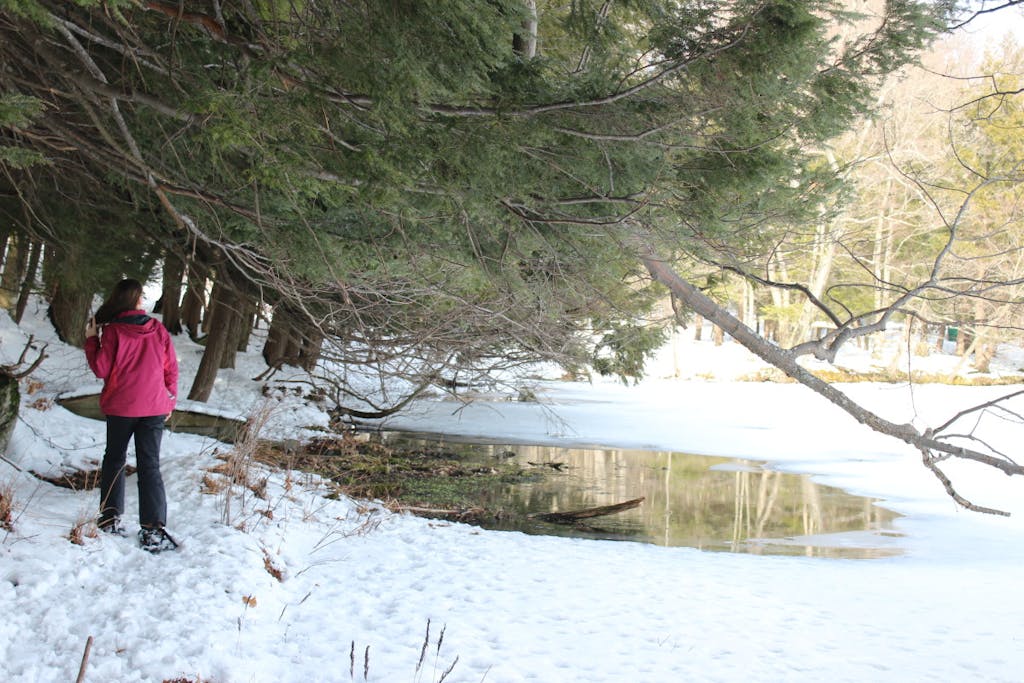
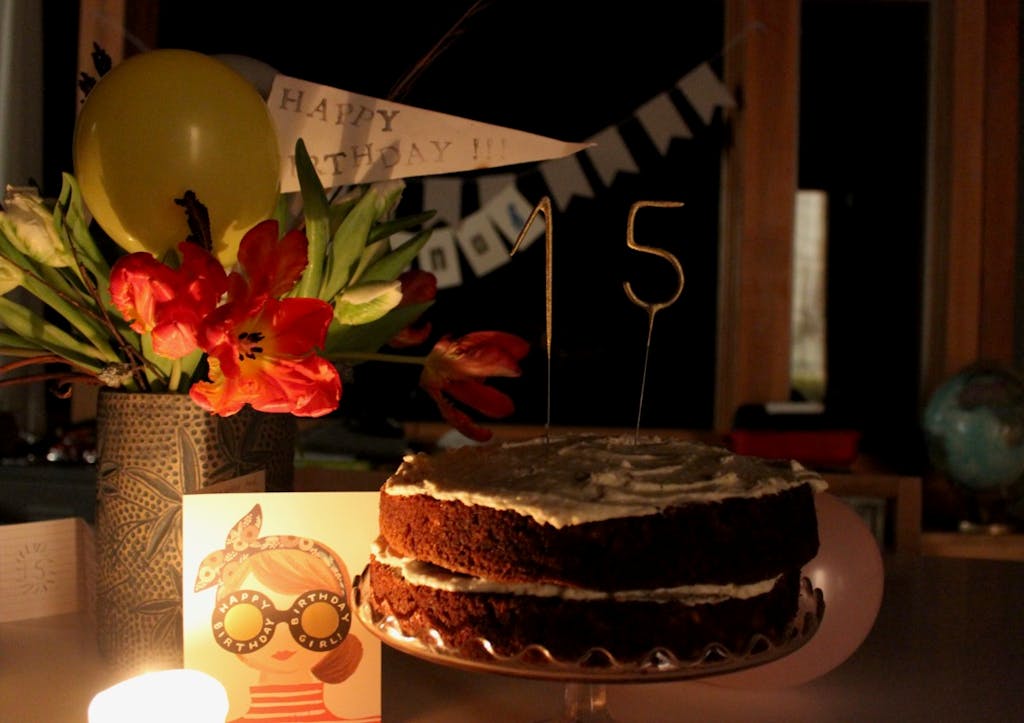
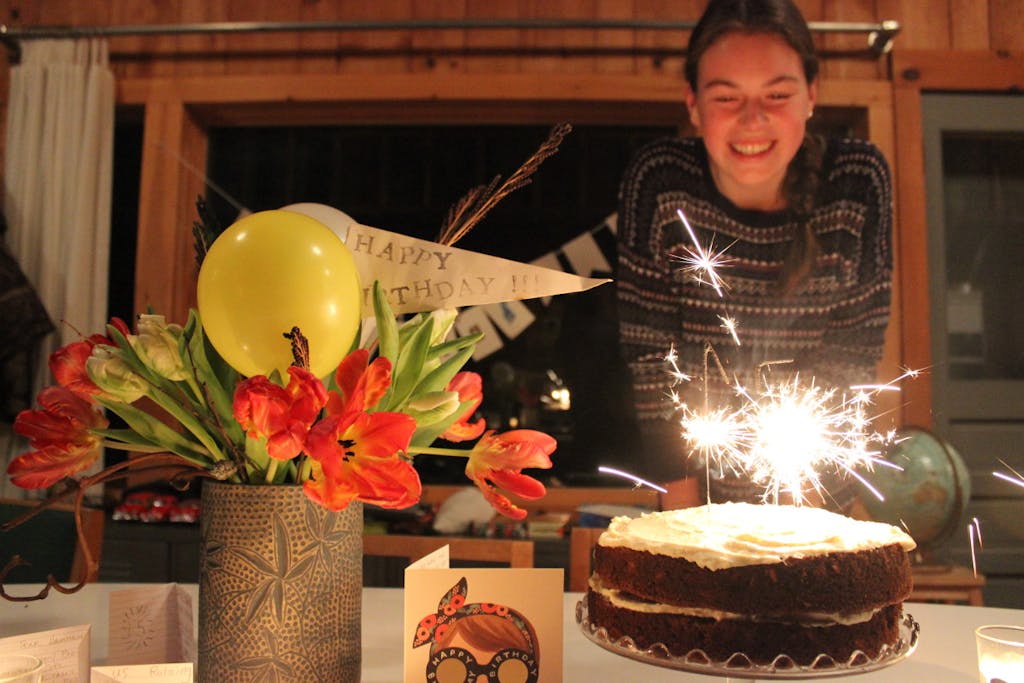
We are headed out of the town tomorrow morning for the long holiday weekend to our beloved lake. Winter time there is quite different than summer but just as lovely. Hannah turns 15 on Saturday and there couldn’t be a more perfect place to celebrate her birthday.

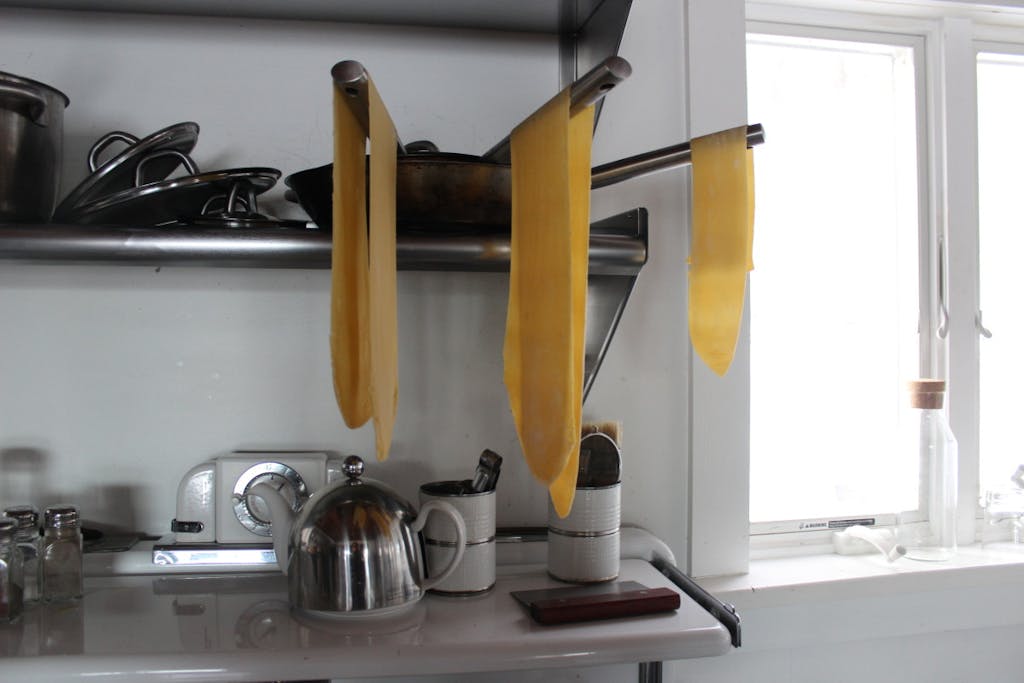
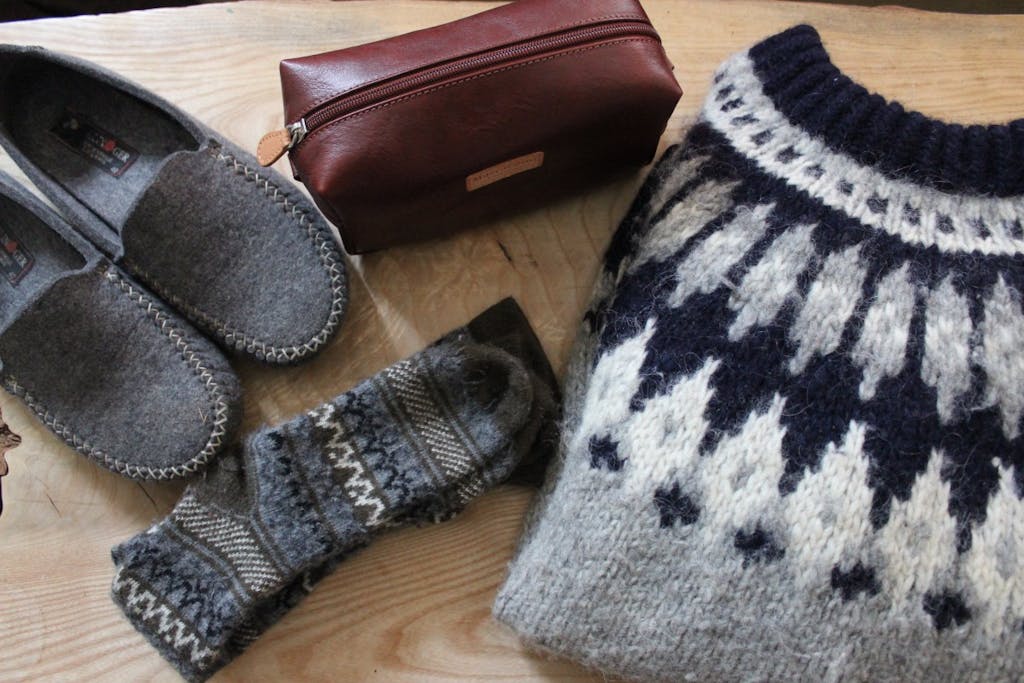
I’ve got my warm winter essentials packed up and ready to go along with the ingredients for Hannah’s birthday dinner request- lasagna (made with homemade noodles by Norah with the pasta maker she got for Christmas) and a carrot cake.

If internet service is available I will be posting daily photos throughout the weekend. See you soon!


This week’s vignette

February 15, 2017

IMG_4722 IMG_4726

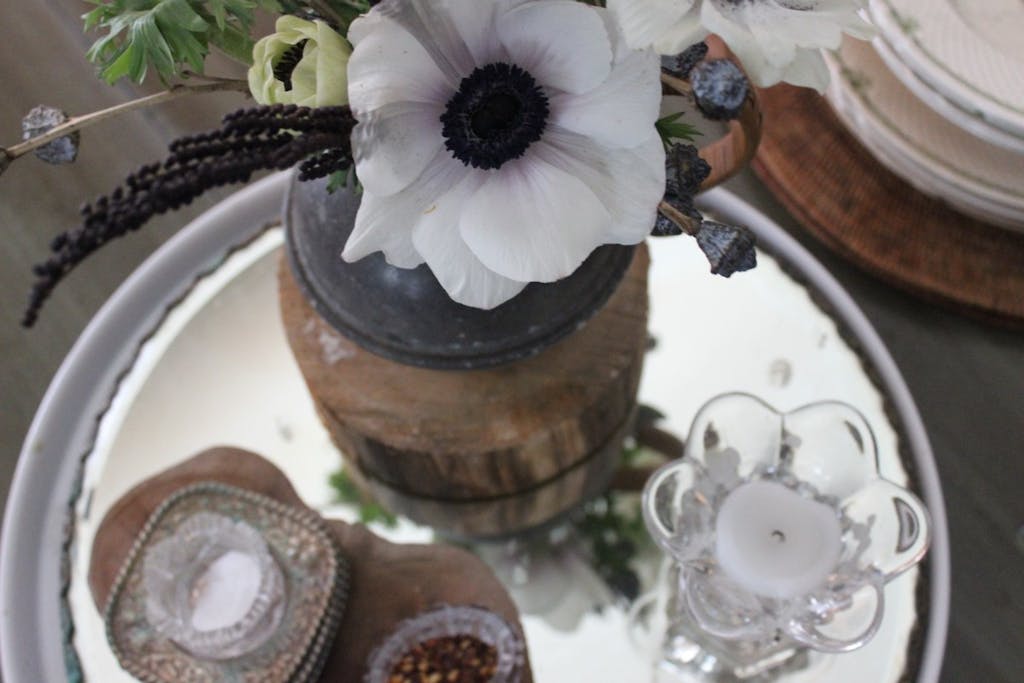
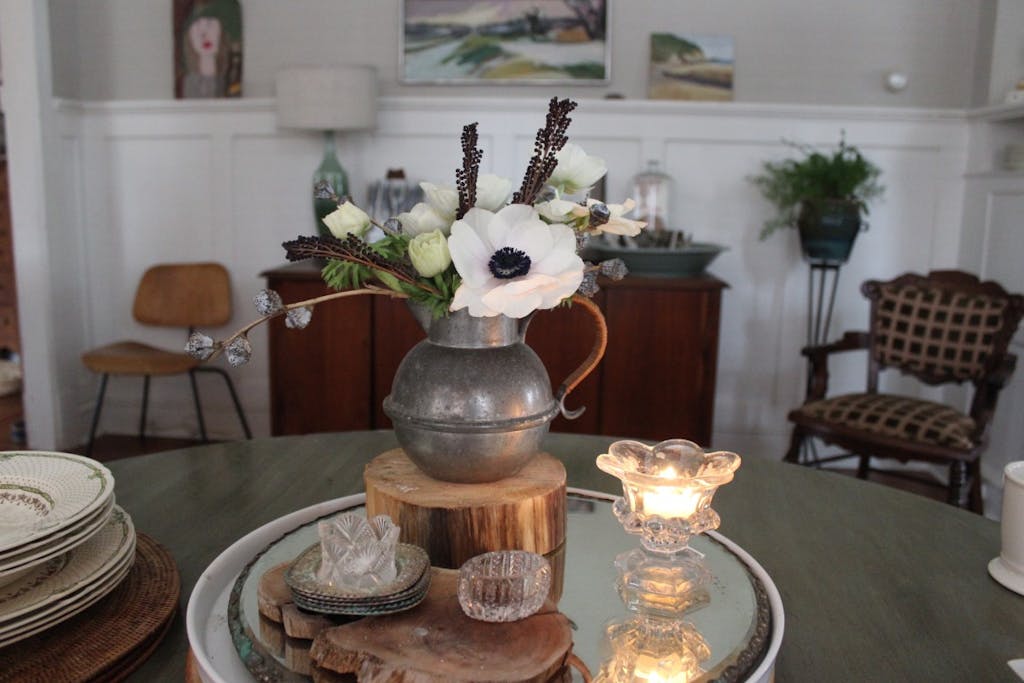
This week’s vignette sits on our dining room table.

I am a true believer in keeping dining tables clean and clear of clutter and debris. Being able to sit down to do work, or set the table to eat a meal is so much nicer when there aren’t piles of stuff to move out of the way.

A vignette in the center of the table sets the tone of a sacred space. In places where you visit often, especially where you might work or eat meals, they  create a sense of peace and calm.

This grouping sits upon a wooden lazy Susan. We like to spin it around to pass condiments, herbs and spices.  A white dish with an antique vanity plateau mirror sits upon the lazy Susan to dress things up a bit. I  love how the mirror reflects the candle light in the evenings.

I always have a fresh bouquet of flowers on the table. At this time of year I use mostly store bought but as the seasons change, posies made from my own garden begin to appear. This one is made up of  store bought Anemones, Silver Bell Euculyptus pods (left over from Christmas decor) and some foraged Sensitive Fern seed heads.

The antique thrifted pewter pitcher sits upon a slice of wood to give height and some rustic flare.

Sitting atop another slice of wood lives a set of little pewter dishes holding a crystal salt cellar. A second cellar holds hot pepper flakes.

A small glass vase holds a votive candle. Lighting candles makes the ritual of meal time that more special.


This Week’s Vignette

February 9, 2017

IMG_4664 IMG_4668

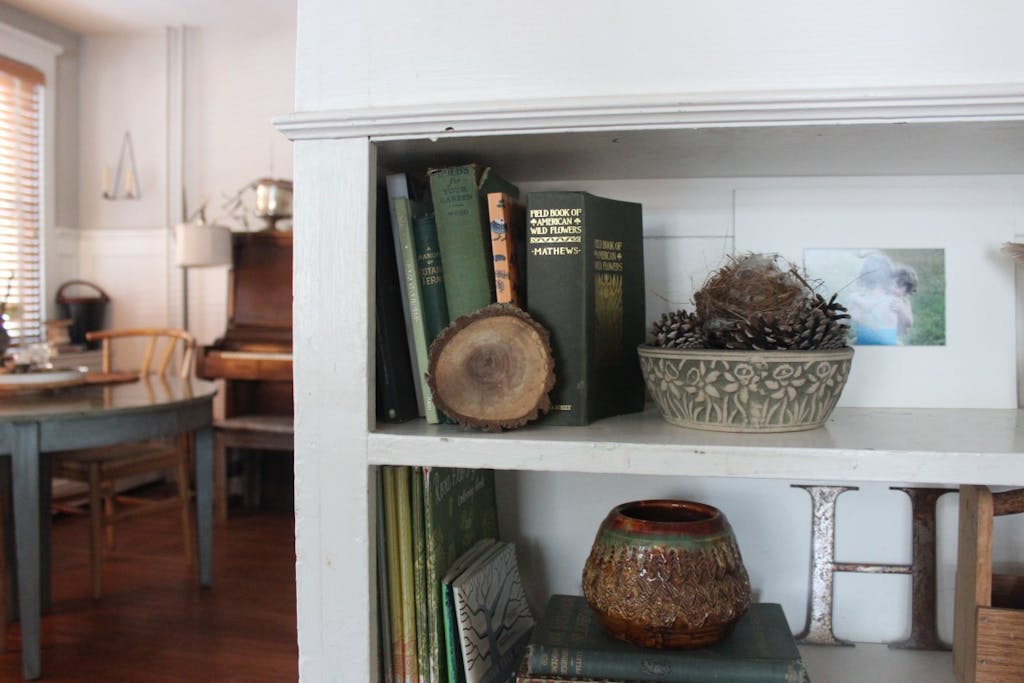
This week’s vignette is one that lives inside one of my built-in bookcases. Since I am a bit of a vignette-aholic every shelf in the bookcase contains a vignette but I’ll focus on this little top nook for now.

Like I mentioned before a vignette can tell a story.  This particular one tells a story of our love of nature with several bits of the natural world found on walks and hikes , antique gardening and nature books, pottery and photographs.

I have been collecting antique gardening books since back when I was in college studying horticulture. I loved to hunt through used books stores and library sales for both myself and my mom who has an impressive collection herself. The pictures and drawings are so beautiful and I am always drawn to a pretty cover.

A slice of  black walnut adds texture against the books and can be used as a coaster.

The daffodil pottery bowl holds a wren’s nest that sits upon a group of foraged pine cones. I found that little nest walking Harry one morning. It was just sitting on the sidewalk. It has bits of sweater lint woven throughout.
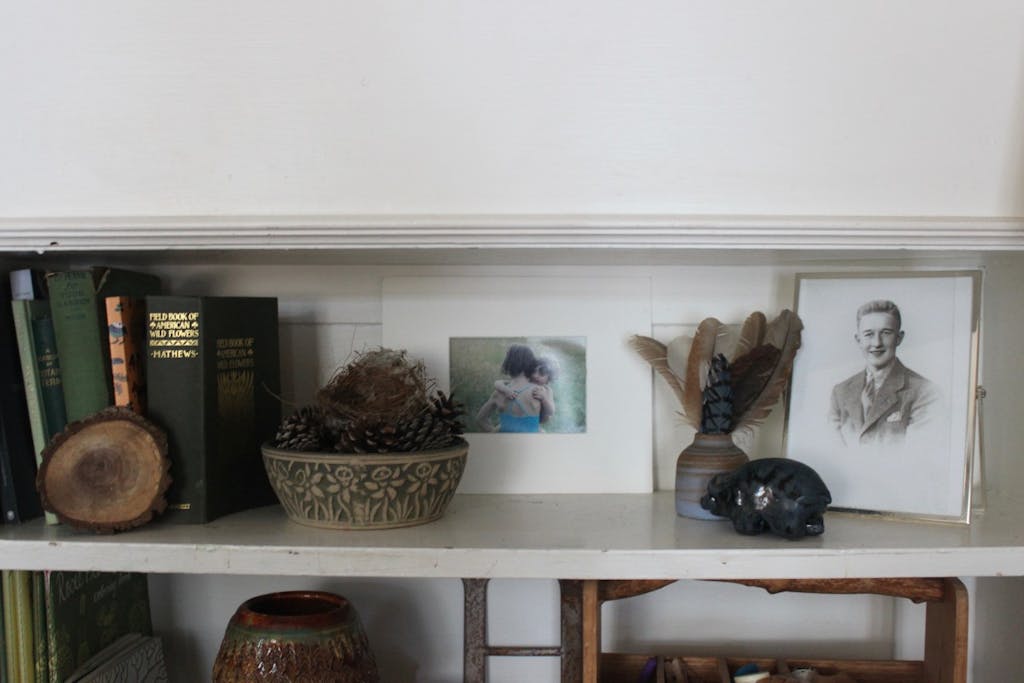
One of my favorite photographs of Hannah and Norah from a past camping trip leans behind the bowl.

A little handmade pottery vase holding an assortment of found feathers (including some from our own hens) sits next to a little clay bear made by Hannah.

And an old black and white photograph of Pop when he was sixteen watches over the little scene.


Feed the birds

February 8, 2017

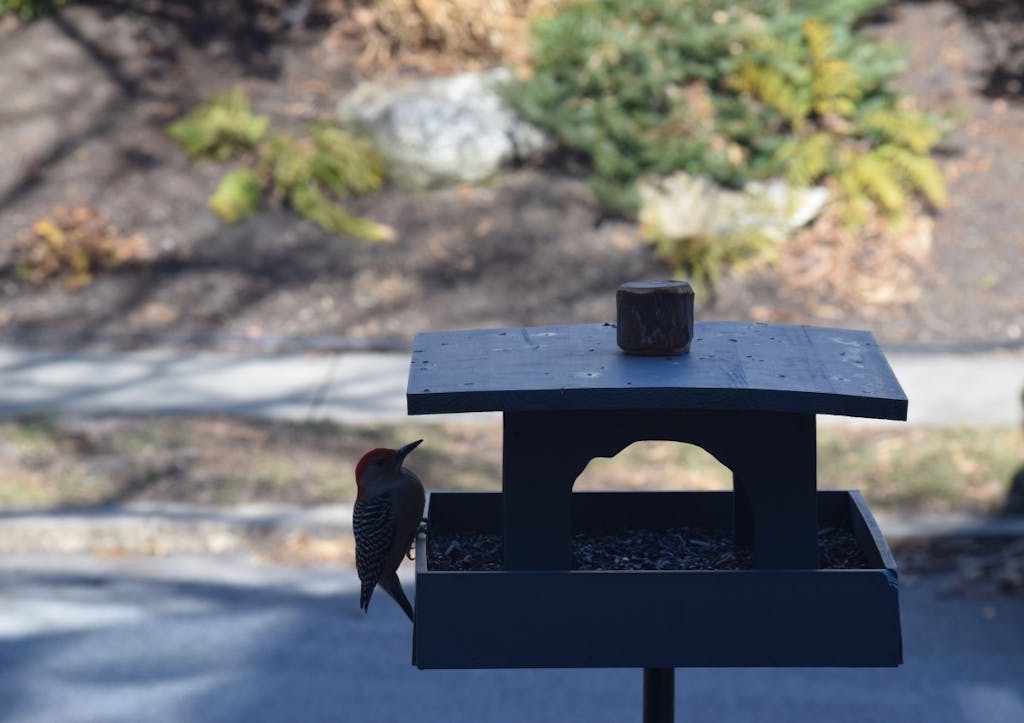
DSC_0023 DSC_0034 DSC_0071 IMG_5651

IMG_4654

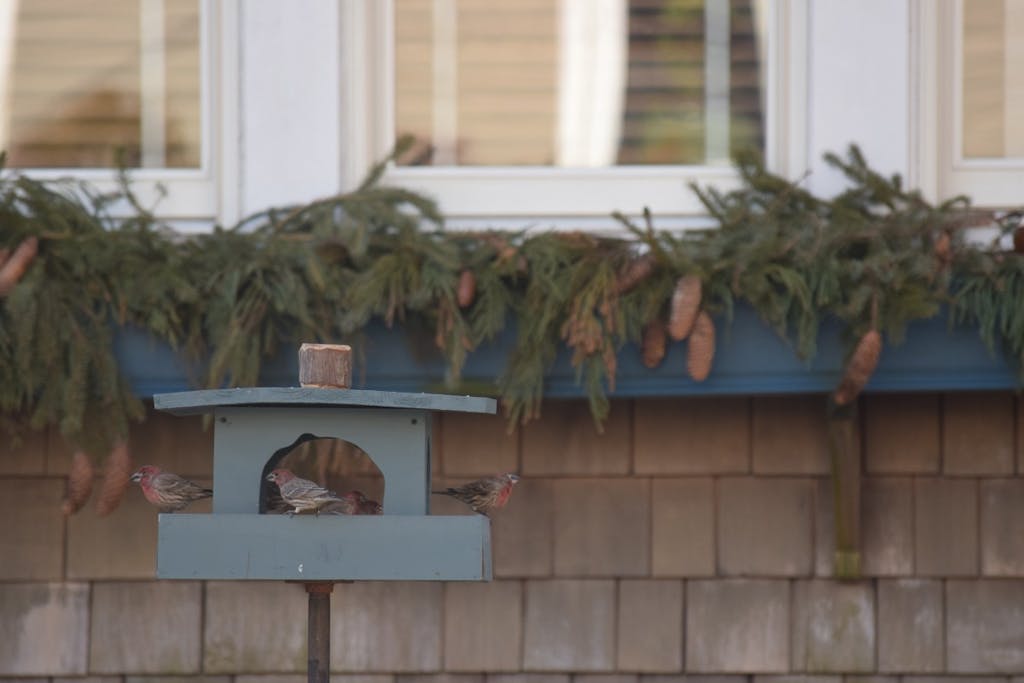
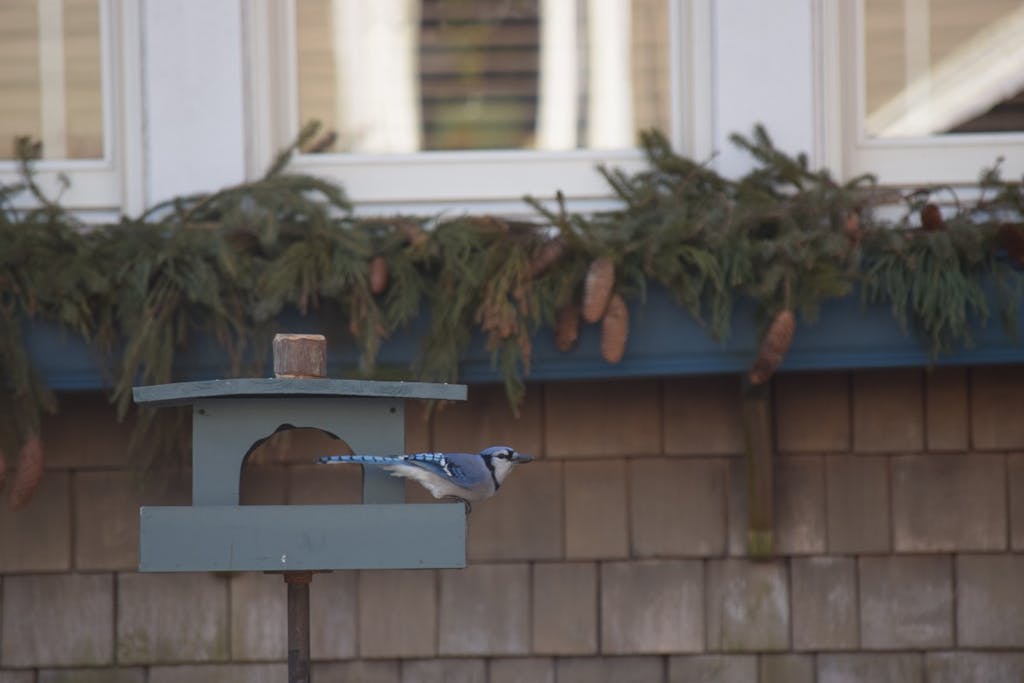
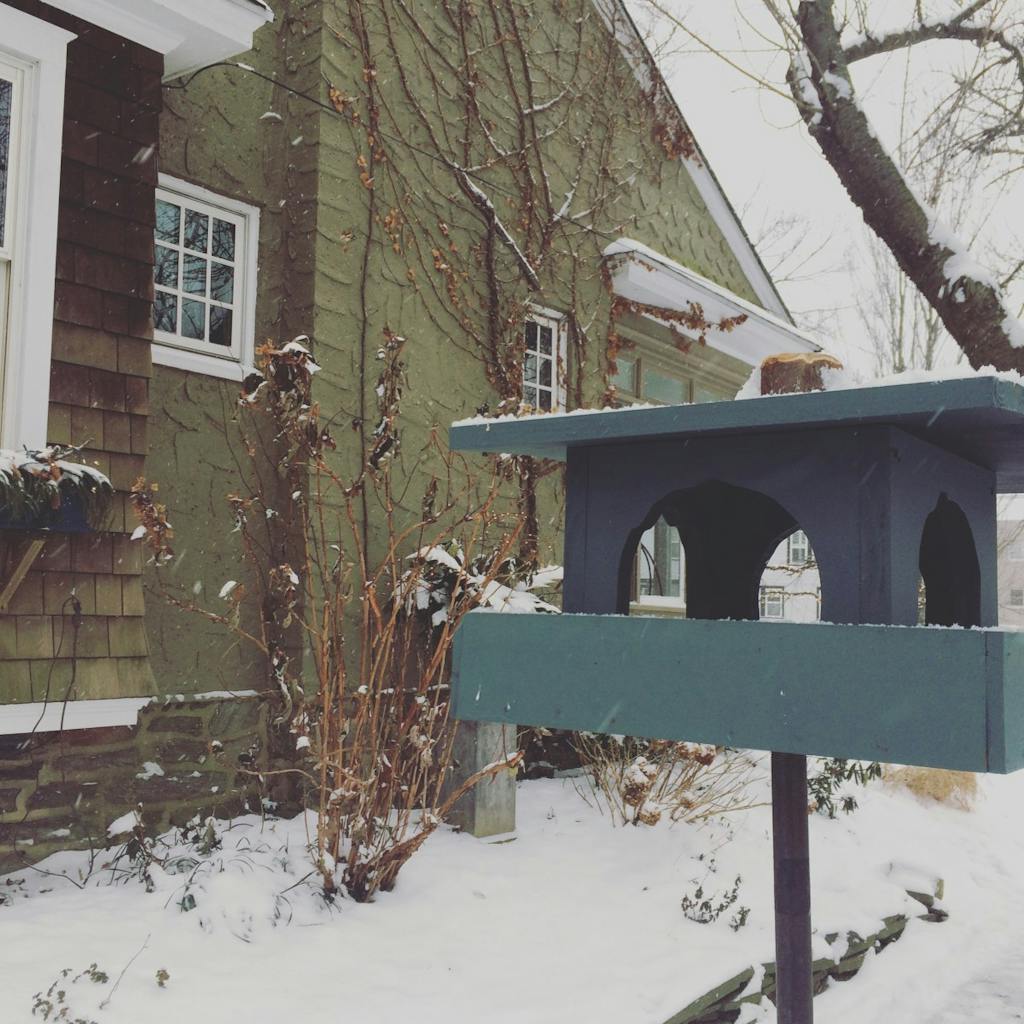
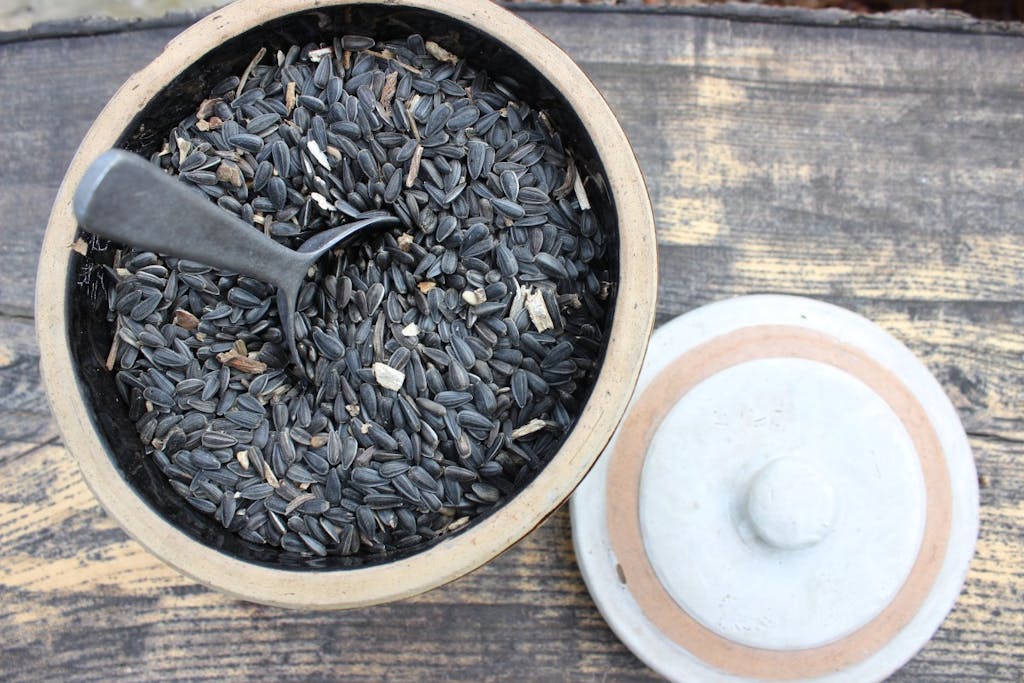
After much hinting around about how I longed for a bird feeder to live outside our dining room window, Norah made me this beautiful one in wood shop class. We installed it in the fall,  used a millet seed mix and sat back and watched. Weeks went by but no birds to be found.  I began to get impatient, as I sometimes do, and my family would roll their eyes as I would look out the window each day asking “Birdies where are you?”  I did some research  and decided to switch to black oil sunflower seed. Later that day as I was washing dishes I squealed out loud with delight as I spotted a Tufted Titmouse from the kitchen window. I even called Chris at work to tell him. After that our feeder has seen a flurry of daily activity.

I love the design which has proved to be quite a hit with an amazing array of birds and it’s squirrel proof too! Norah made a beautiful Yew knob that sits atop the roof which lifts up to pour in seed. It has a nice wide lip for bigger birds to perch on while the smaller birds feed inside under the protective roof. I have sometimes seen up to 5 different types of birds feeding at once.  The base seems to be too wide for the squirrels to jump from the pole up to the feeder. I had quite a chuckle one day as I watched one do back flips over and over trying to get up.  I have yet to see another one try. I think Earl must of told them not to waste their time. I told Norah she should patent her  design.

I never dreamed of how much joy this little feeder would bring me. I love how much life it brings to the side of our house. The other day as I was coming home from my morning walk I watched from across the street at a variety of birds on the feeder, on the branches of nearby shrubs, in the flowering cherry tree above and even up in my window boxes. There was a  Downy Woodpecker pecking at the ivy vine growing up our house and squirrels and mourning doves feeding on the ground below the feeder. I am having to fill the feeder at least once a day for all of our new little friends! It will be fun to see if we have some volunteer sunflowers come up in the garden from all of the seed.

I have begun to keep a written list of the birds that visit our little Second and Edgemont feeder. So far we have seen House Finch, Blue Jay, Cardinal, Tufted Titmouse, Black Eyed Junco, Chickadee, Carolina Wren, Mourning Dove, Red Bellied Woodpecker, Downy Woodpecker, Yellow Finch, White Breasted Nuthatch, Purple Finch and White Throated Sparrow.

We are keeping an eye out and our fingers crossed for Oriole, Evening Grosbeak, Scarlet Tanager and Cedar Waxwing.

What birds  come to visit your feeder? Any tips on bird seed?


Earl

February 3, 2017

IMG_4608 IMG_4606

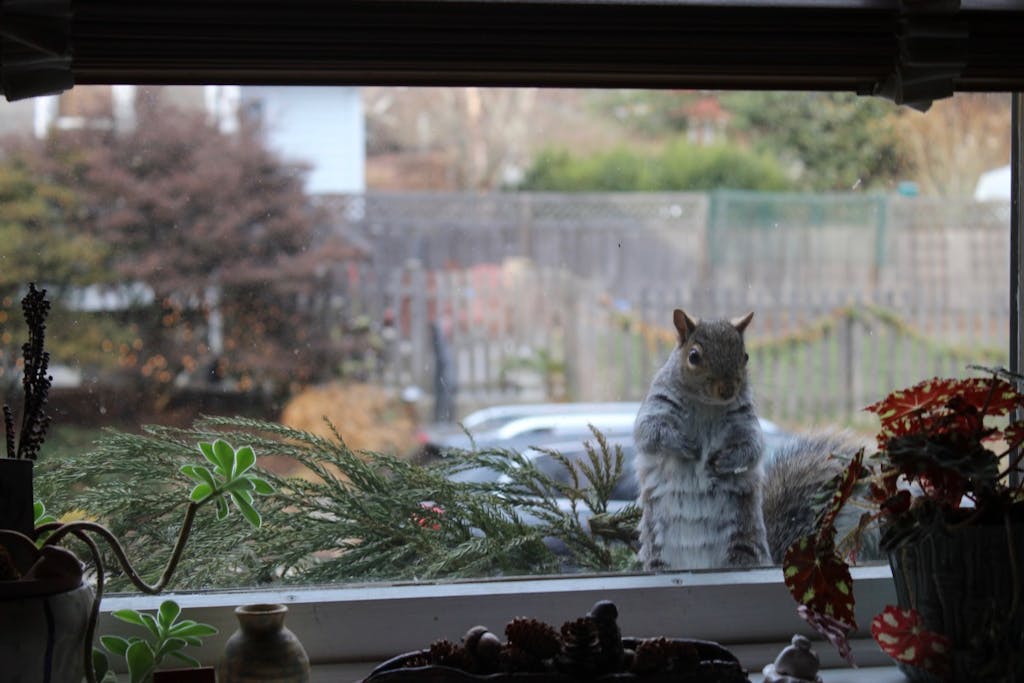
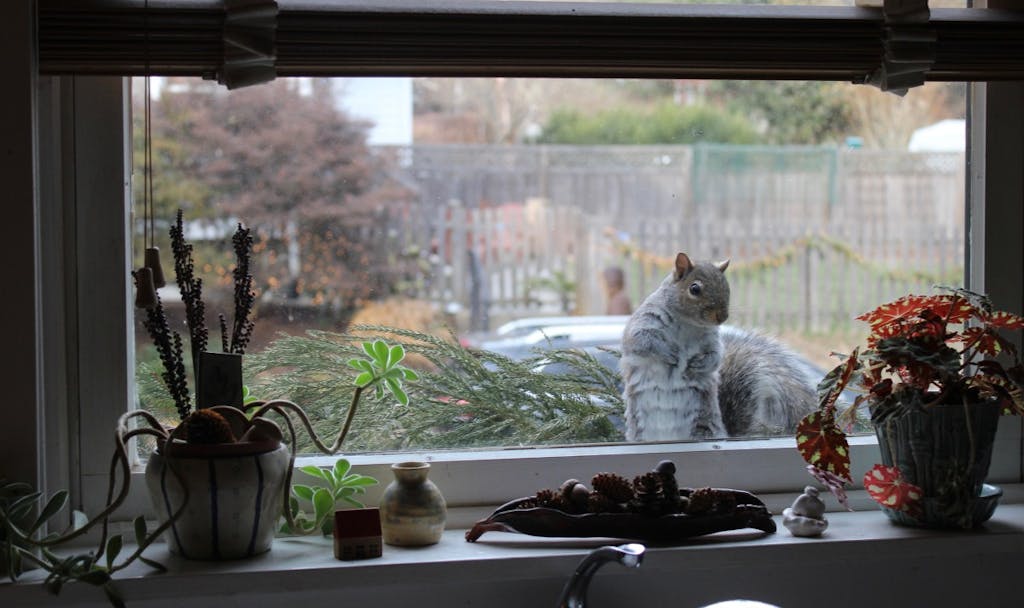
This little guy is still coming around. He’ll be 5 years old this spring and comes to visit almost every day.

He’ll look for me through the kitchen window to remind me that it’s time to meet him on the back porch with some nuts.

He is especially liking cashews these days.

He and Chris still have quite a bond. Earl will sit on Chris’s lap and eat right from his hand.

Yesterday we spotted a red tail hawk in a tree across the street. It was feasting on it’s prey. We gasped when we realized it was a squirrel!

We were so relieved to have this visit from little Earl later that day. Phew!


  • 1
  • 2
  • Next Page »
Welcome Welcome Amy Johnson is a writer, photographer, gardener, teacher, mother and wife living on the corner of Second and Edgemont. She creates space for beauty and simplicity in all that she does.
  • Email
  • Facebook
  • Flickr
  • Instagram
  • Pinterest

Amy at Tend Collective

tend collective

Categories

  • Adventures & Getaways
  • At Home
  • Entertaining
  • In the Garden
  • In the Kitchen
  • Projects
  • Thrifting
  • Through the Seasons
  • Traditions and Celebrations

Gallery: Home

Home Gallery

Gallery: Garden

Garden
  • About
  • Garden
  • Home
  • Archive
  • Tend Collective

Tags

2012 2013 2014 2015 2016 2017 adventure april august autumn backyard beach birthday celebration christmas december february friends garden hannah holiday holidays home january july june kitchen lake lake shehawken mama march may norah november october old site papa september spring summer tend tradition traditions vacation winter

Archive

Return to top of page

Copyright © 2023 · Second and Edgemont · Site Design by Nomad Farm