second and edgemont

creating space for beauty & simplicity

  • About
  • Gallery
    • Garden
    • Home

Kombucha

May 27, 2017

Hi Friends!

First off let me apologize for disappearing for a few months. For those of you who follow me on Instagram you may have figured out that I had a campaign to run. I sit as an elected official on borough council for my home town and was up for re-election. It took up quite a bit of my time and I am happy to report that I won the primary election on May 16th! It feels good to have worked so hard but also to have more free time. I am excited to jump right back into this space. I missed you all!

To make up for my absence I would like to finally honor a request made by many of you about sharing how I make my own Kombucha.

Kombucha or as we like to call it, booch, is a lightly sweetened fermented drink that is produced by fermenting tea using a symbiotic colony of bacteria and yeast (SCOBY). You can enjoy it plain or with fruits, spices or herbs for an added punch. There so many flavor possibilities and combinations and it has been fun experimenting.

I had tried store bought Kombucha a few years back and liked it but it wasn’t until I tried my friend’s homemade batch that I was hooked and had to try making my own. She walked me through the process and I got right to work collecting my supplies.  I admit to calling her each time I made a new batch to make sure I had the calculations just right but over time it definitely got easier and part of my weekly routine.

Making your own kombucha may seem intimidating (it was for me!) but I can assure you it really is quite easy, requires only a few ingredients and supplies and is much more affordable than store bought brands. There are many online sources and videos along with starter kits.  But most of what you need you can find in your own kitchen or from a friend or local source.

Supplies

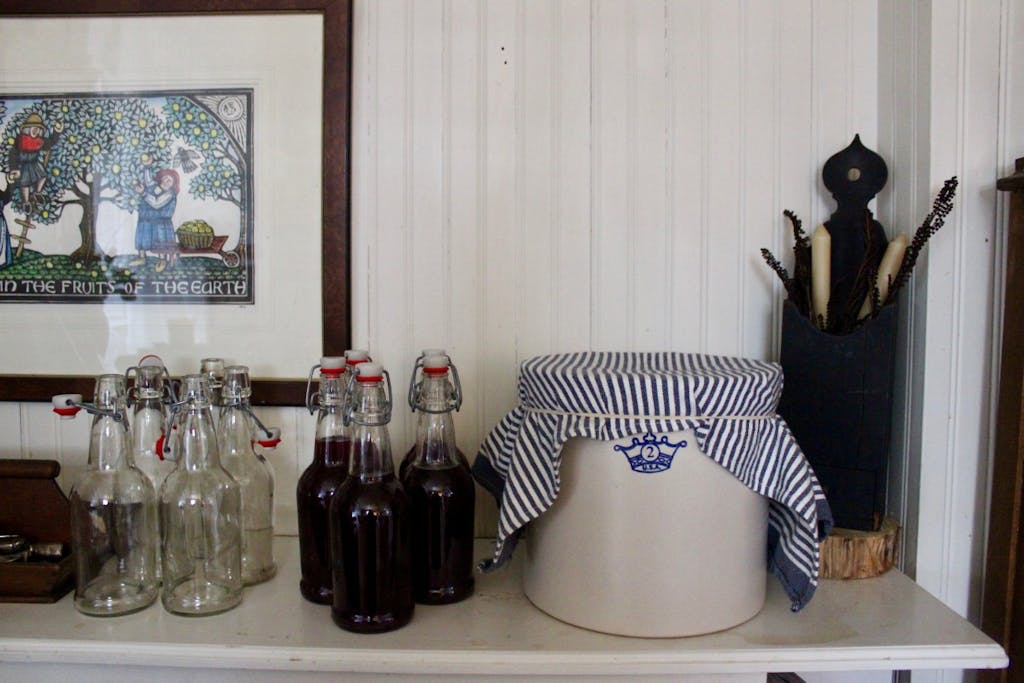
+1 gallon crock or glass jar (I own a 2 gallon crock for when I want to make larger batches)

+1 dozen airtight glass jars/bottles .

Note: While essentially any glass container with a lid can be used to store kombucha, to achieve the best carbonation, it is important to bottle kombucha in airtight bottles. While canning jars work well, they are not truly airtight, allowing for carbon dioxide to leak from them reducing the fizziness of your kombucha. Since I love a really fizzy booch, I use these 16 oz EZ cap bottles. They work great for the second fermentation/carbonation phase and they are the perfect serving size.

+plastic funnel (plastic utensils are recommended as metal is generally detrimental to kombucha. The only possible exception is stainless steel.)

+plastic or wooden stirring utensil

+tightly woven cloth like a cotton dishtowel

+large rubber band

+measuring cups


Ingredients

Makes up to 8 16oz bottles

+ 10 organic green tea bags

Note: The type of tea used to brew kombucha can affect the health of the SCOBY as well as the taste of your finished brew. If you’re just getting started, it is recommended to use plain black tea to insure a healthy SCOBY. I have used both black and green tea, both of which have worked well. After getting a few batches under your belt and allowing your SCOBY to grow big and strong you could experiment with white tea, rooibos, oolong, Yerba matte and other herbal teas.

+ 1/2 cup organic sugar

+ 16 cups filtered water

+ Active SCOBY  (Read here about where to find a healthy SCOBY.) Anyone who is making kombucha tea usually has more than enough to share. I got mine from a friend. Ask around, or check for fermenting groups in your area. I have even seen posts about SCOBY sharing on Facebook and Craigslist. When you find a good source for a SCOBY also ask for 2 cups of starter tea, enough to make your first batch.

+ 2 cups starter tea (See above. If you can’t obtain starter tea from a friend you can use a bottle of store-bought raw, unflavored kombucha tea.)

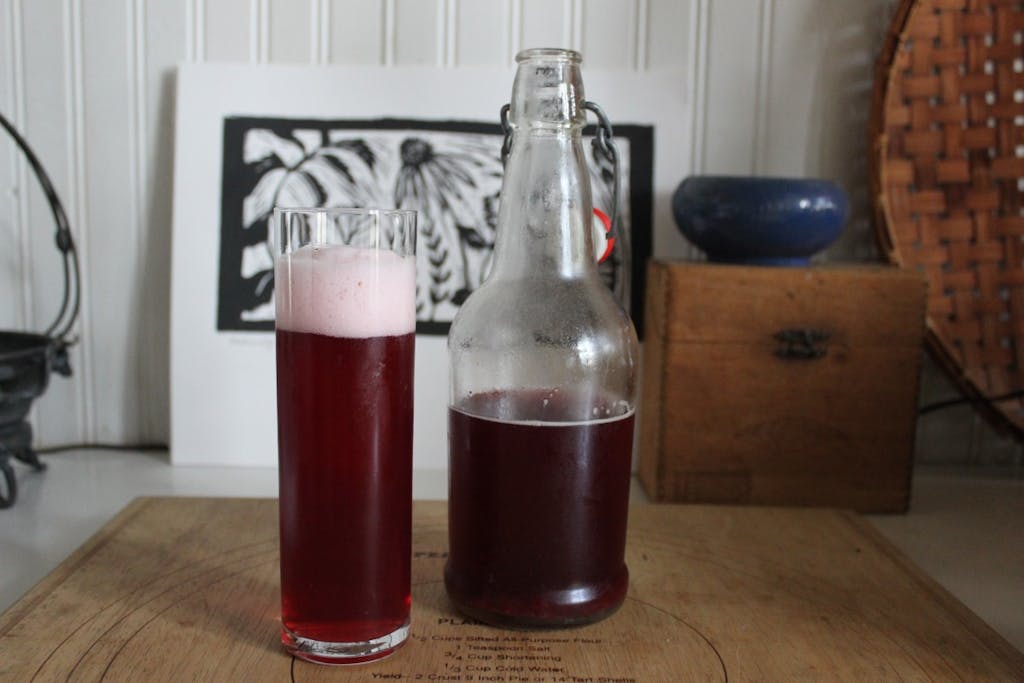
+ 2 cups organic juice with no added sugar. We have used sour cherry, pomegranate and grape. You can also use fresh fruit, herbs and spices. Use seasonal fruits. I just tried a homemade strawberry rhubarb booch that was to die for!


Instructions

Bring water to a boil.

Turn off heat and add sugar. Stir until sugar is dissolved.

Add tea bags.

Cool the mixture to 68-85ºF. The tea may be left in the liquid as it cools or removed after the first 10-15 minutes. The longer the tea is left in the liquid, the stronger the tea will be.

Remove tea bags

Add starter tea.

Add active SCOBY

Cover crock or jar with a tight-weave towel and secure with a rubber band

Allow the mixture to sit undisturbed at 68-85°F, out of direct sunlight, for 7-30 days, or to taste. The longer the kombucha ferments, the less sweet and more vinegary it will taste. Time of year will affect the rate of fermentation. My booch takes much longer to ferment in the winter months. I keep it on top of our radiator to help speed things up. In the summer months it ferments much quicker. I typically let it sit for 10 days. How do you know if fermentation is taking place? Flavor becomes less sweet  and more vinegary, SCOBY thickens, look for stringy brown yeast particles, tea has lightened in color.

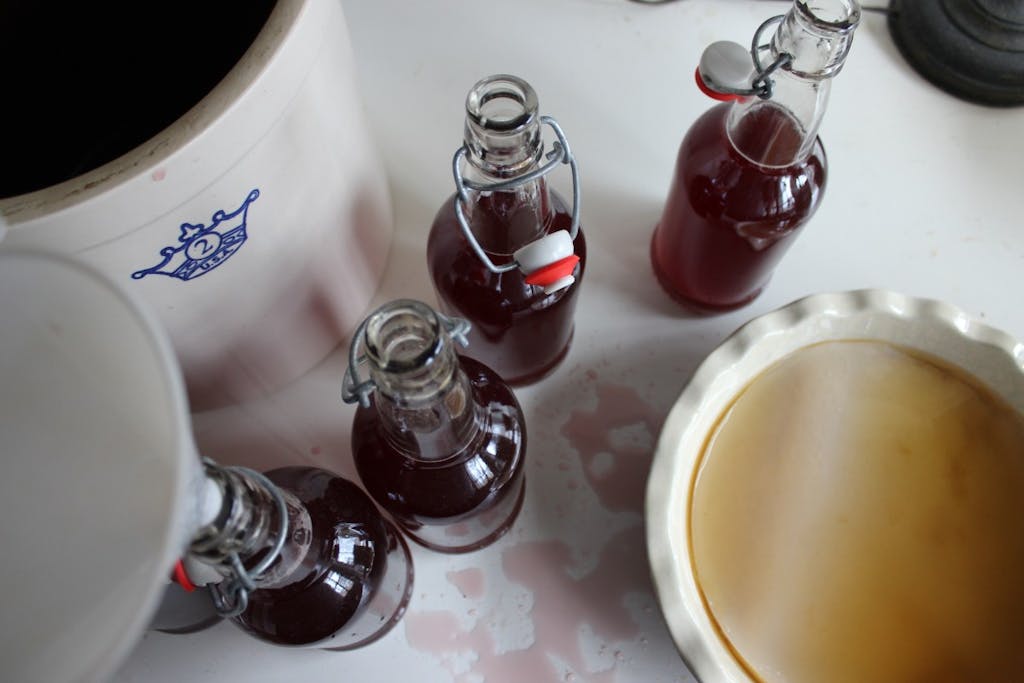
Remove SCOBY and 2 cups of tea (this will be your starter for the next batch) and hold in a separate container.

The finished kombucha can be flavored and bottled,  or enjoyed plain.

If wanting a flavored non-carbonated booch, add 2 cups of juice. Mix and store in glass jars in refrigerator for up to 14 days. You can also add fresh fruit whole or pureed and strained to each jar. Have fun experimenting. An easy one is adding lemon rind and a large chunk of ginger to each jar or bottle.

If wanting a plain non carbonated booch, simply pour into glass jars and store in refrigerator.

Now if you are wanting to bring it to the next level for a delicious, refreshing fizzy carbonated brew there are just a few more steps, but well worth the trouble and wait!

Making A Fizzy Carbonated Booch 

To make a fizzy Kombucha, a second fermentation is required.

A second fermentation period allows the flavors to meld and achieve a deeper and more complex flavor. Additionally, if bottled in an airtight container, the carbon dioxide produced during fermentation will remain, giving the kombucha the fizzy texture.

  1. Add the desired flavoring and mix to combine.
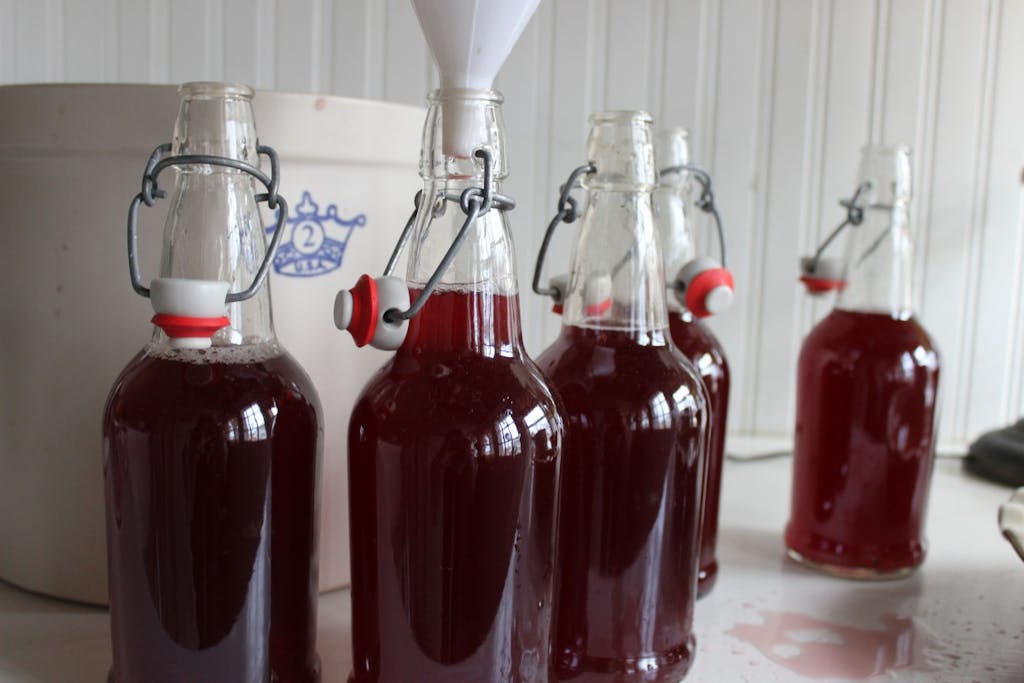
  2. Using the funnel pour flavored kombucha in to airtight bottles leaving a few inches of head space.
  3. Leave the bottled kombucha to ferment for 2-14 days at room temperature.
  4. Once the second fermentation process is complete, store  in the refrigerator.

When it’s time to pour yourself a glass of booch use caution when opening bottles. Creation of carbon dioxide during the secondary fermentation period means the contents of the bottle will be under pressure. Cover the bottle with a cloth to catch any spraying liquid and open the bottle slowly over the sink.
And now it’s time to make yourself a whole new batch of Kombucha!
I know this is a lot of information to absorb but before you know it you will have a continuous brewing routine and system and a fridge full of refreshing Kombucha to enjoy. You will have fun experimenting with different flavors and get to know your booch. It has a mind of it’s own and with intuition you can work with it for the perfect texture and flavor.
Let me know if I can answer any questions you may have. Or for you fellow booch brewers out there please share your tips!
Enjoy!


In the garden-May

May 26, 2016

IMG_2895 IMG_2900 IMG_2904 IMG_2905 IMG_2906 IMG_2907 IMG_2910 IMG_2911 IMG_2912 IMG_2913 IMG_2925 IMG_2926

A new season over at Tend!

May 3, 2015

IMG_8579

IMG_8585

IMG_8613

IMG_8614

IMG_8644

IMG_8647

A new season over at Tend has begun!

As always, I write on Fridays.

It amazes me that little space is going into it’s 5th year.

Pop on over.

xo

Making pretty with what you have

May 27, 2014

IMG_3180

IMG_3188
IMG_3196
IMG_3203
IMG_3205
IMG_3214
IMG_3232
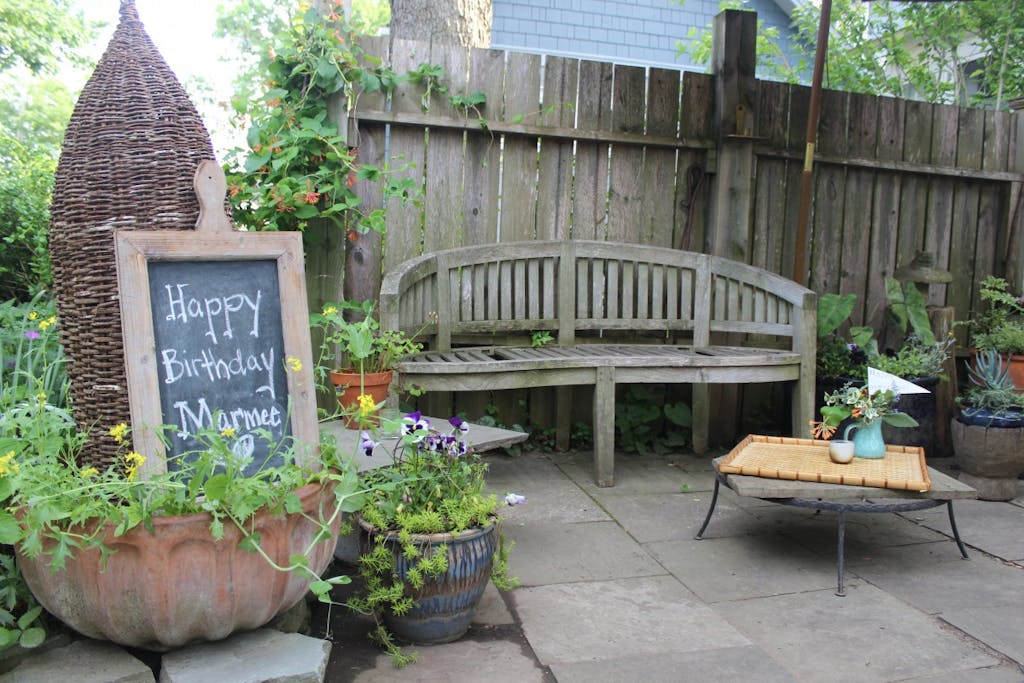
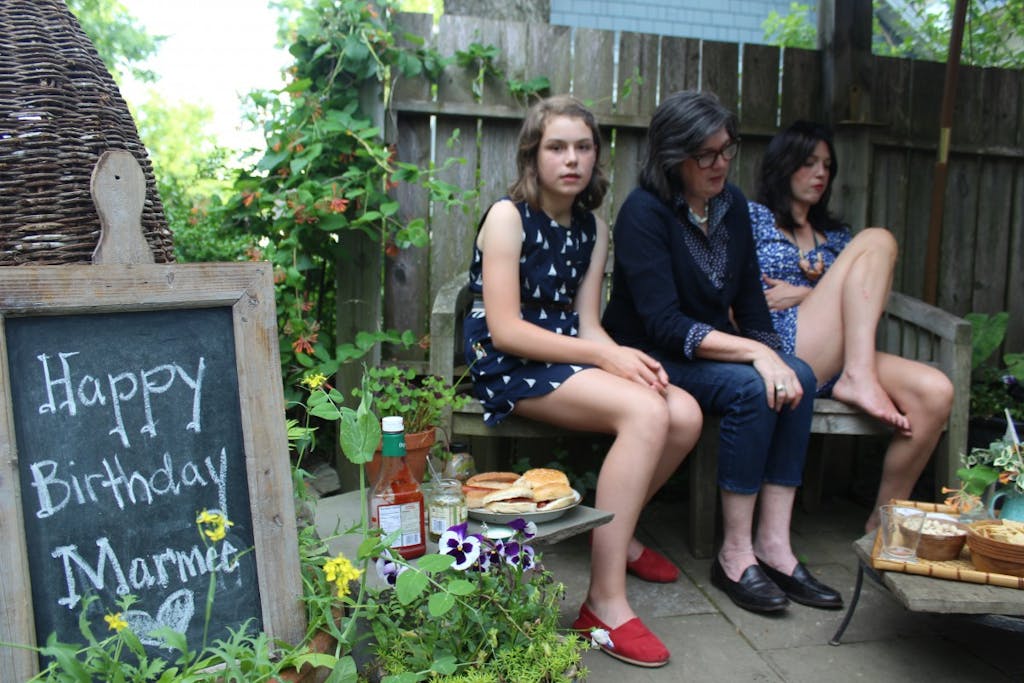
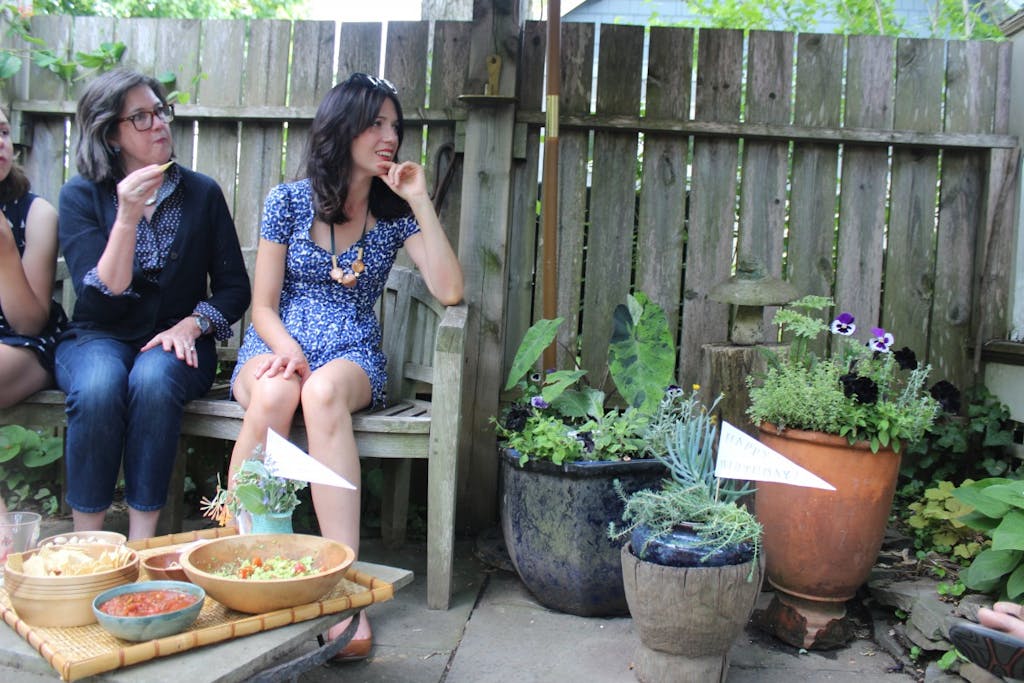
We hosted a little birthday celebration for my mom yesterday.
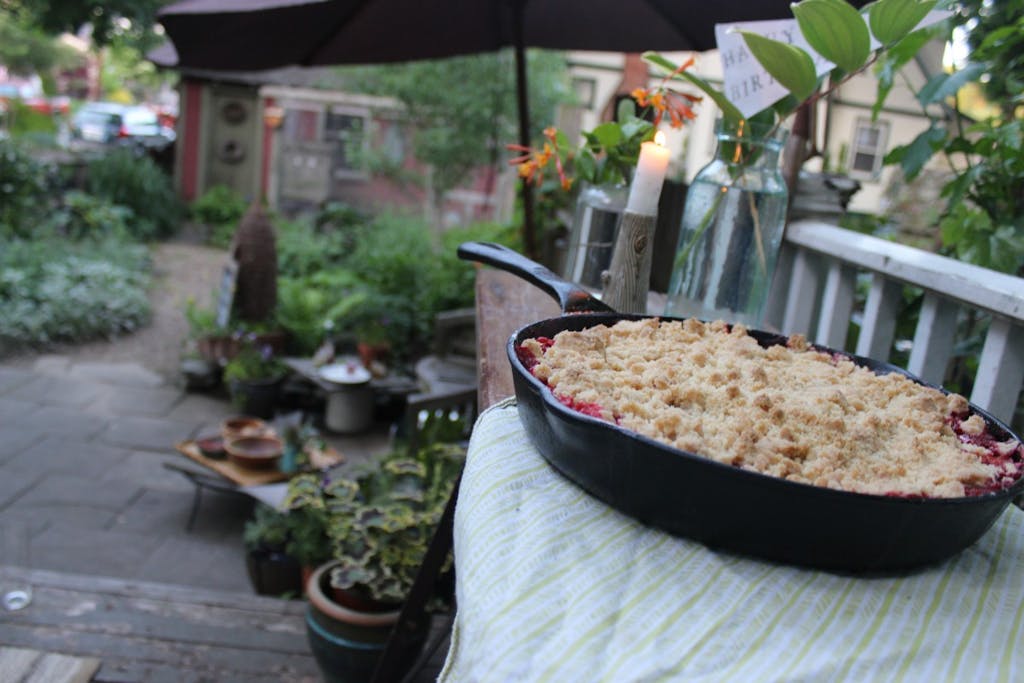
As we were driving back from the beach in the morning my mind began to wander as to what needed to be done once I got home to prepare for the party. Bake a strawberry rhubarb cobbler, clean the bathroom, marinate the chicken and asparagus for the grill, make a few flower arrangements…..

I wanted to be able to entertain mostly outdoors since it was going to be a warm evening but I began to get into a funk as I thought about our back porch which is looking a bit run down (plans to rebuild it next month!) and the fact that we needed new outdoor furniture and that I wished there was some money in the budget for some new plants and …… you get the point.
I stopped myself and said “Amy you can do this. You can get creative and make a beautiful outdoor experience with what you have. I know you can!”

After the car was unpacked and a visit to the market I got to work.

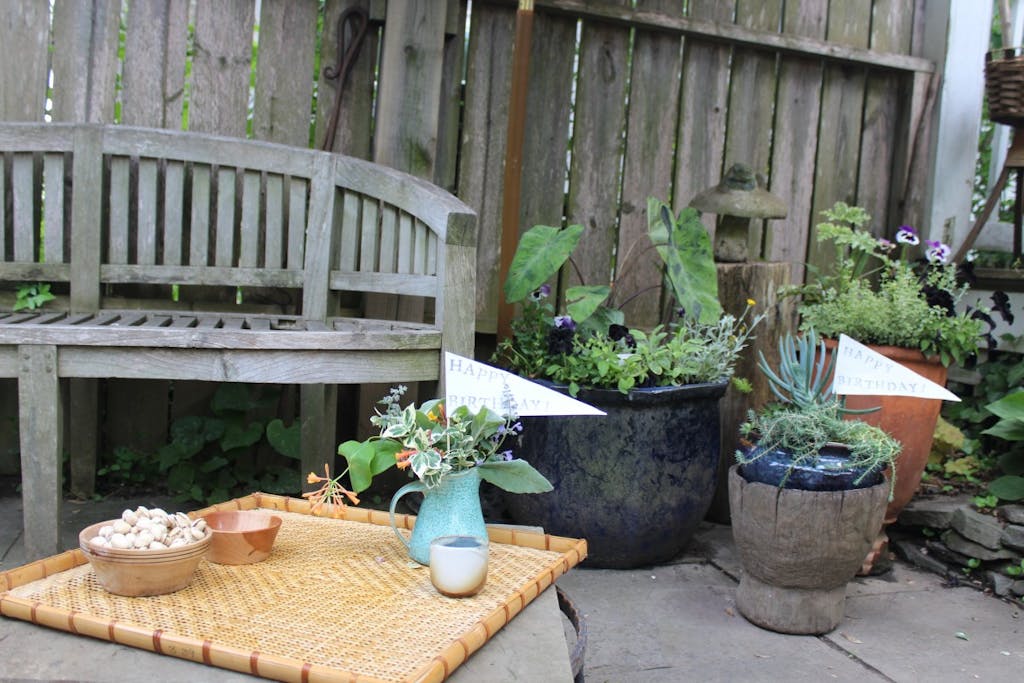
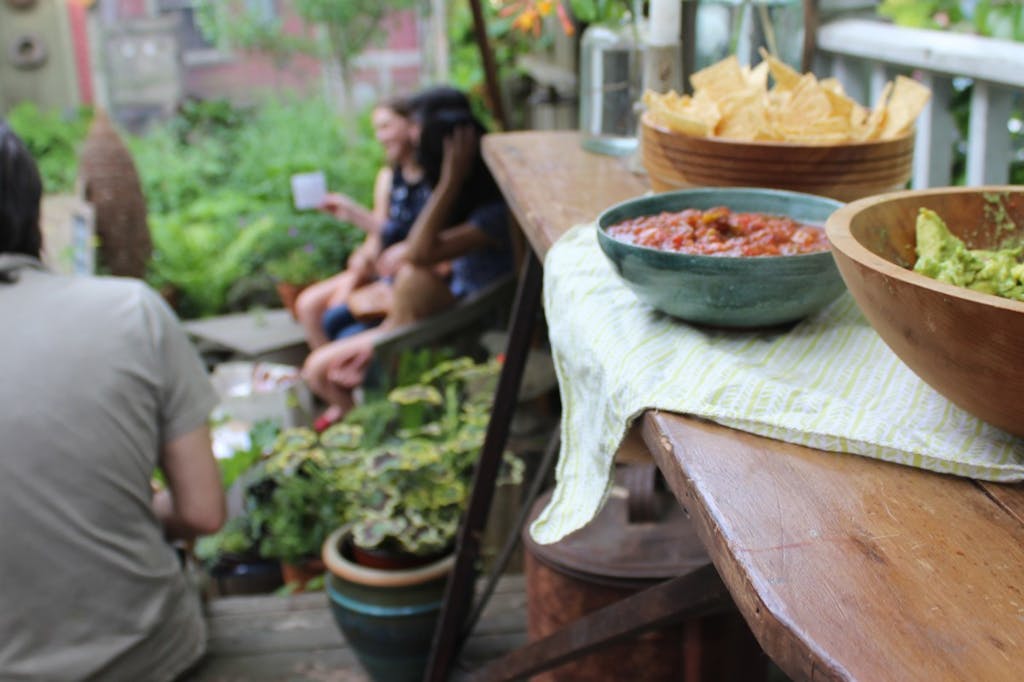
I swept the patio and porch clean (what a difference a clean swept space makes!) and unearthed the patio umbrella from the garage. I brought out a woven rug and laid it out on the porch. To serve hors d’oeuvres, I set up my antique ironing board with a pretty cloth napkin and glass jars filled with stems of Solomons Seal and Honeysuckle. I placed a piece of large flagstone on top of a clay crock and one on top of the stand that holds our fire pit to make little tables to set food and drinks on. I used a basket tray to place on top of one the tables for a homey feel and set out a bouquet of flowers and a votive. Instead of buying flowers, I made arrangements from my own garden of Lambs Ear, Catmint, Hosta leaves, Enonymous and Comfrey. I got out the birthday flags and stuck them in arrangements and planters and set out a chalkboard wishing my mom a Happy Birthday when she arrived.

When I was finished I stepped back and fell in love with the cozy outdoor party space made entirely with things found around my home and garden. Later that night as I was blowing out candles and cleaning glasses off of my makeshift tables I realized I hadn’t noticed all night how run down the porch was. I sort of like it now.

Pasteli

May 22, 2014

IMG_3134
IMG_3143
IMG_3149
IMG_3154

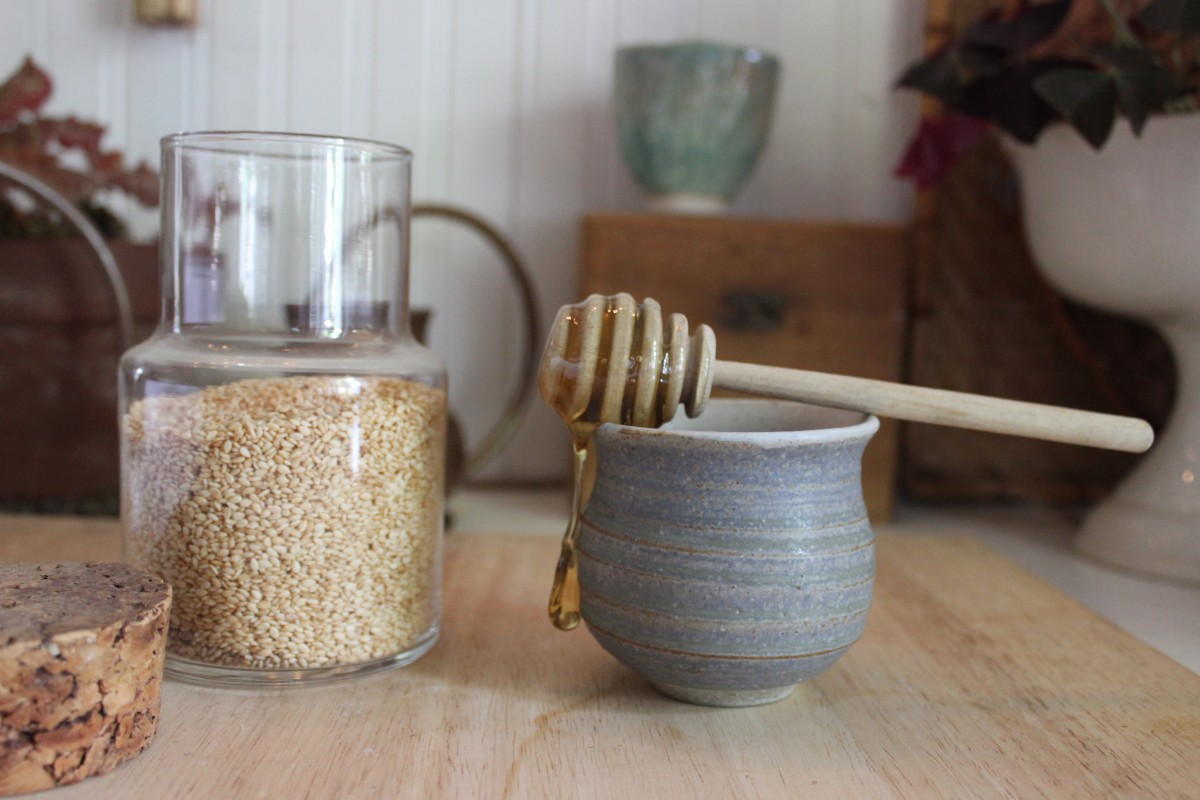
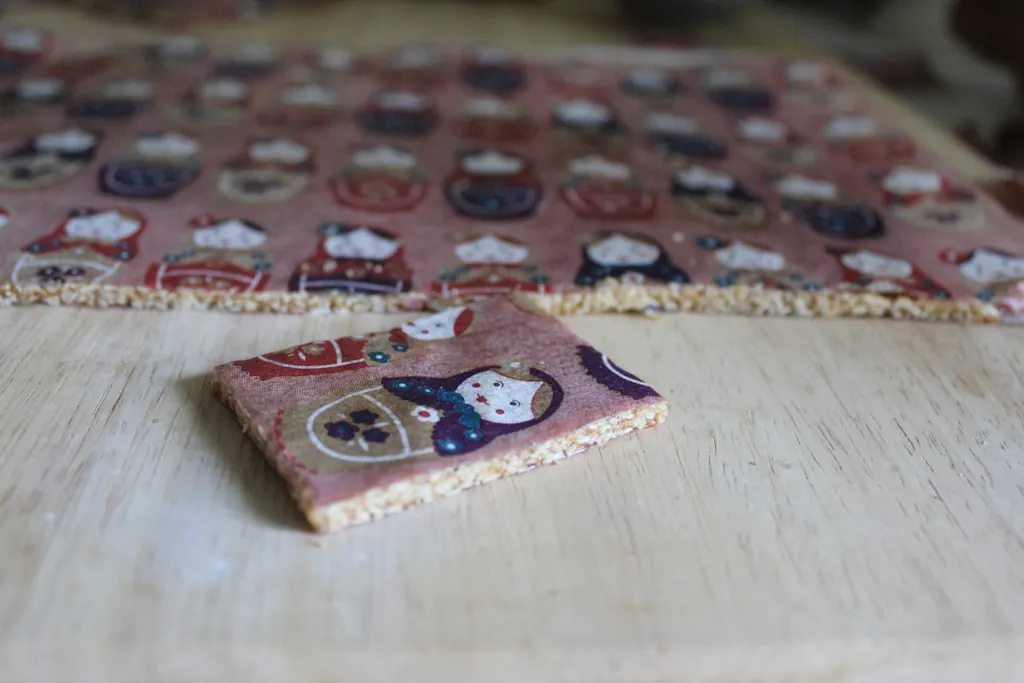
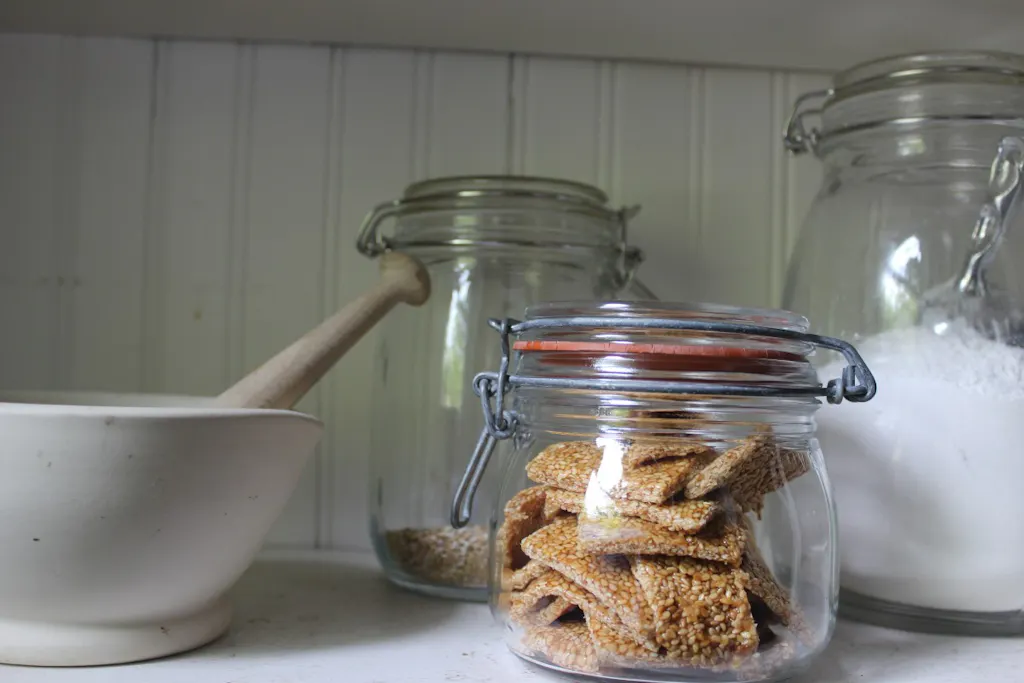
This past Christmas a friend gifted us a beautiful box full of homemade Pasteli. The minute I bit into the chewy, golden, Greek pastry I was hooked. I actually hid it away from the rest of my family and ate the entire box myself! Feeling a bit guilty I asked her for the recipe so I could make it and share the next time. This delicious candy consists of only two ingredients ~ honey and sesame seeds. With sesame seeds containing high amounts of vitamins and nutrients and honey being an antioxidant, Pasteli is the perfect energy bar. Eat it for breakfast, as a lunchbox snack, a mid day pick me up or for dessert.

Pasteli

~2/3 cup honey
~1 1/2 cup sesame seeds

Bring honey to a slow boil over medium heat. Add sesame seeds and cook until it reaches 270 degrees on a candy thermometer (hard ball stage) stirring frequently. Pour onto buttered parchment paper and cover with second sheet of buttered parchment. Using a wide dough scraper level to 1/4″. Cool completely. Oil the blades of kitchen shears and cut (through parchment and all) into bite size pieces.

*Nuts such as walnuts, pistachios, or almonds are also common in some versions of pasteli.

You can remove parchment paper and store in air tight container or use a patterned parchment and store with it on. It’s fun peeling it off individual pieces~ just like a candy wrapper!

Assateague Island and Banana Boats

May 19, 2014

IMG_2932
IMG_2940
IMG_2943
IMG_2949
IMG_2960
IMG_2971
IMG_2987
IMG_2992
IMG_3018
IMG_3049
IMG_3060
IMG_3064
IMG_3071
IMG_3081
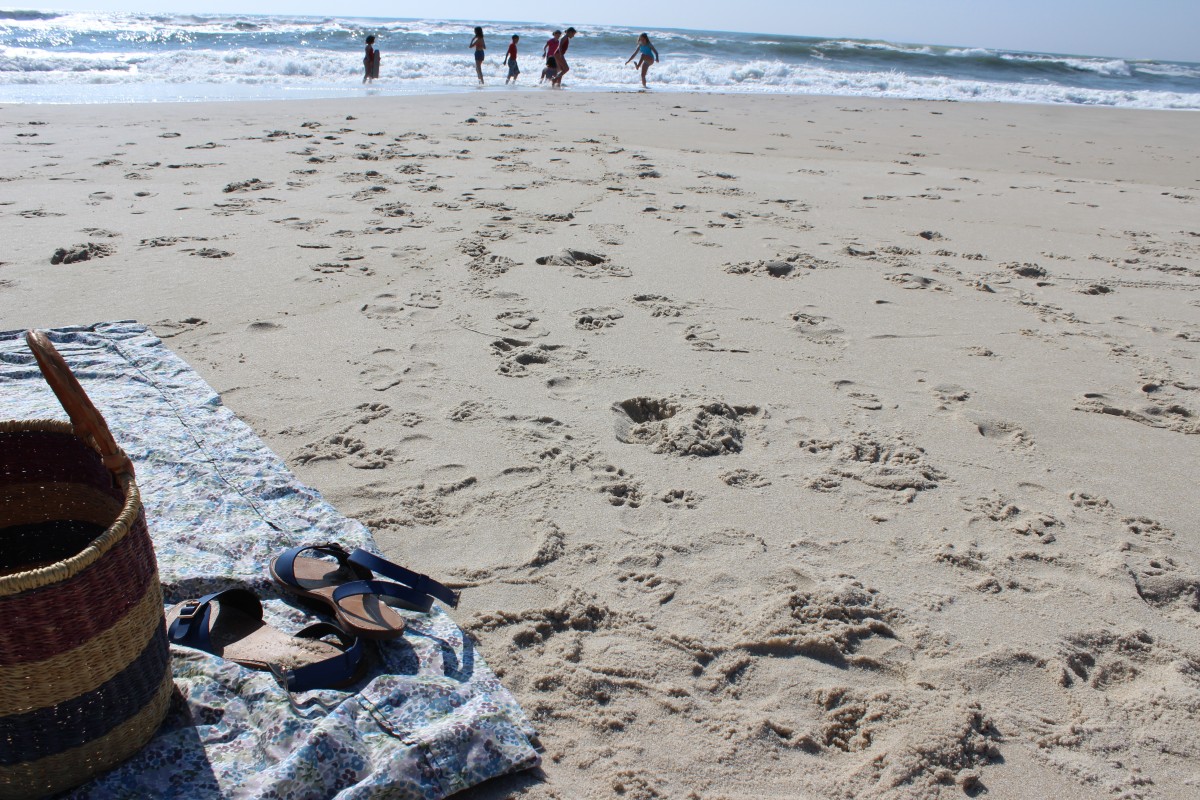
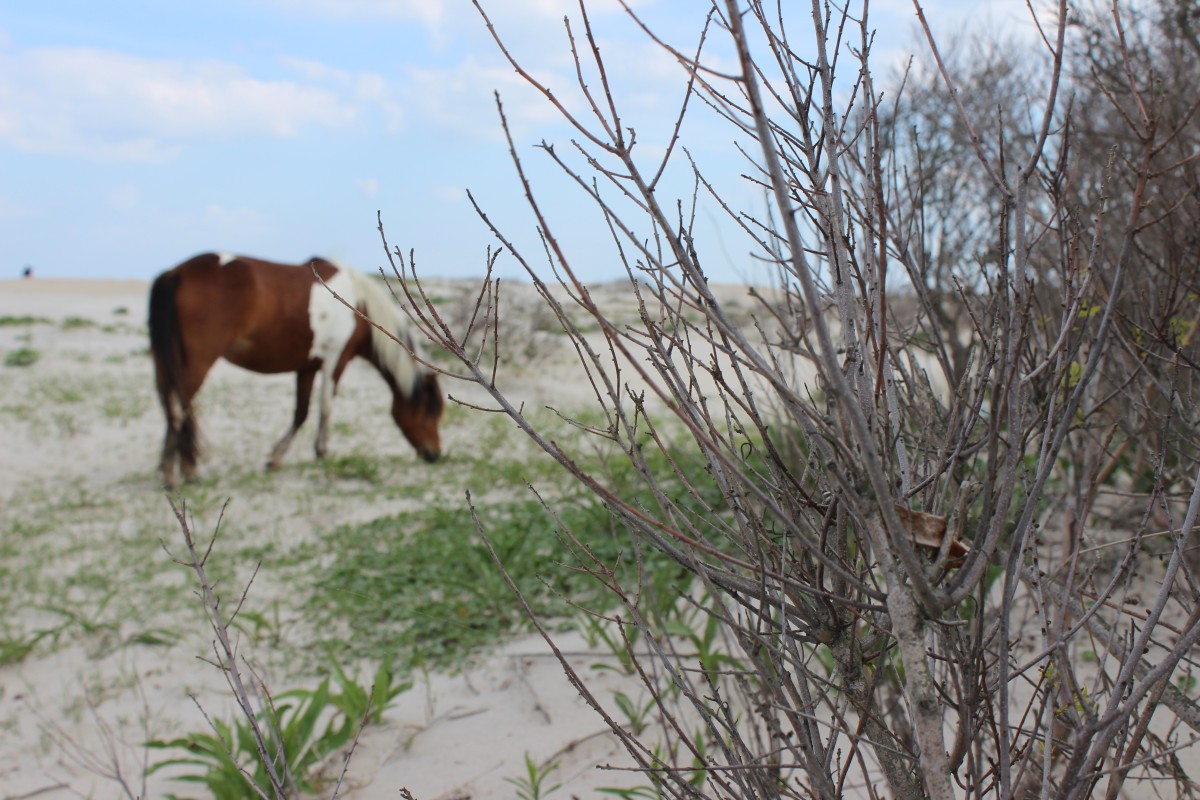
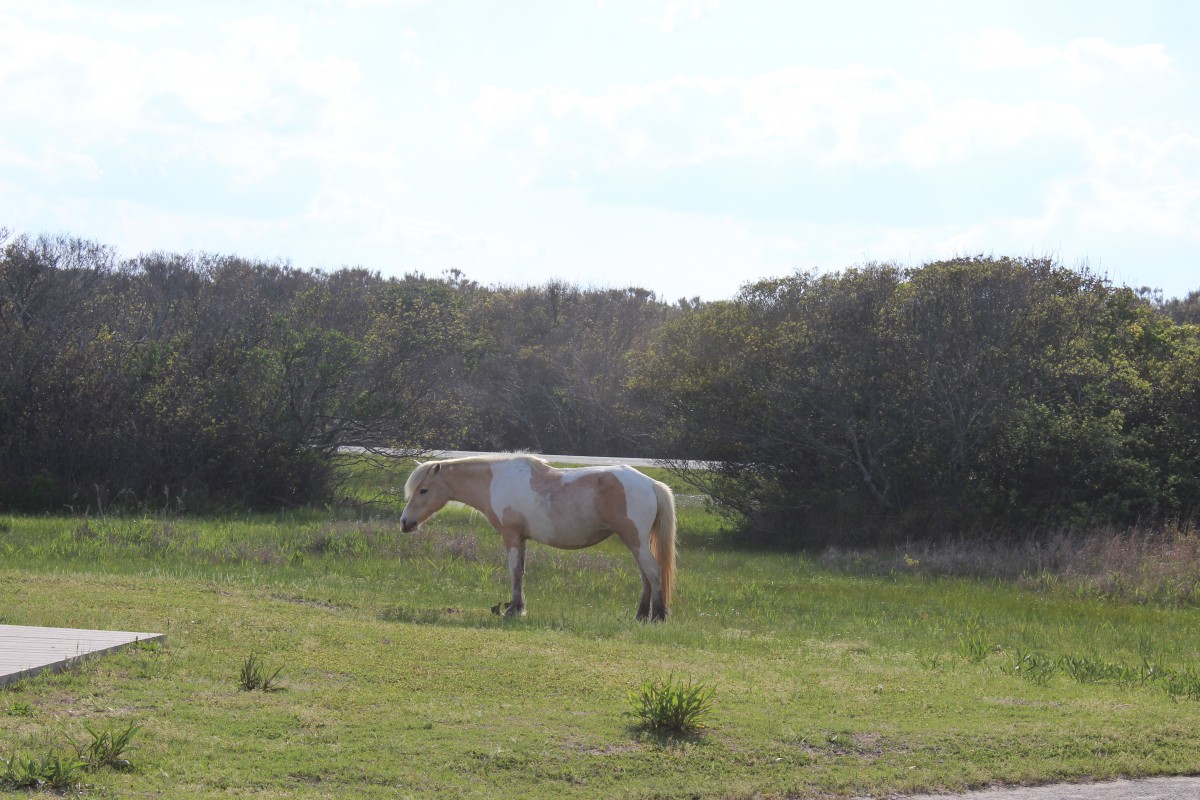
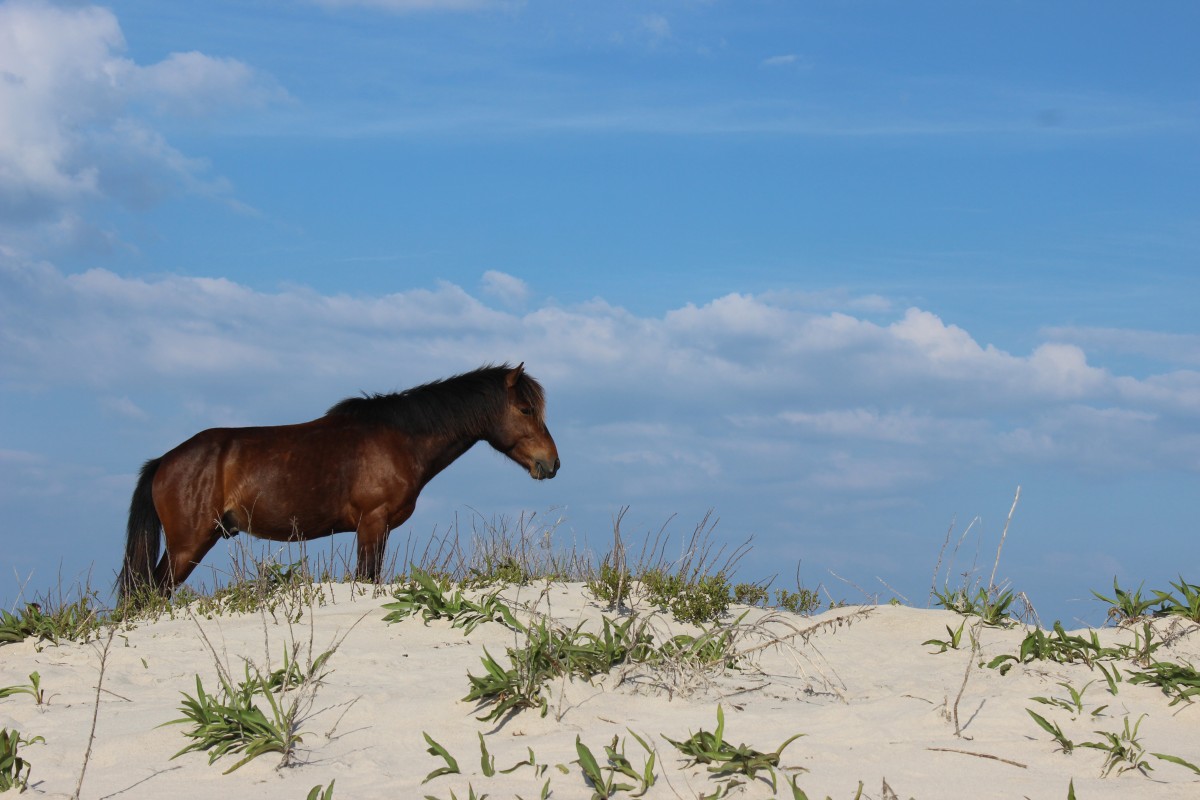
We ventured south for our annual Assateague Island getaway this past weekend. The weather was absolutely perfect and so was the time spent with our most favorite friends. If you have never camped on a beach, I highly recommend it. Falling asleep and waking to the sound of the ocean is pure bliss. The first night I was woken to a full moon streaming through our tent and the song of the Eastern Whippoorwill. The second night I fell asleep kissed by the sun and fresh air and slept like a log. Harry and I were the first ones up each morning to catch the sunrise and there were even a few wild pony sitings.
The kids romped in the water and played in the dunes which always reminds me of the book Roxaboxen.
There was a roaring campfire each night along with jokes and ghost stories.
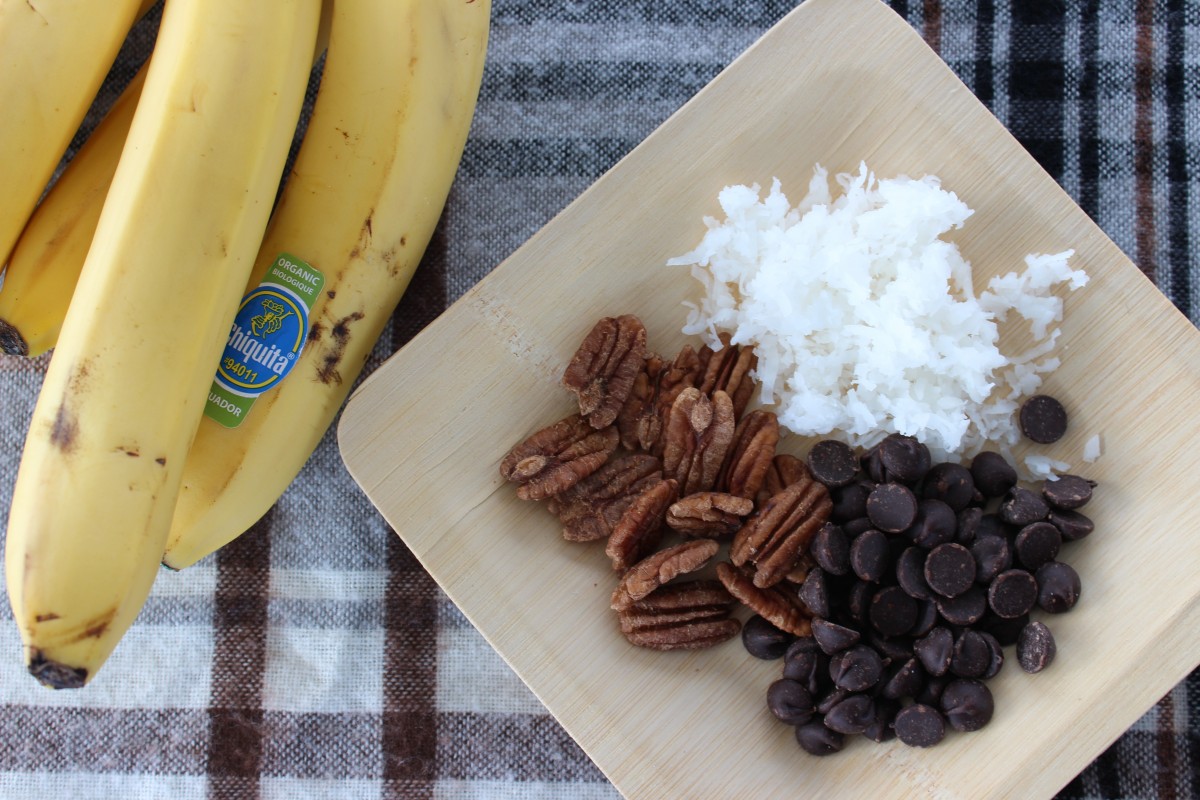
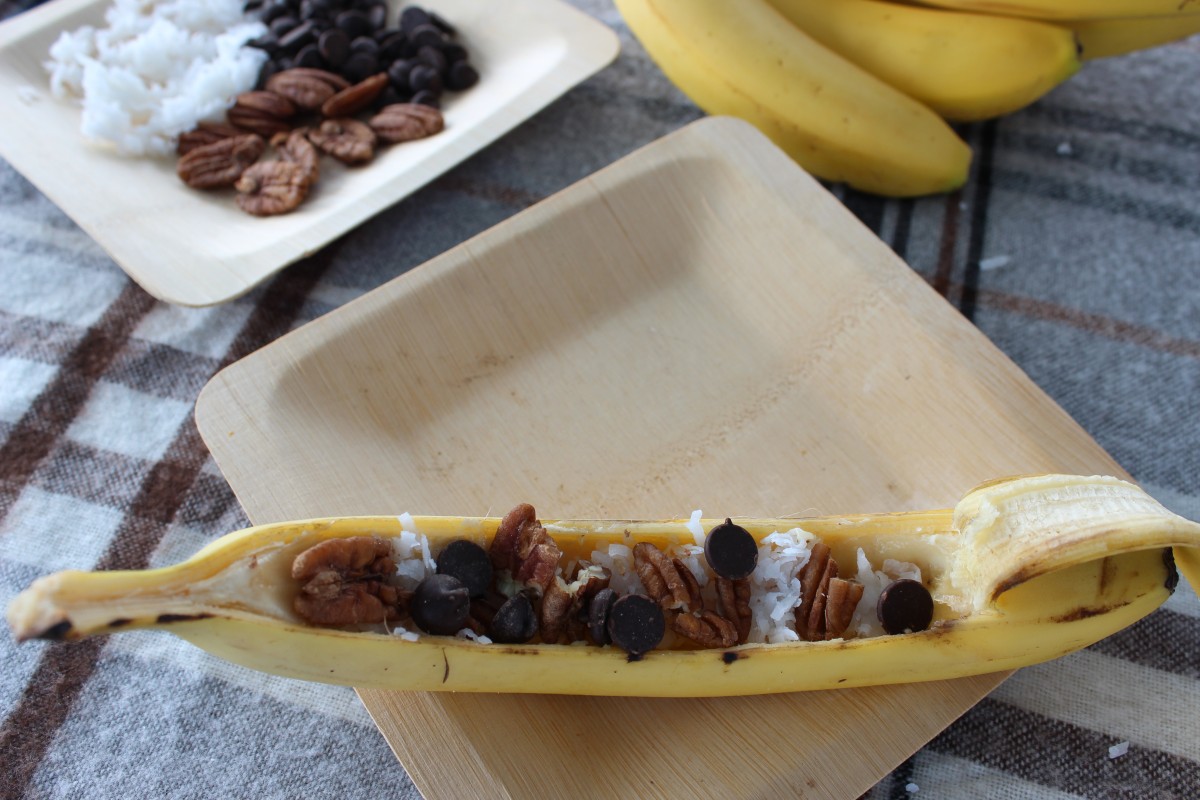
And of course there were marshmallows and s’mores. But our favorite is a banana boat hot off the flames. It’s like a campfire sundae!

Banana Boats

Peel back one piece of banana peel.
Scoop out a channel and eat.
Fill channel with chocolate chips, nuts, coconut, peanut butter, fresh berries.
Pull peel back over and wrap whole banana in tin foil.
Roast over fire until warm and gooey.
Grab a spoon and dig in.

IMG_2966
IMG_2969

Mother nature creates the most beautiful vignettes

May 14, 2014

IMG_2845
IMG_2848
IMG_2852
IMG_2853
IMG_2854
IMG_2855
IMG_2870
IMG_2871
IMG_2874
IMG_2877

I love how at this time of year my house feels like it stretches it’s wings and extends out into the garden. Everything feels a bit more roomy, like we have put on an addition.
Our home takes a big inhale drawing in the light, palette, textures and shapes from the garden giving the inside a whole new feel.

Just as I favor certain corners of my home I am also drawn to specific corners in my garden.
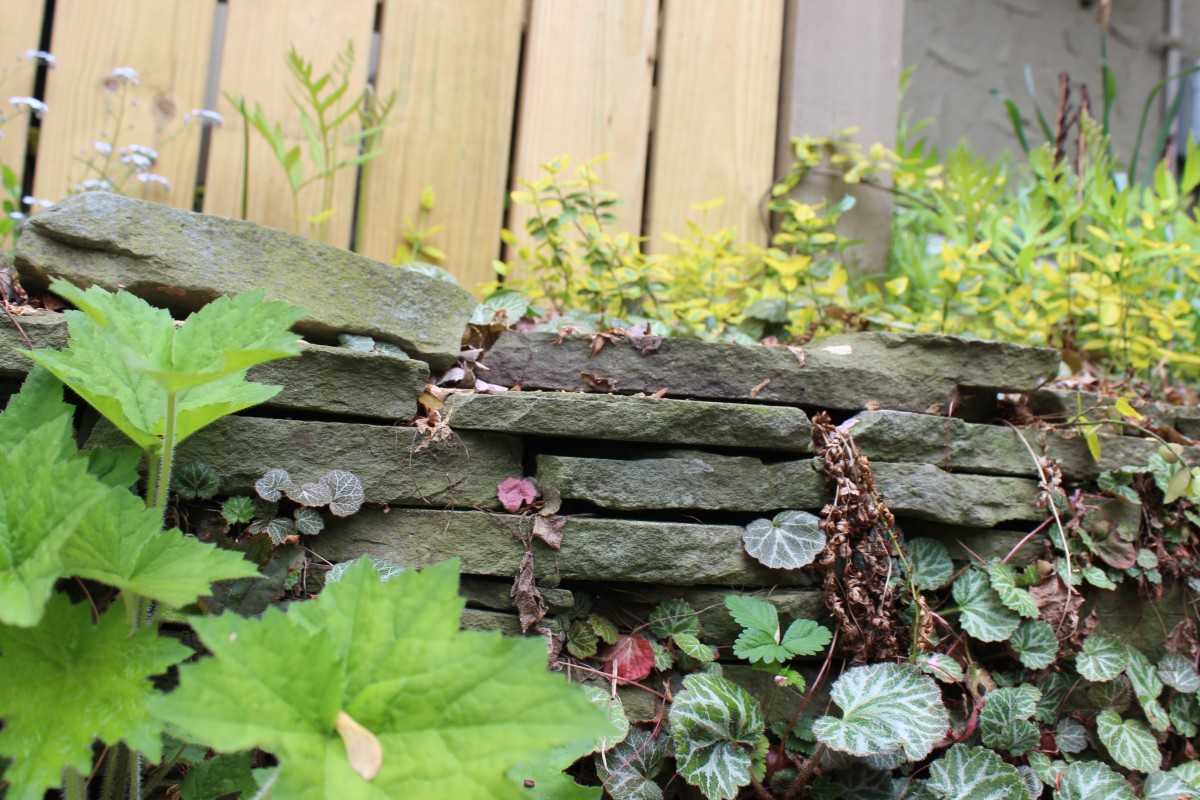
A fern growing out of a rock wall, moss growing in between the cracks of a pathway, a climbing vine peeking through a fence, a chartreuse leaf intertwined with a deep purple one.

I like to create vignettes both inside and out but many times it’s mother nature that creates the most beautiful ones without my help at all.

The full cycle of an egg

May 29, 2013

DSC_1213

DSC_1215

DSC_1217

DSC_1218

DSC_1219

DSC_1220

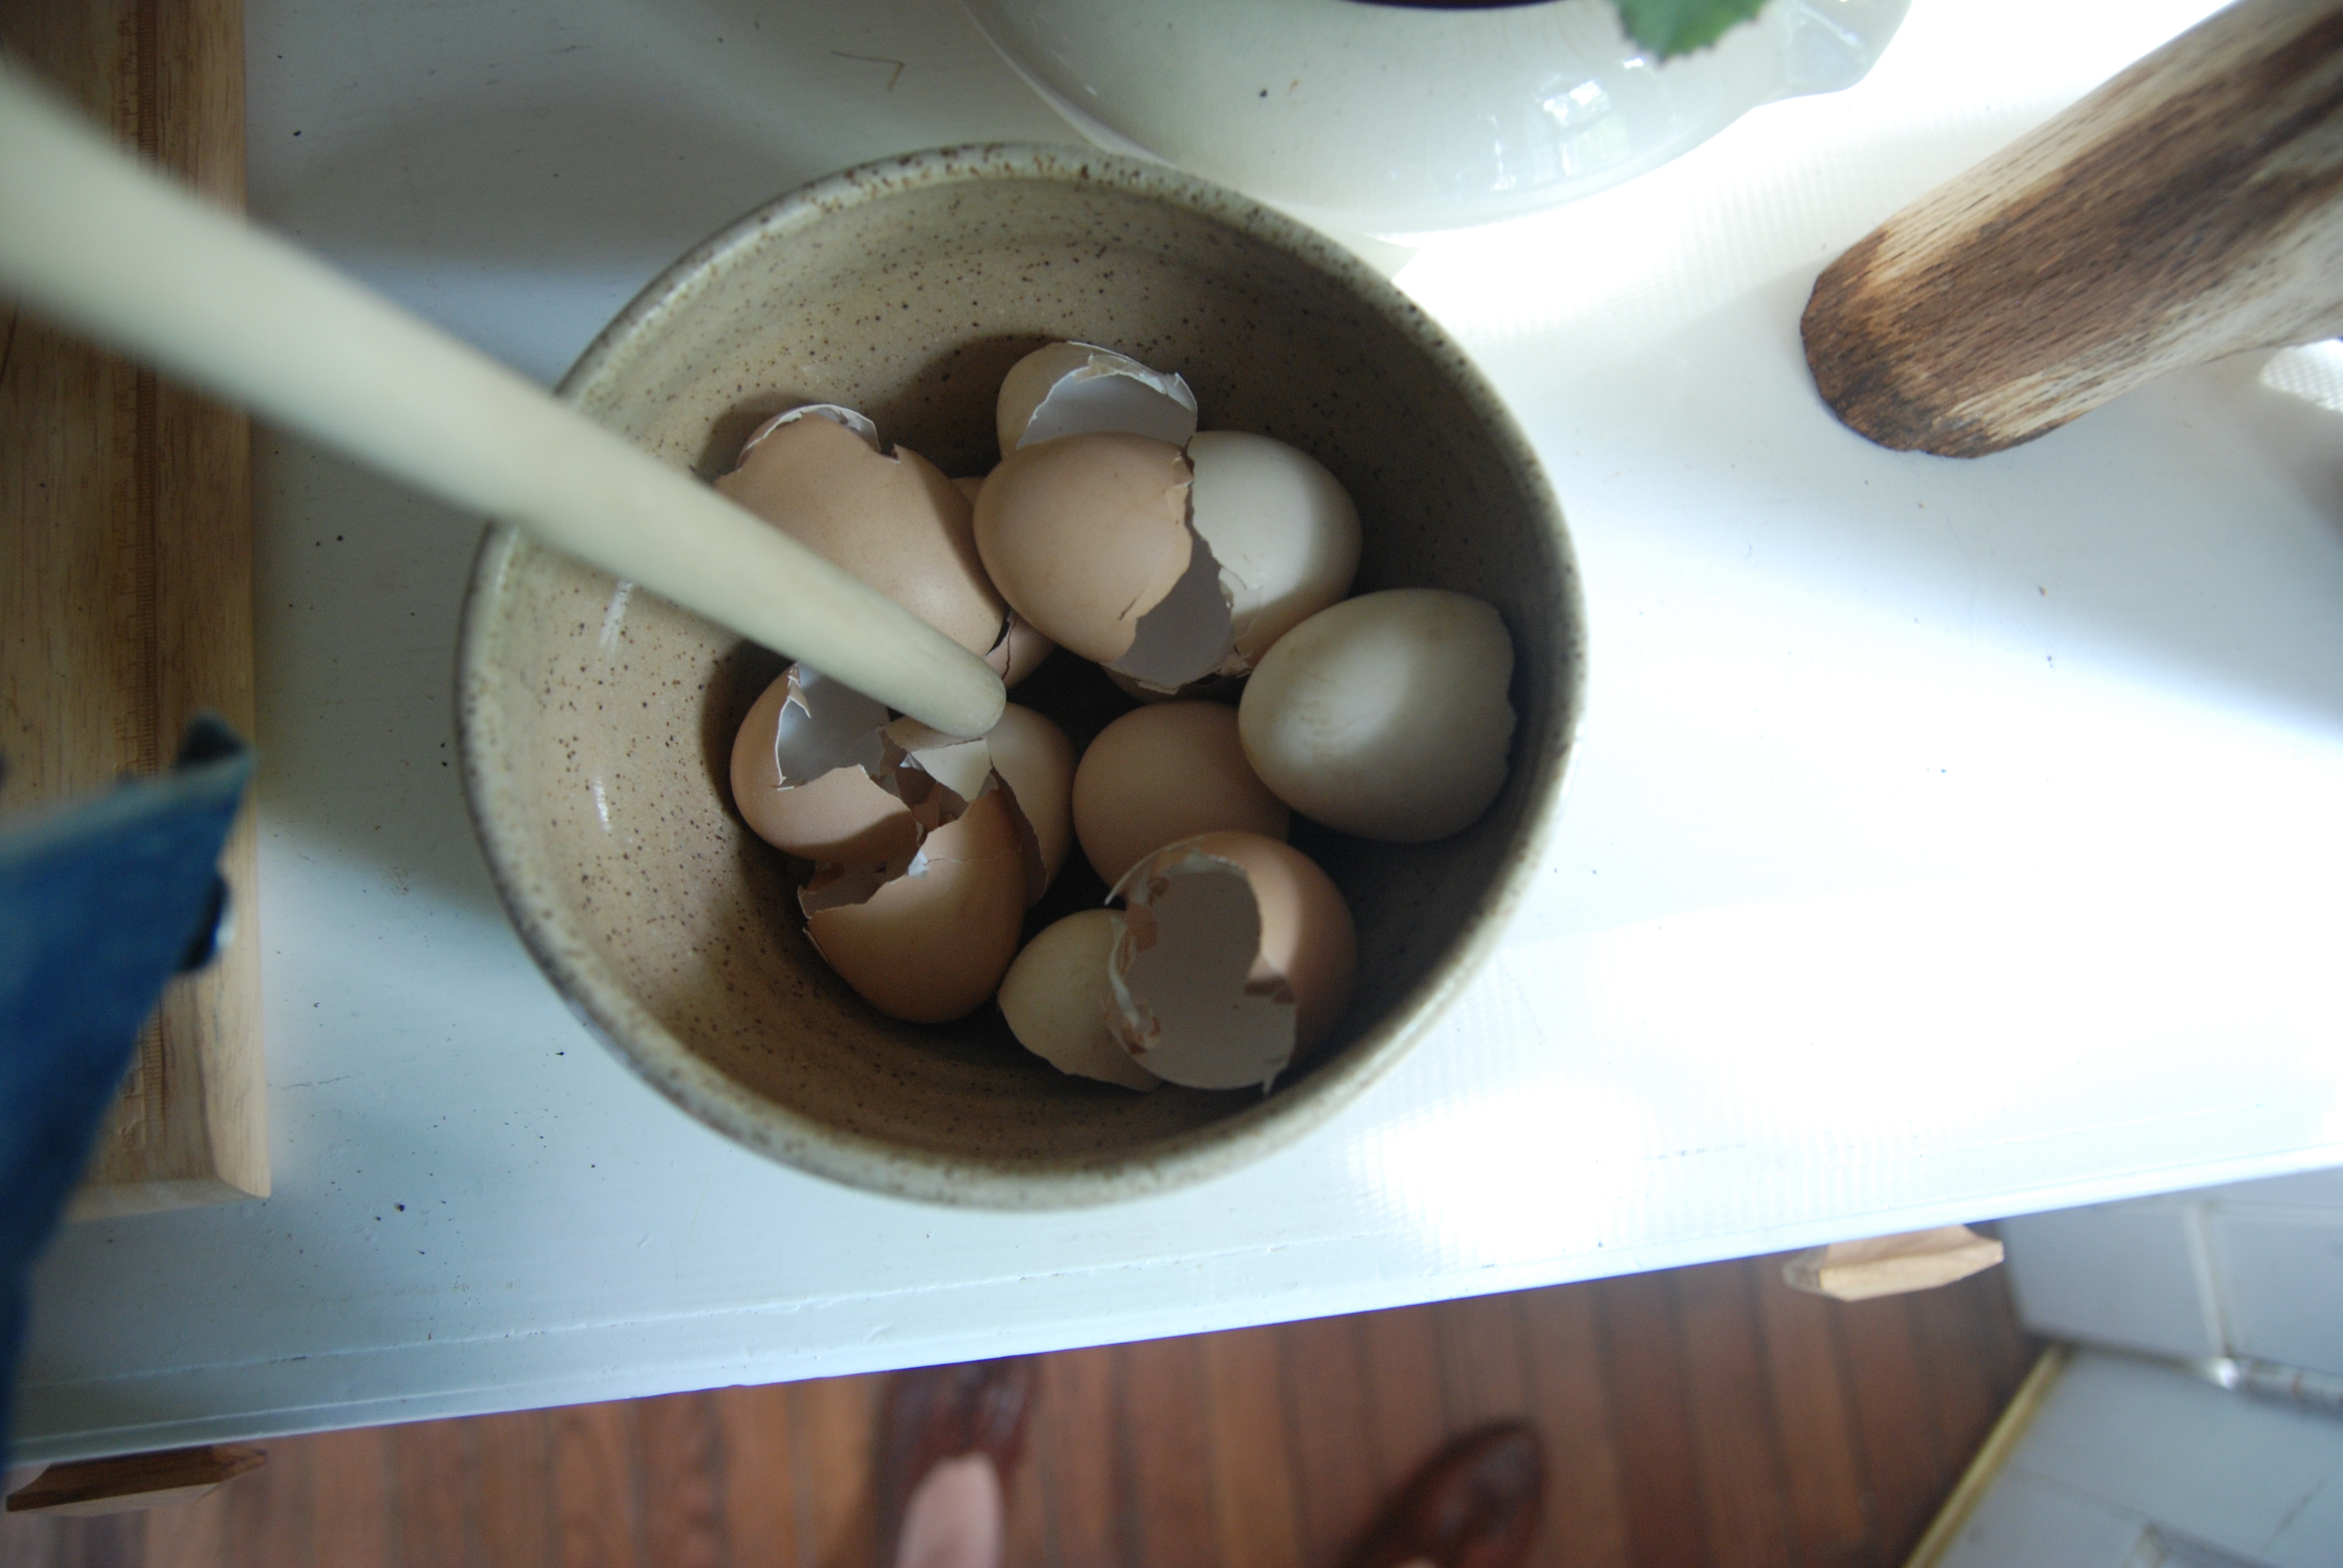
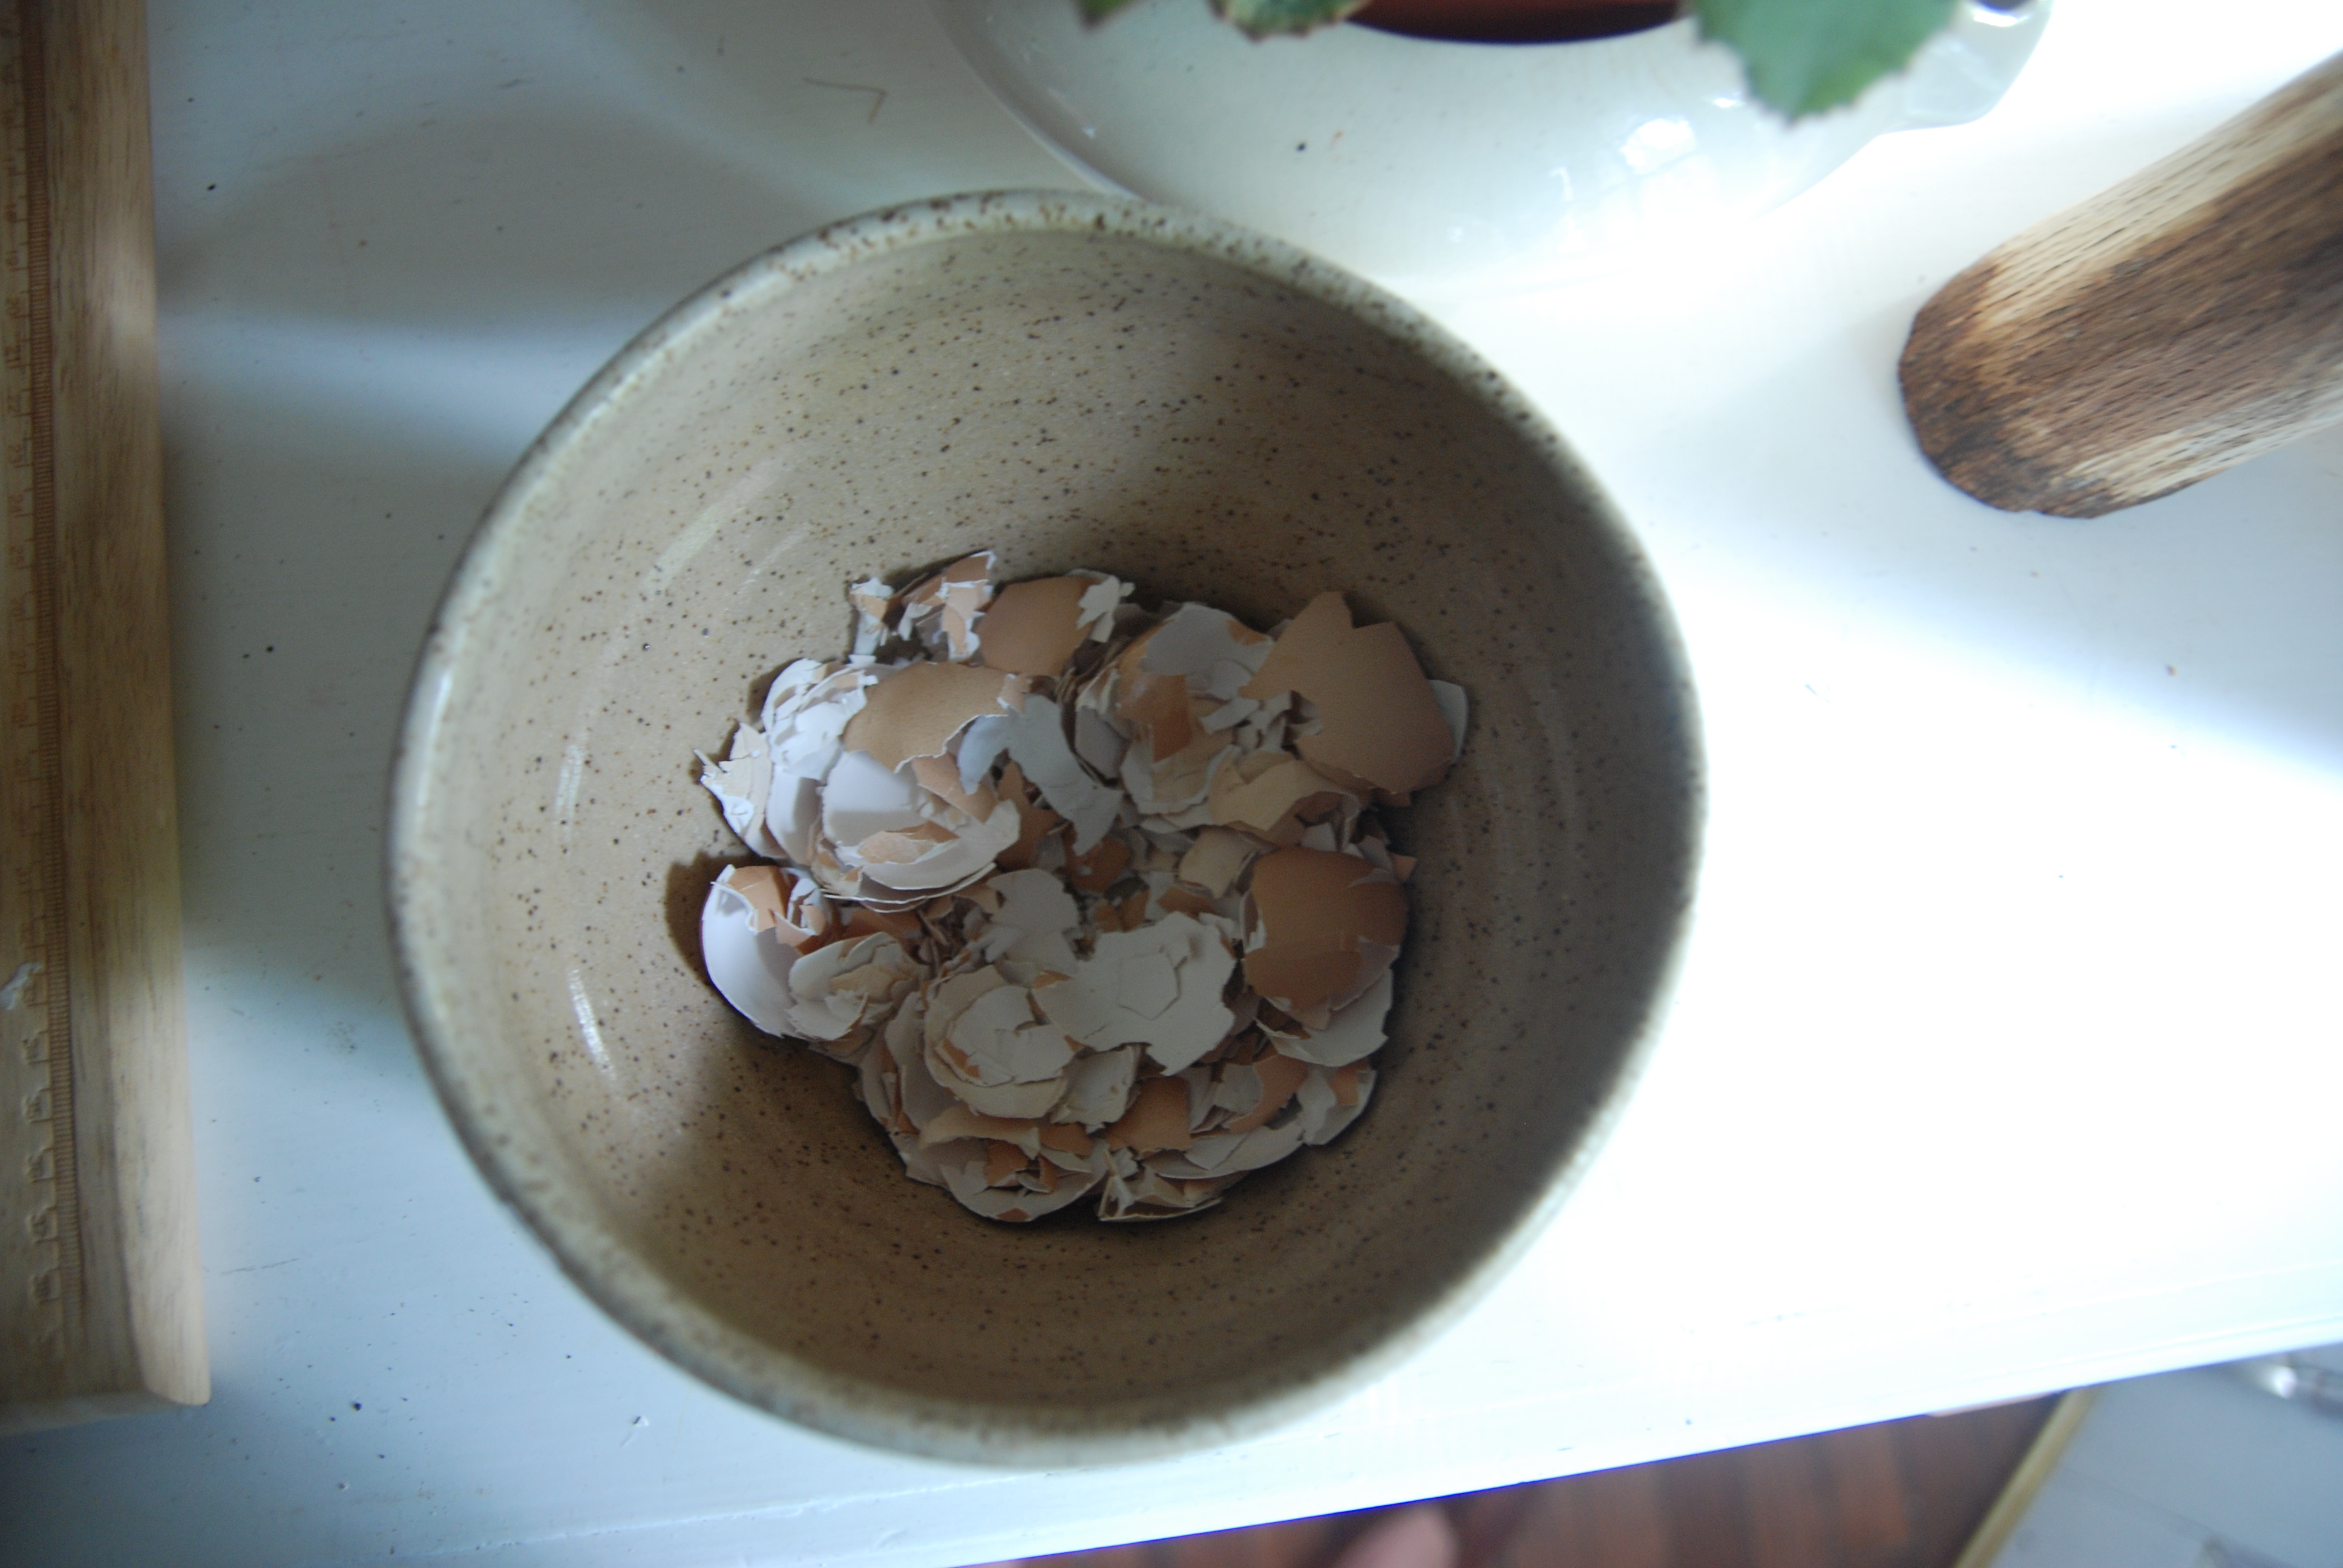
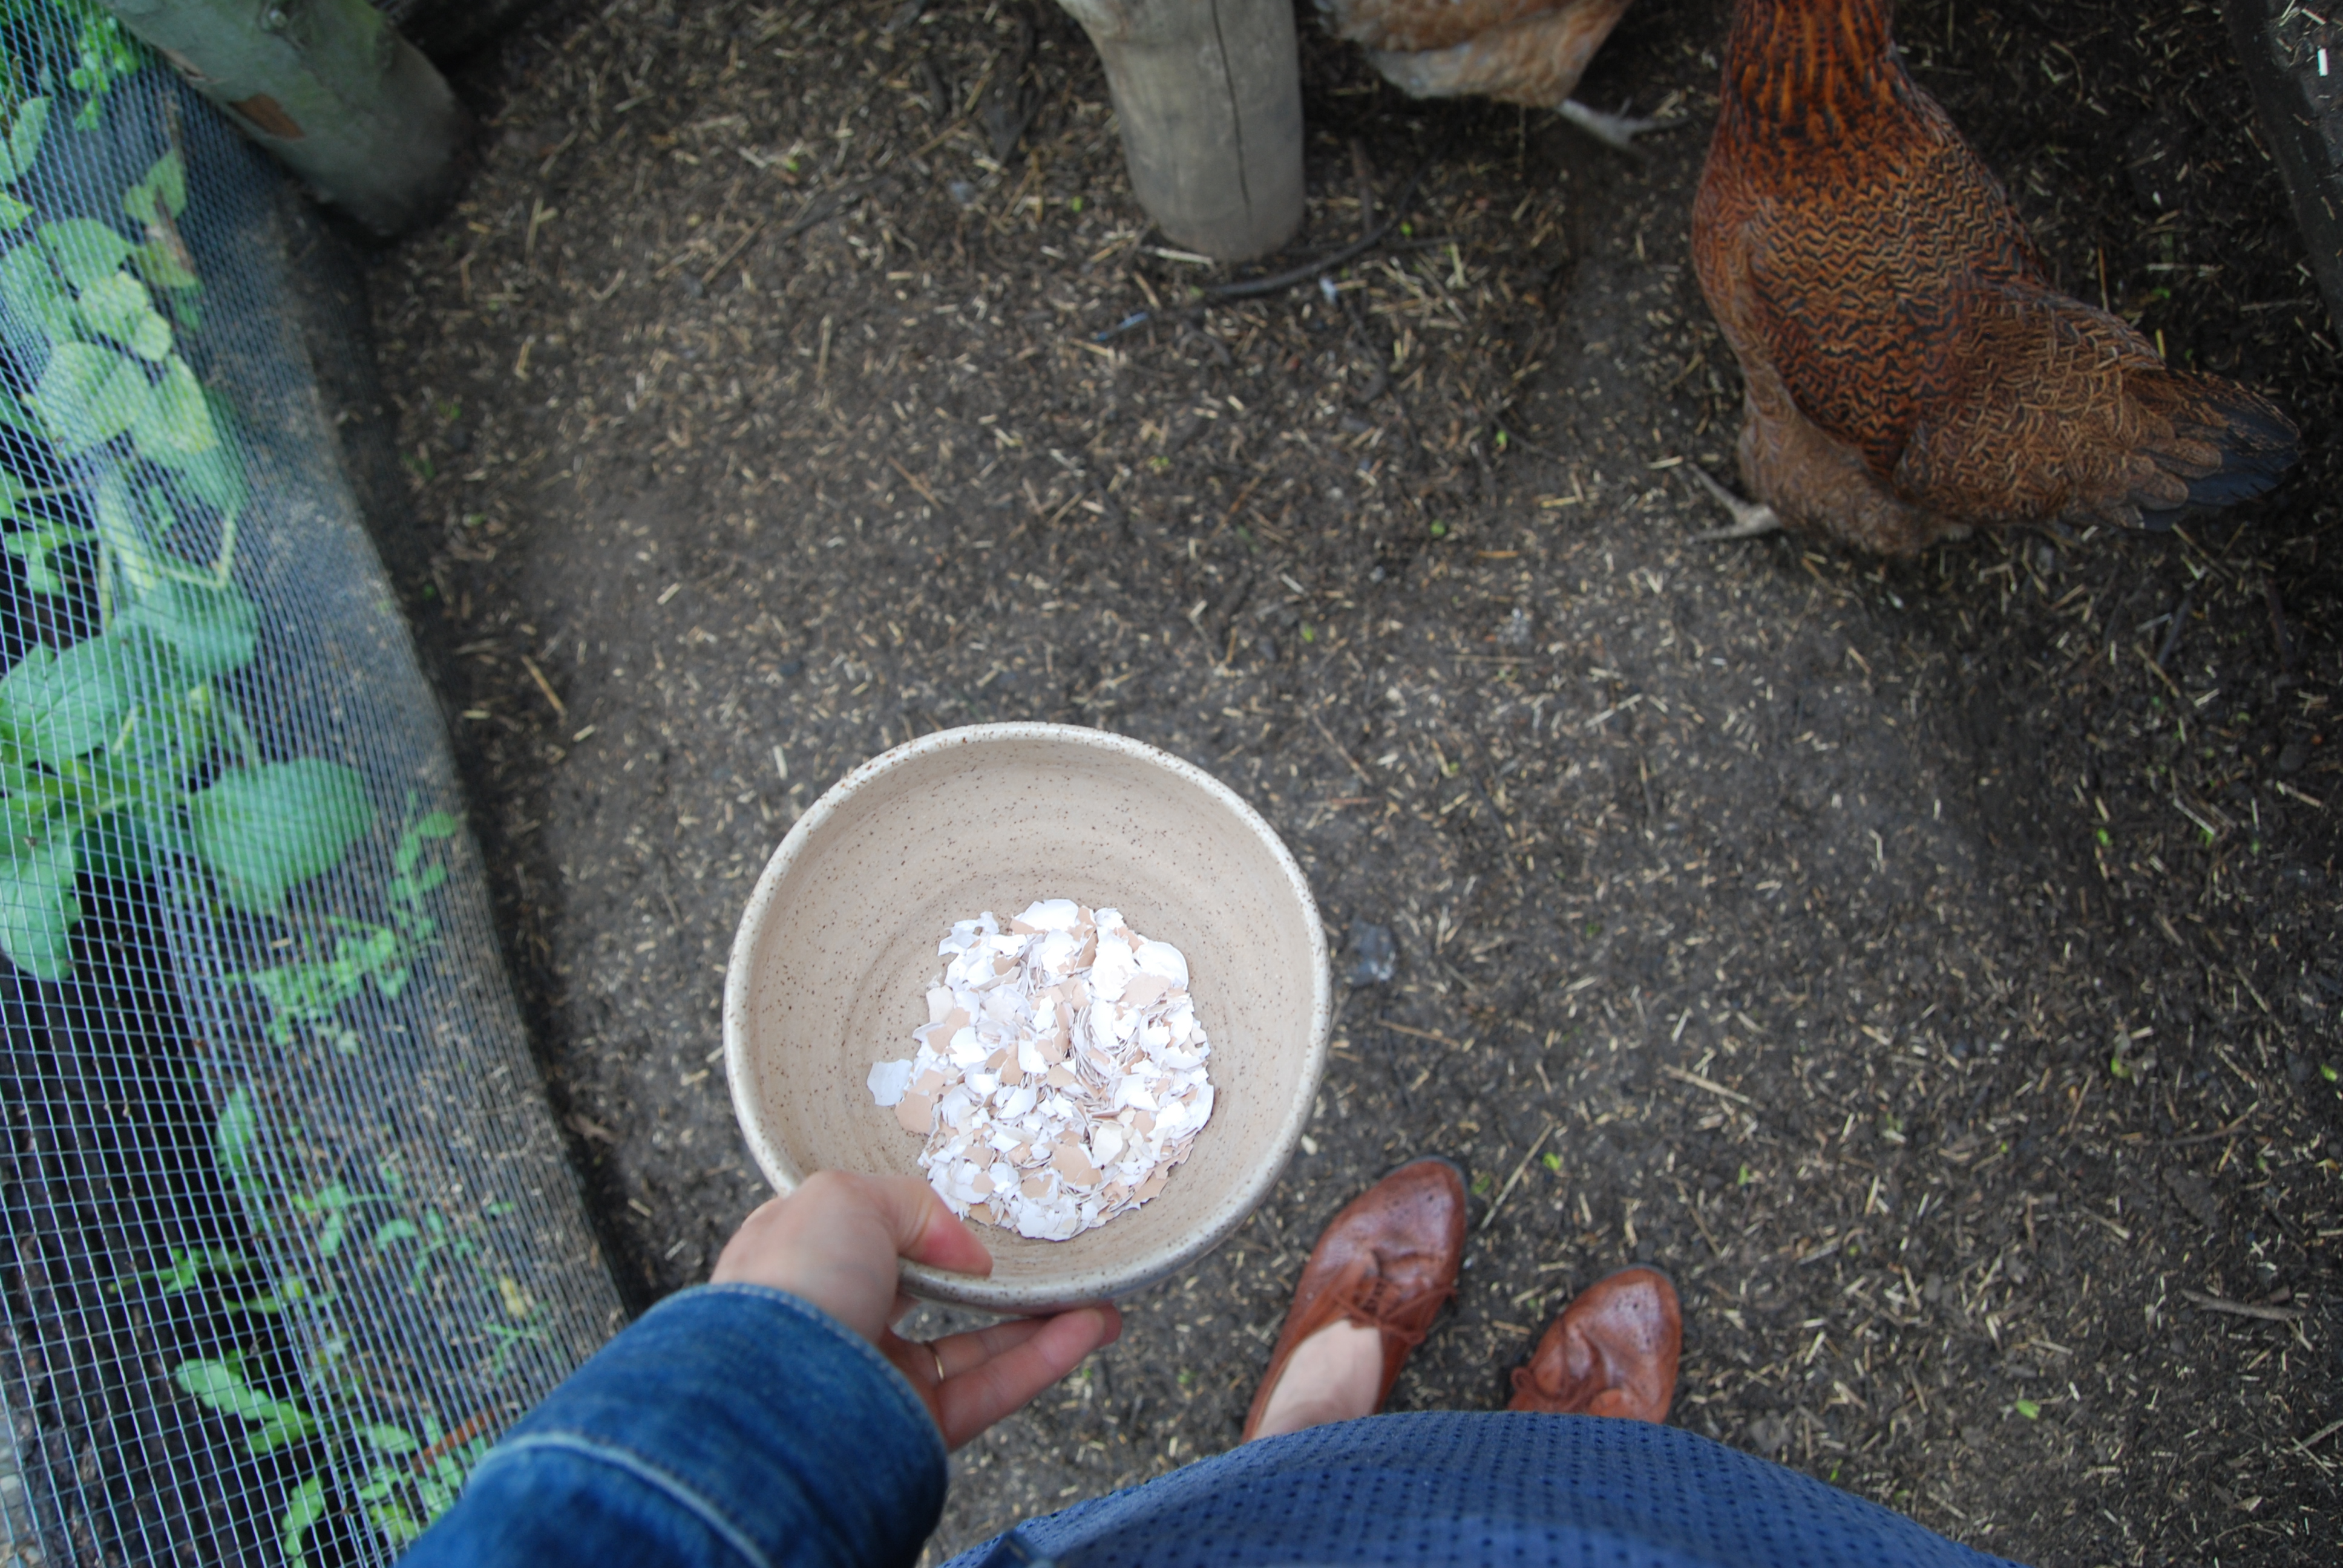
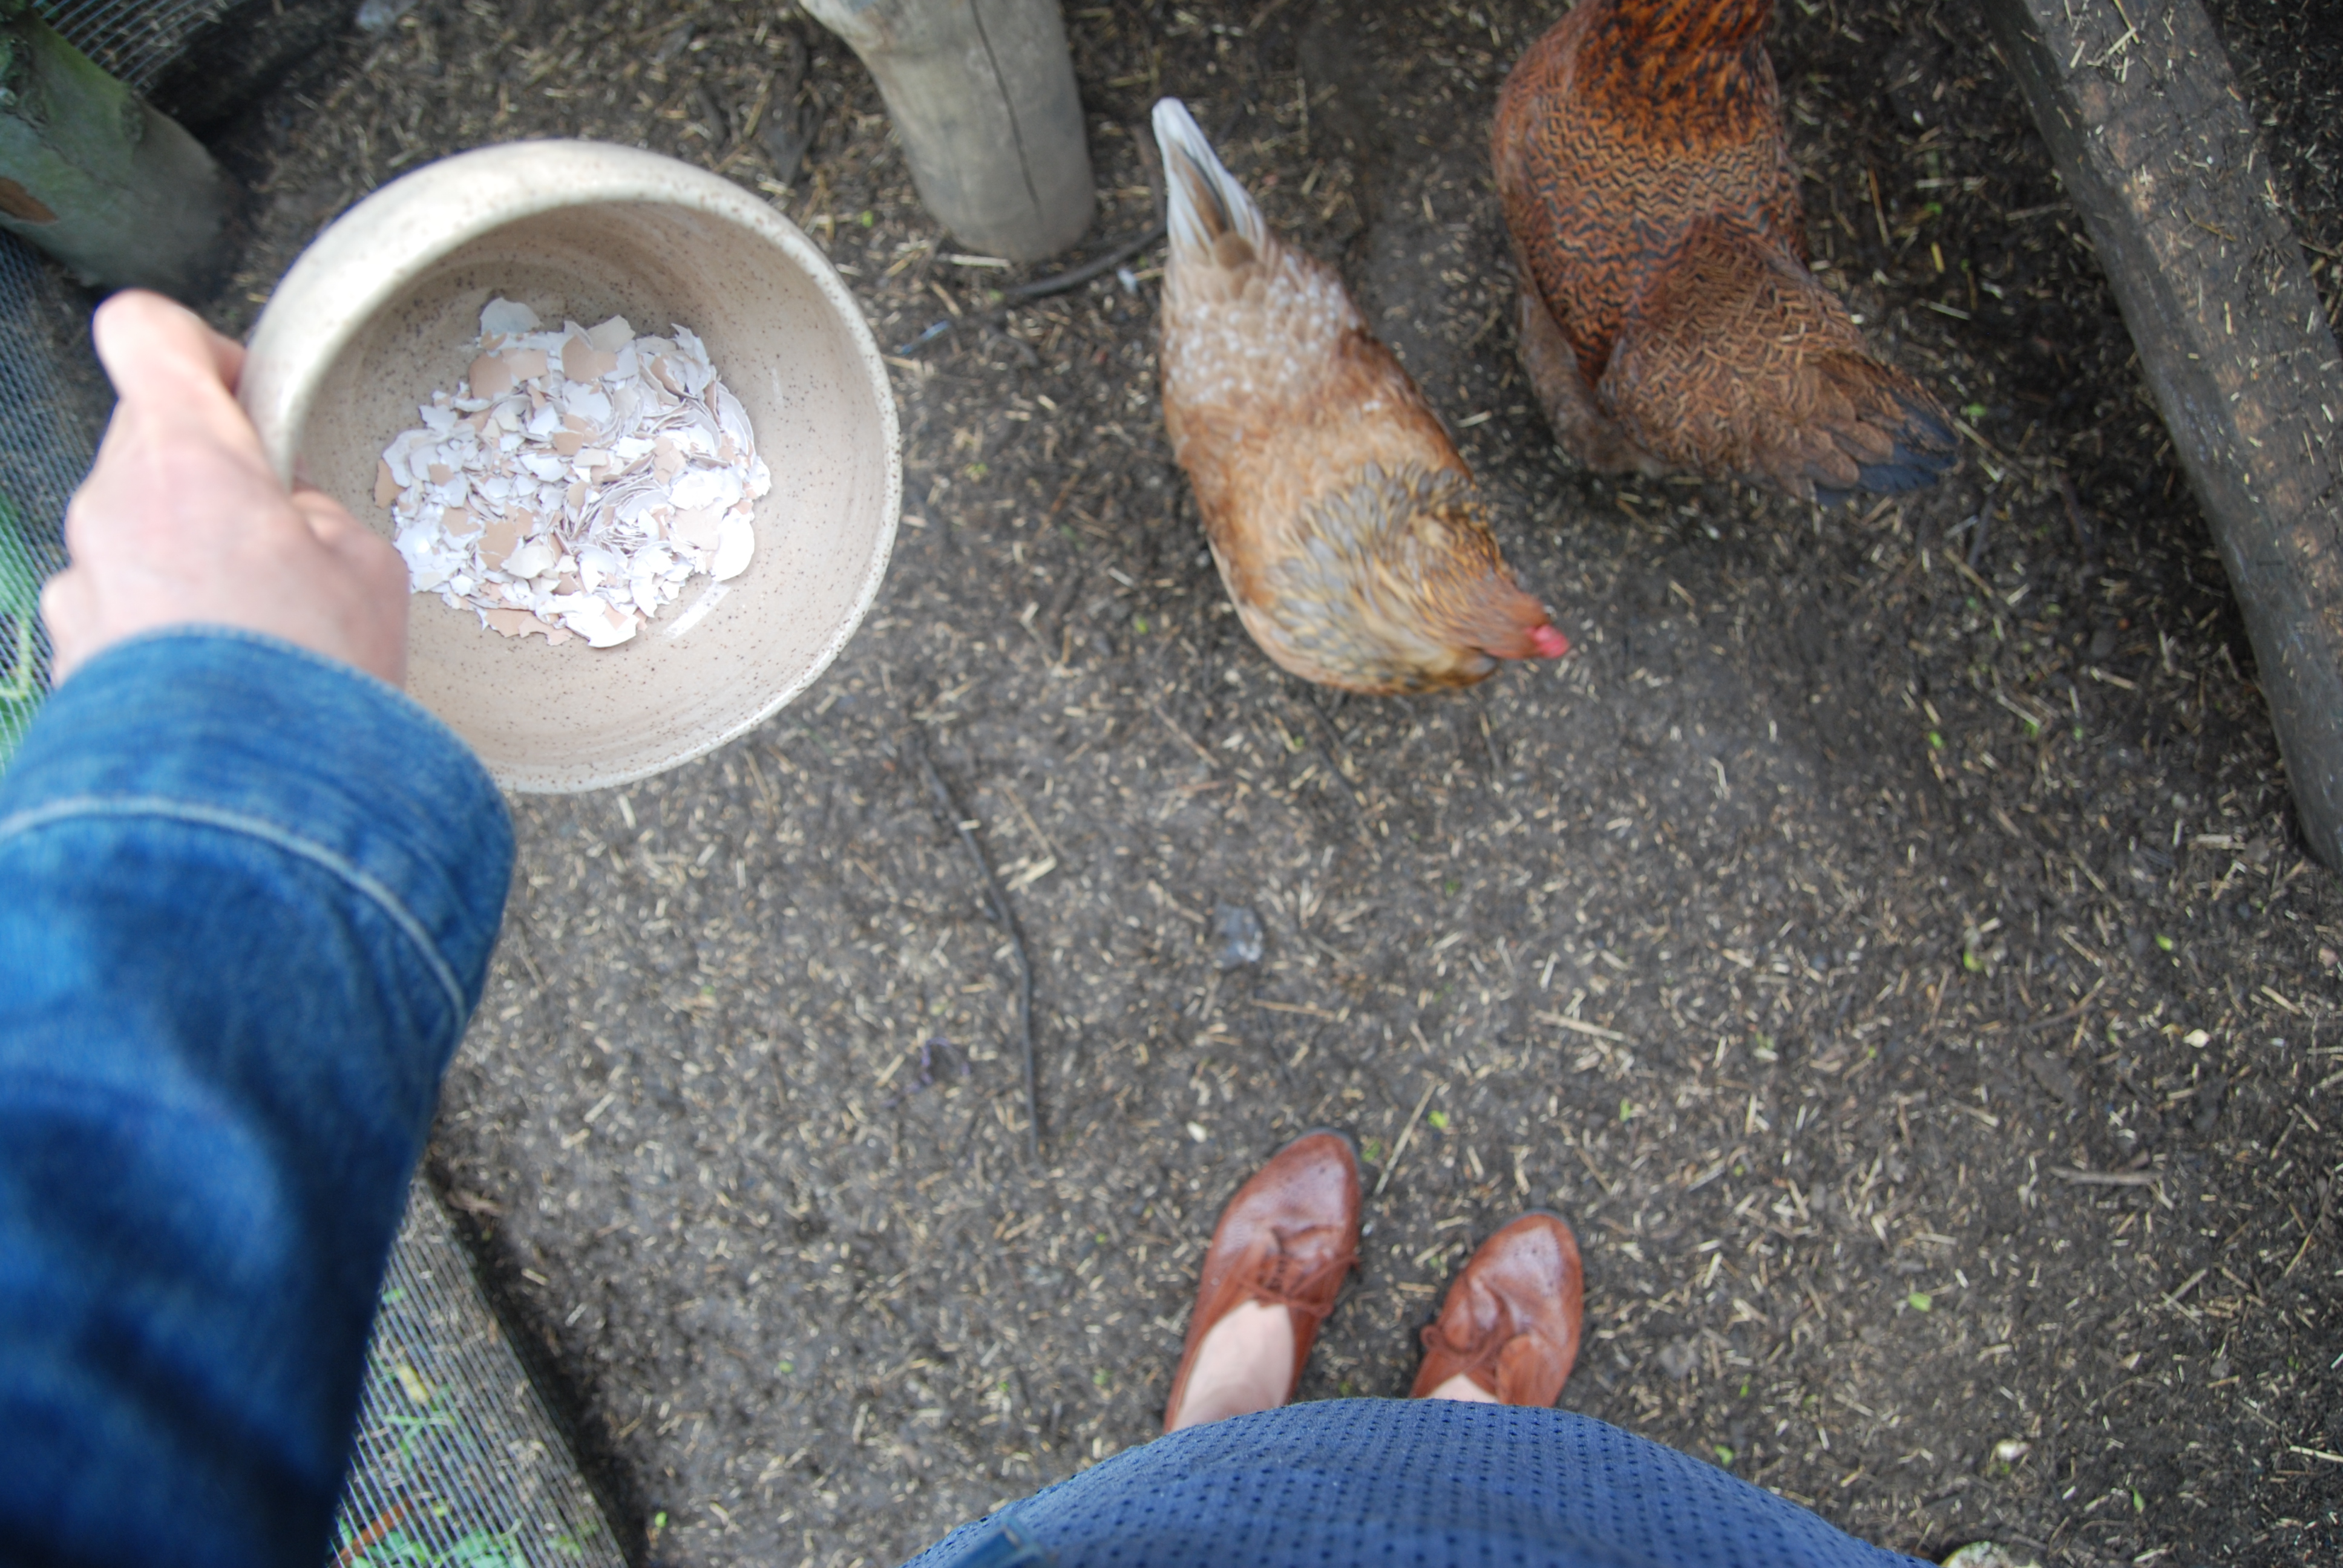
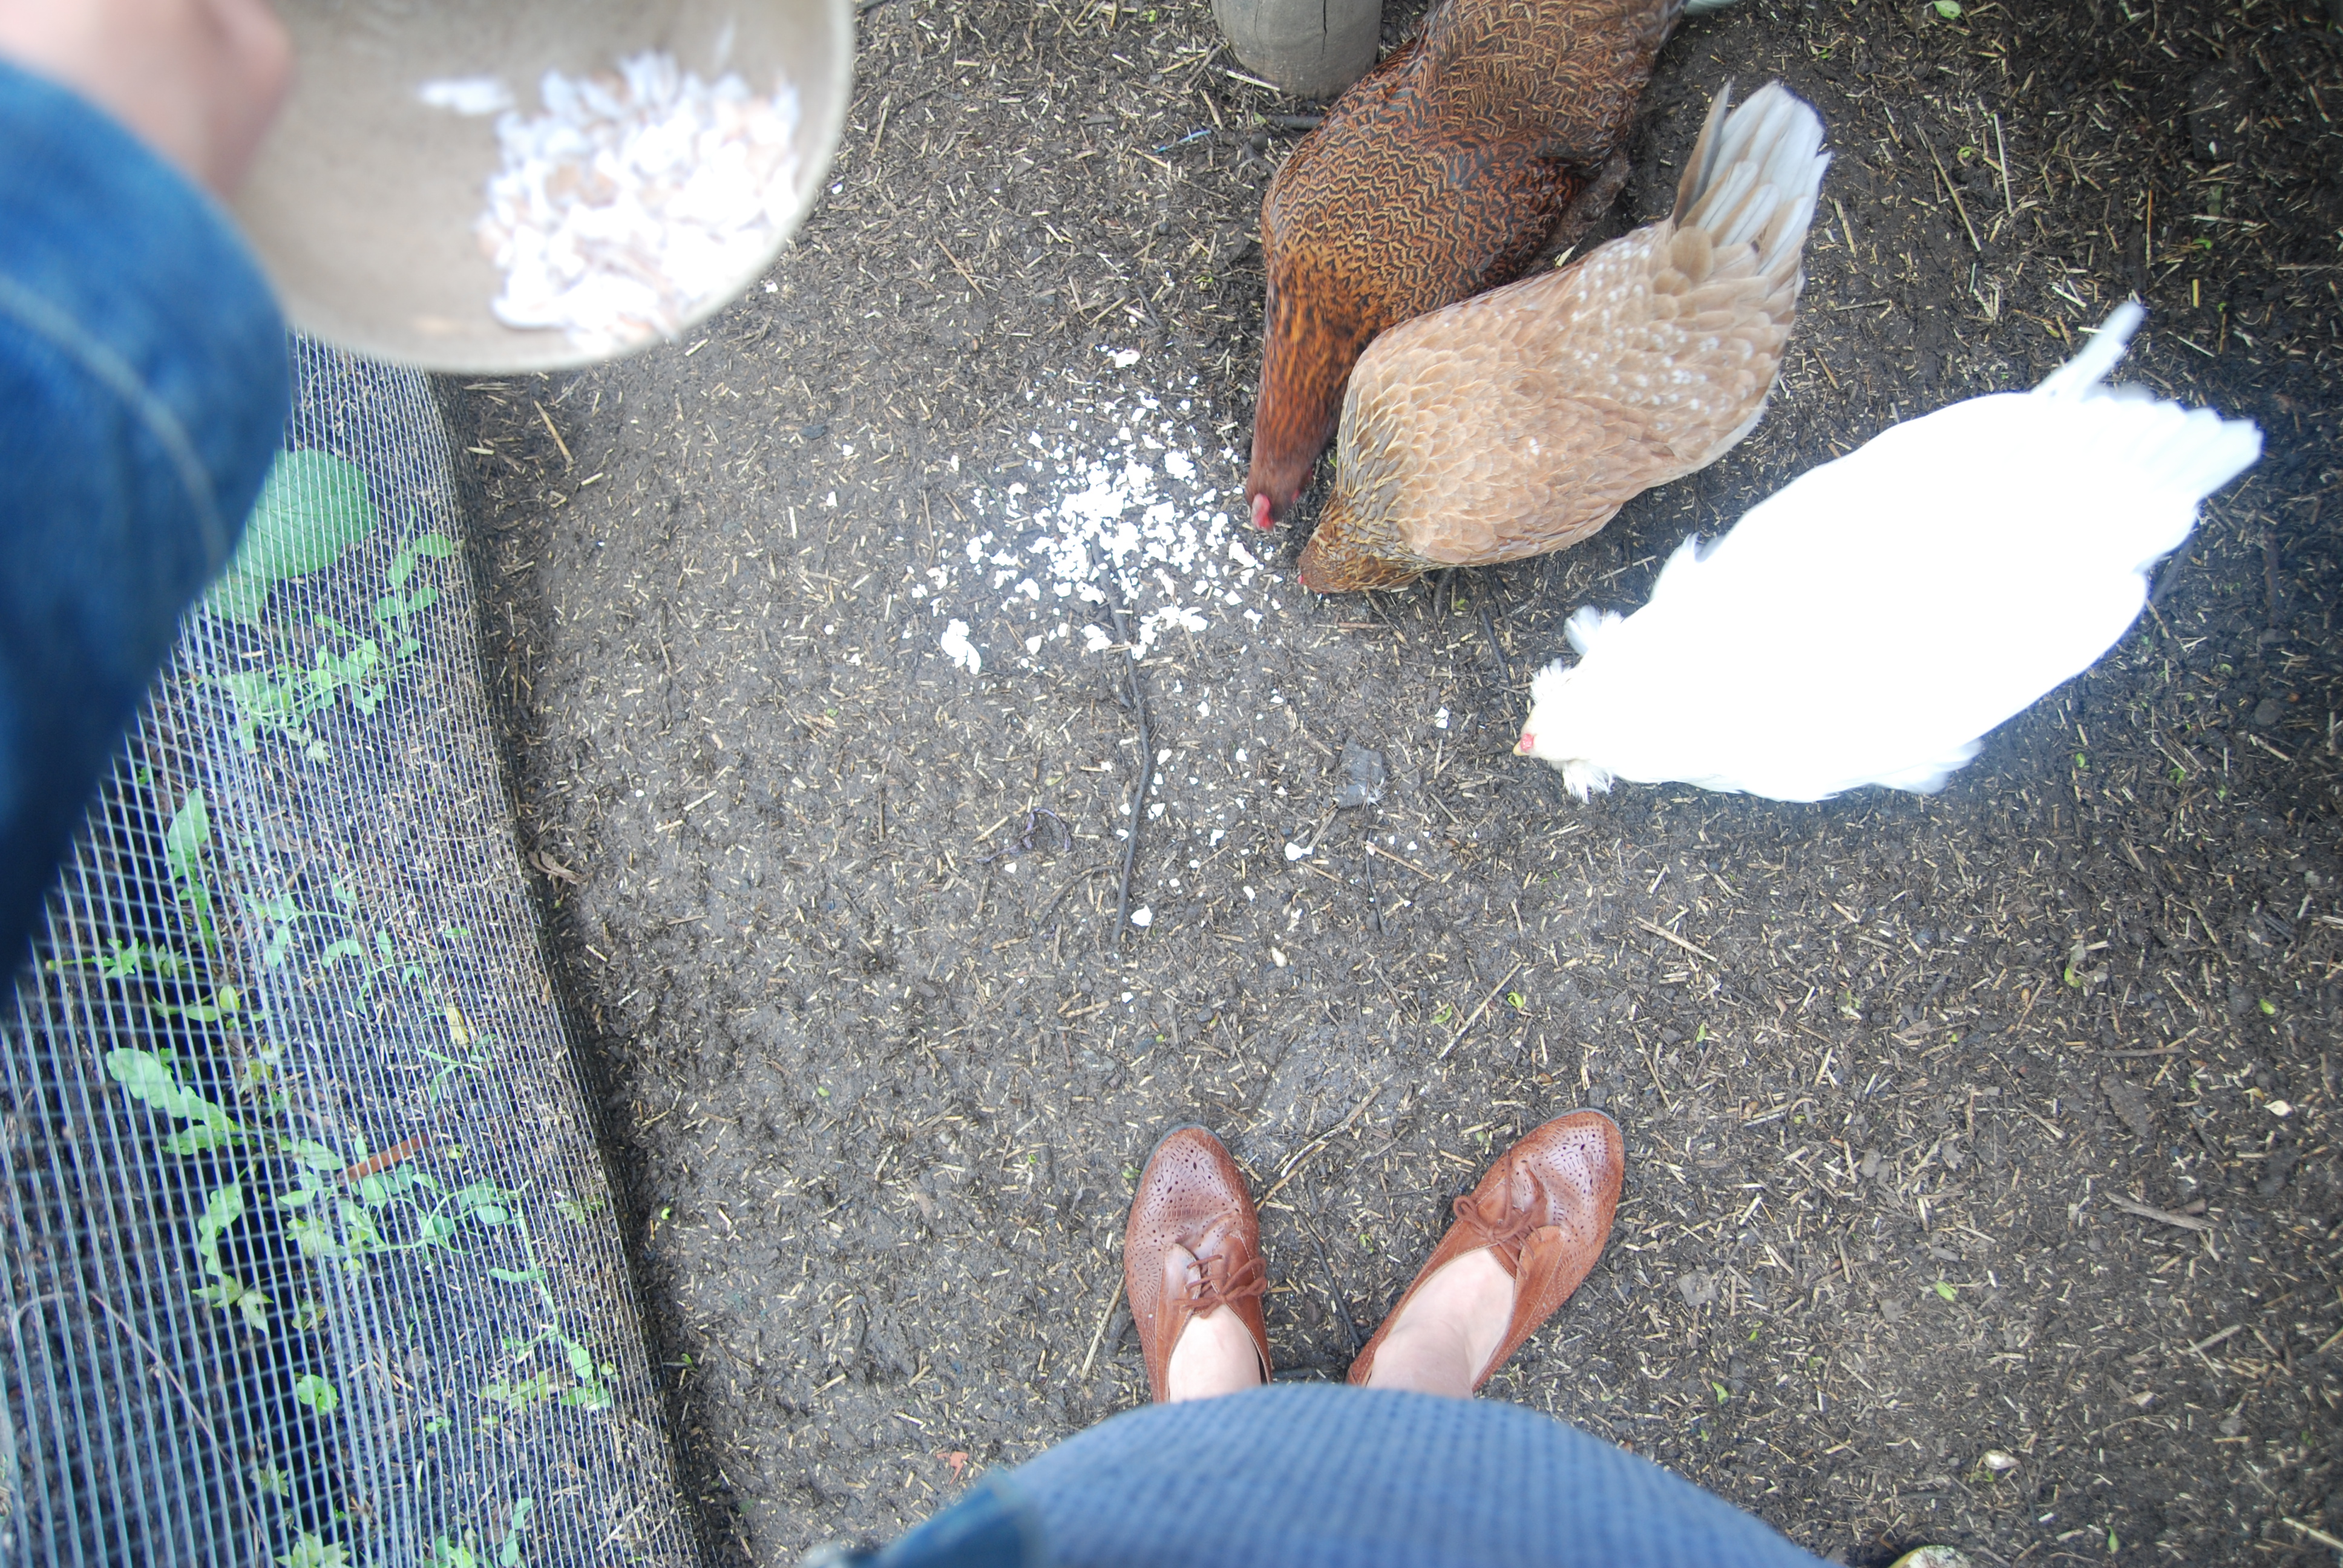
lately i have noticed that our egg’s shells are a bit thin and brittle.
i had read about the best source of calcium for a hen is her own egg shell.
so i began saving the shells on my kitchen window sill.

it is important to crush the shells either by hand or in a blender or food processor so the hens don’t recognize them and start pecking at their own eggs.

i like the simplicity of this and the full cycle of the egg.

Hop on over to Tend

May 18, 2013

DSC_1182

DSC_1189

DSC_1190
hop on over to tend to see what’s happening in my garden.

happy weekend friends!

A room in the trees

May 17, 2013

IMG_1192

DSC_1150

DSC_1155

DSC_1159

DSC_1160

DSC_1163

DSC_1167

DSC_1168

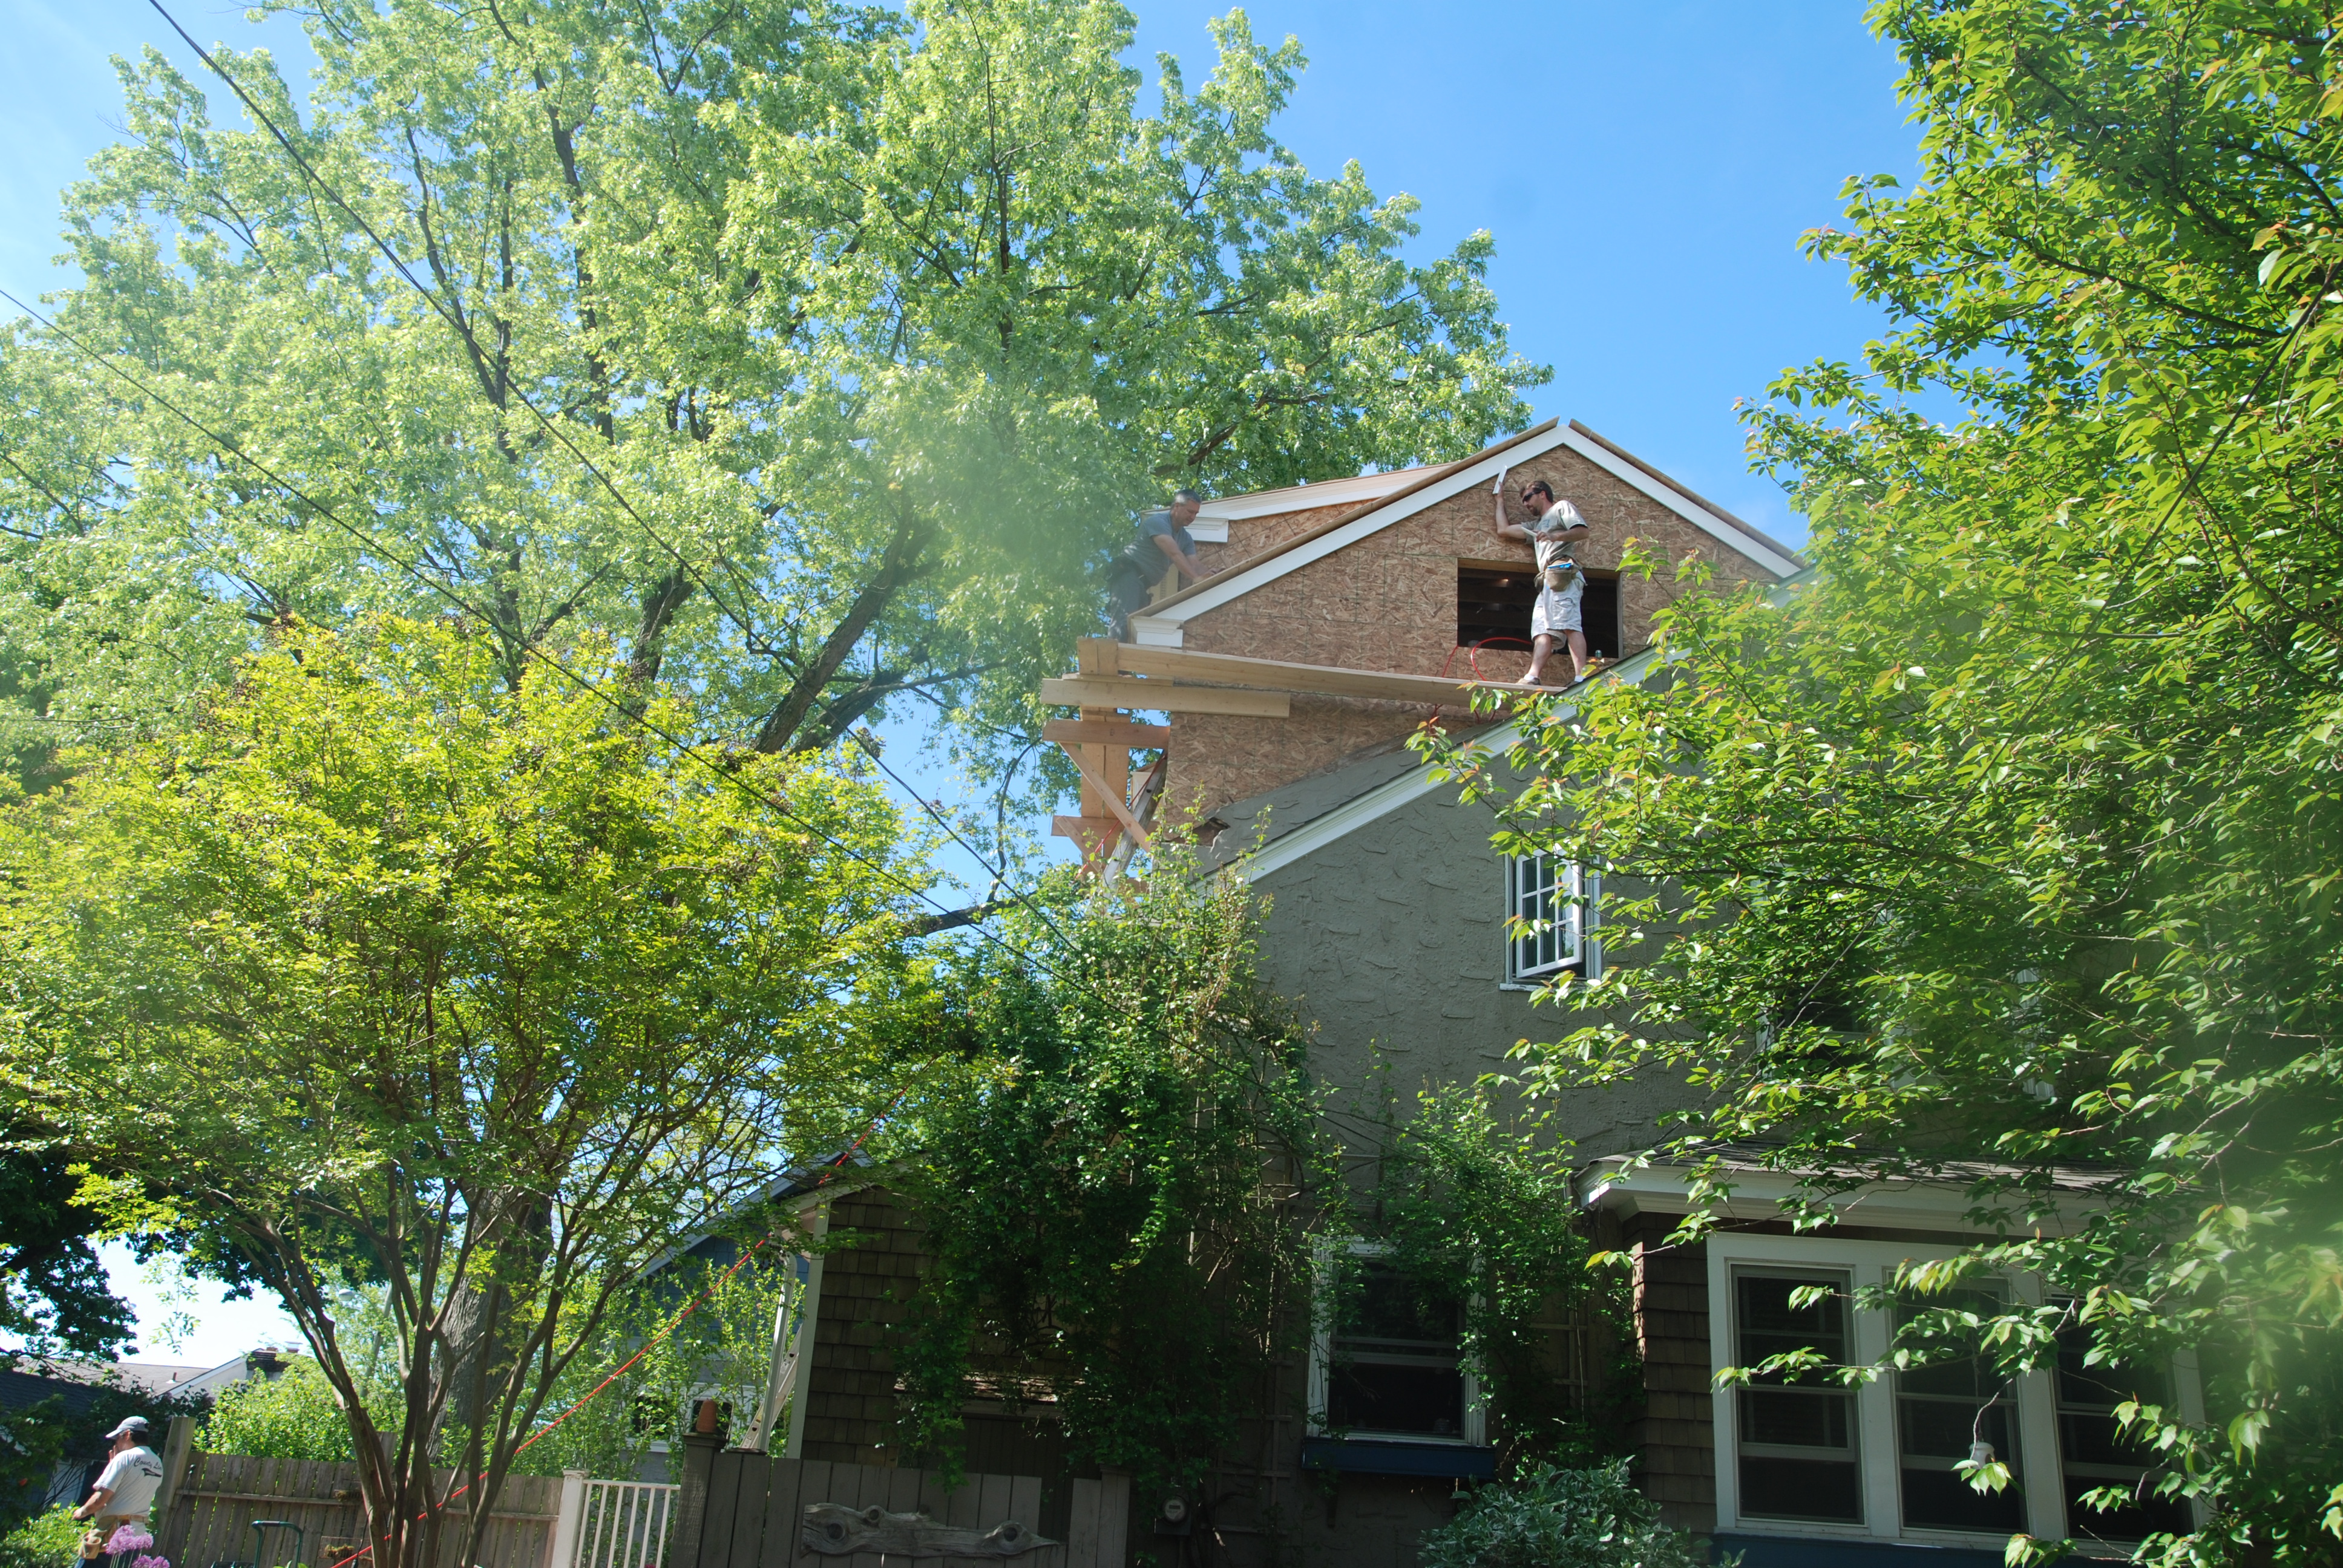
oh my gosh it’s happening. it’s truly happening. and fast!
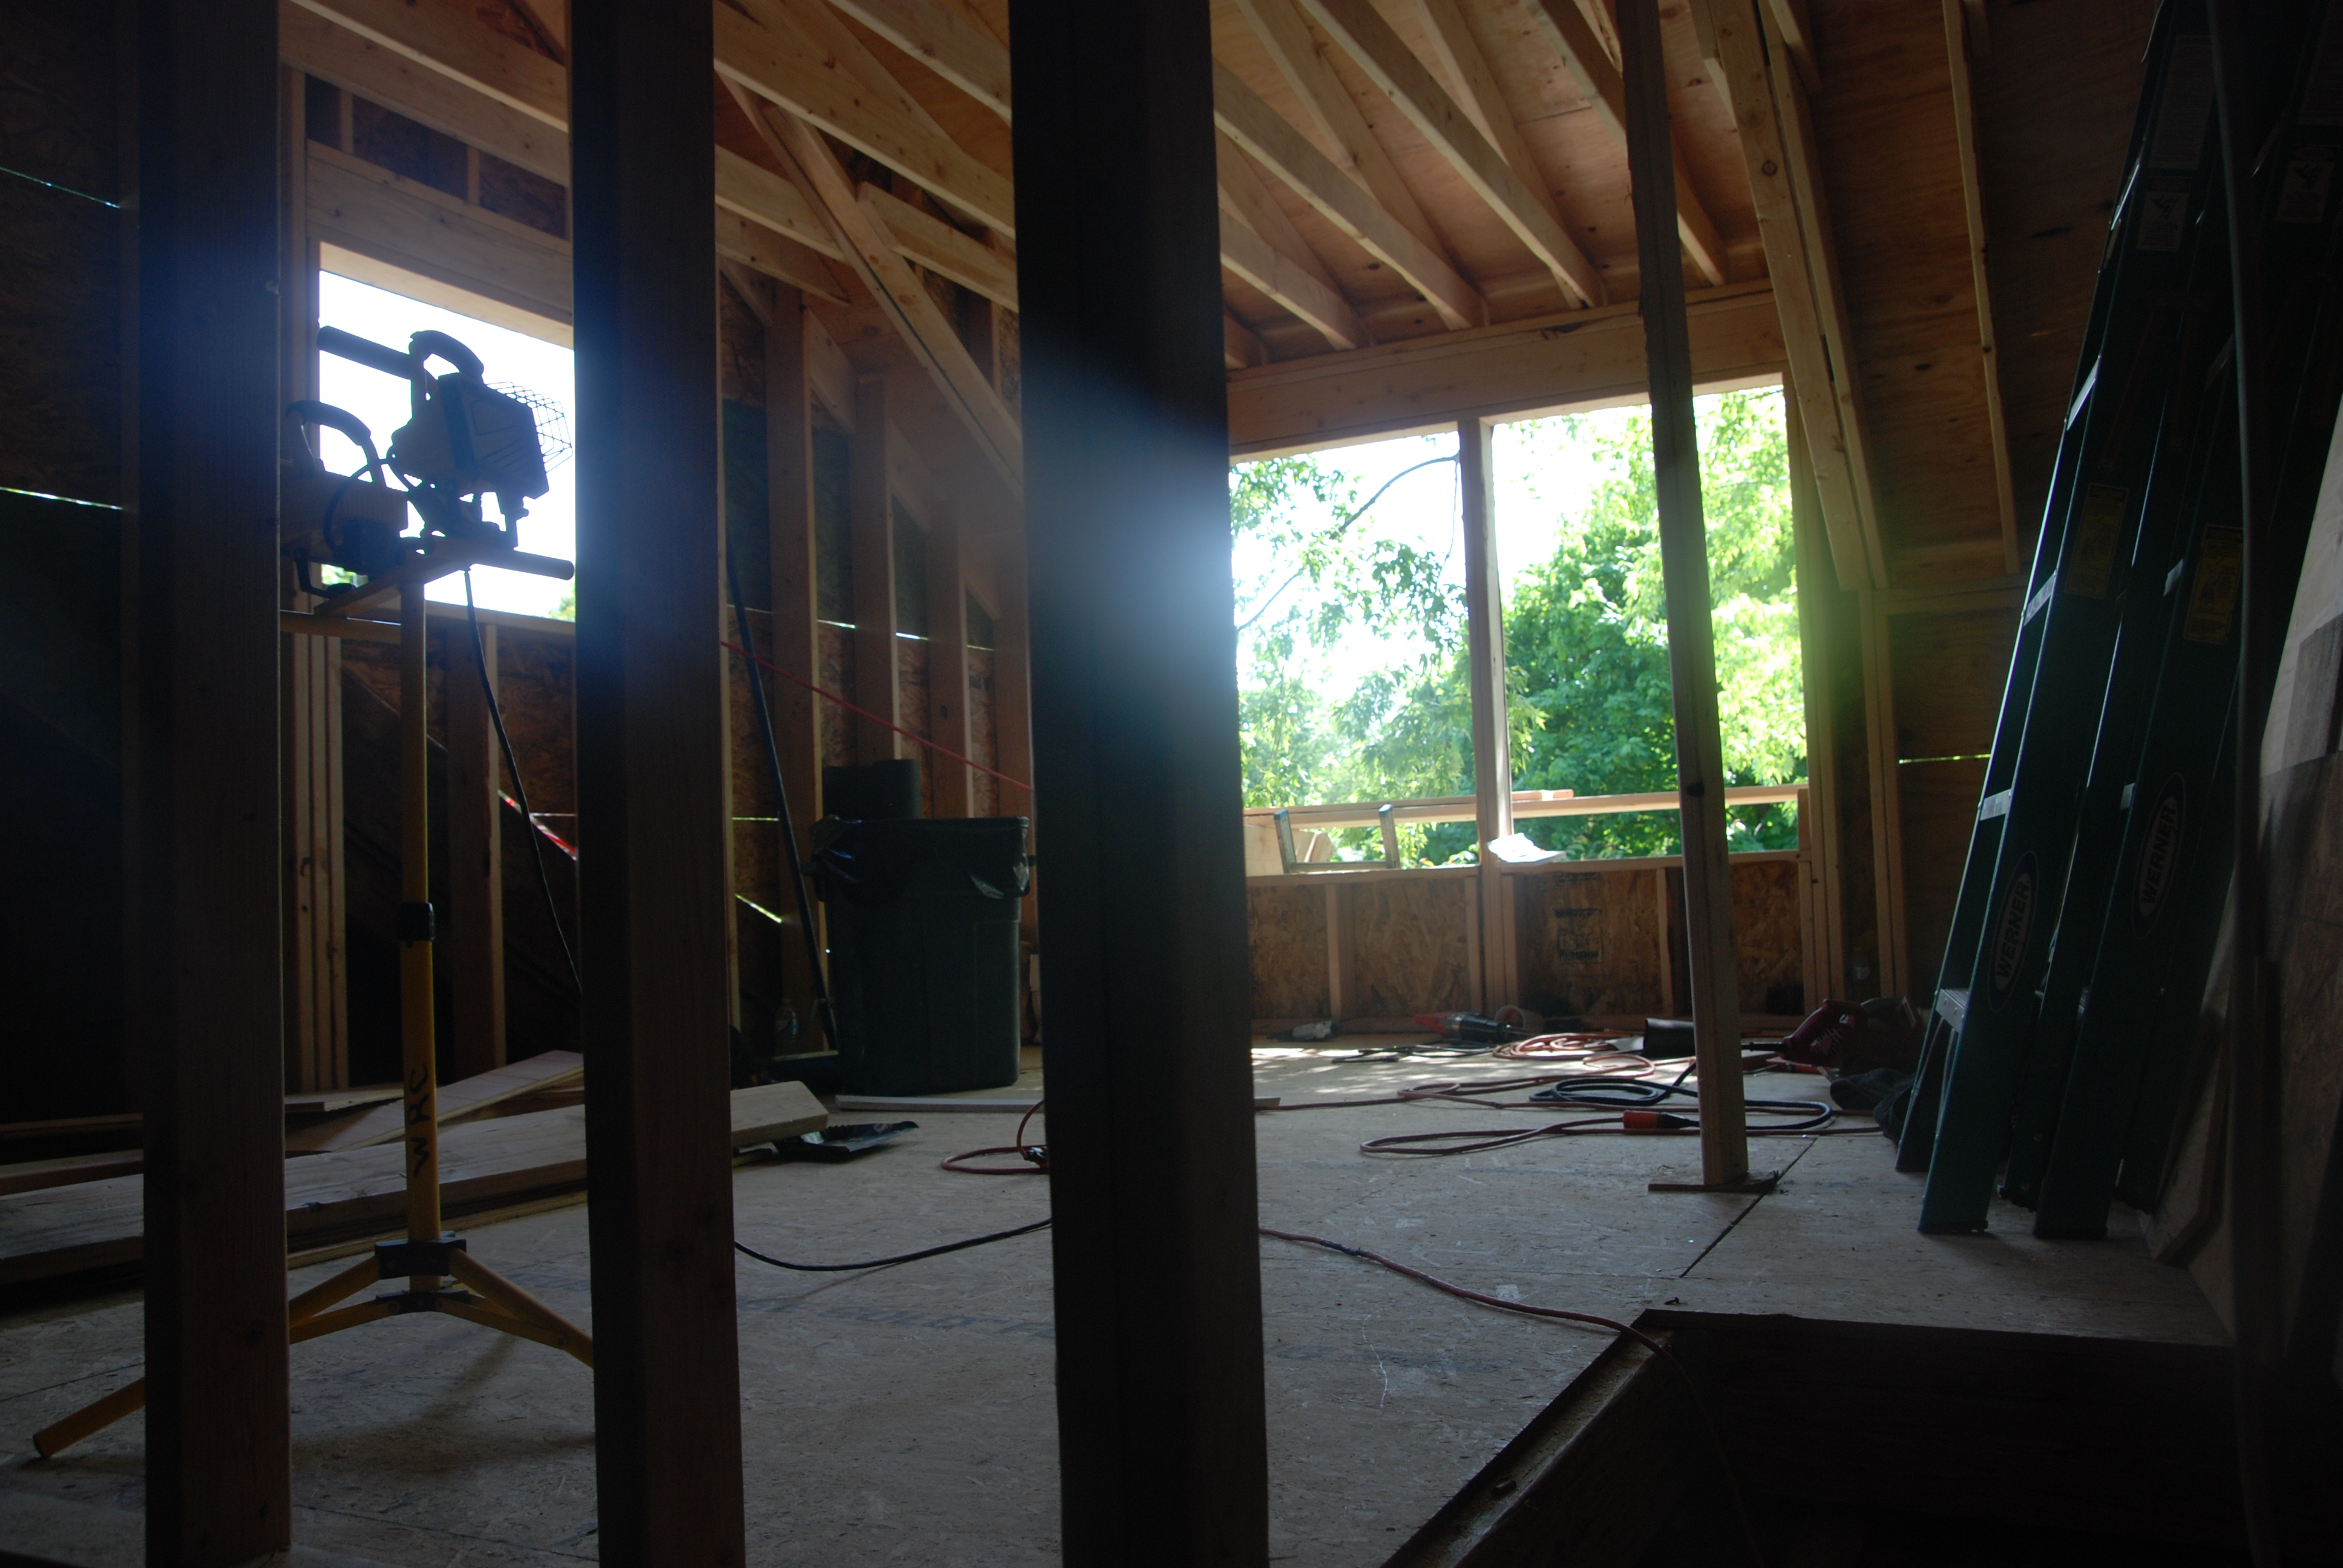
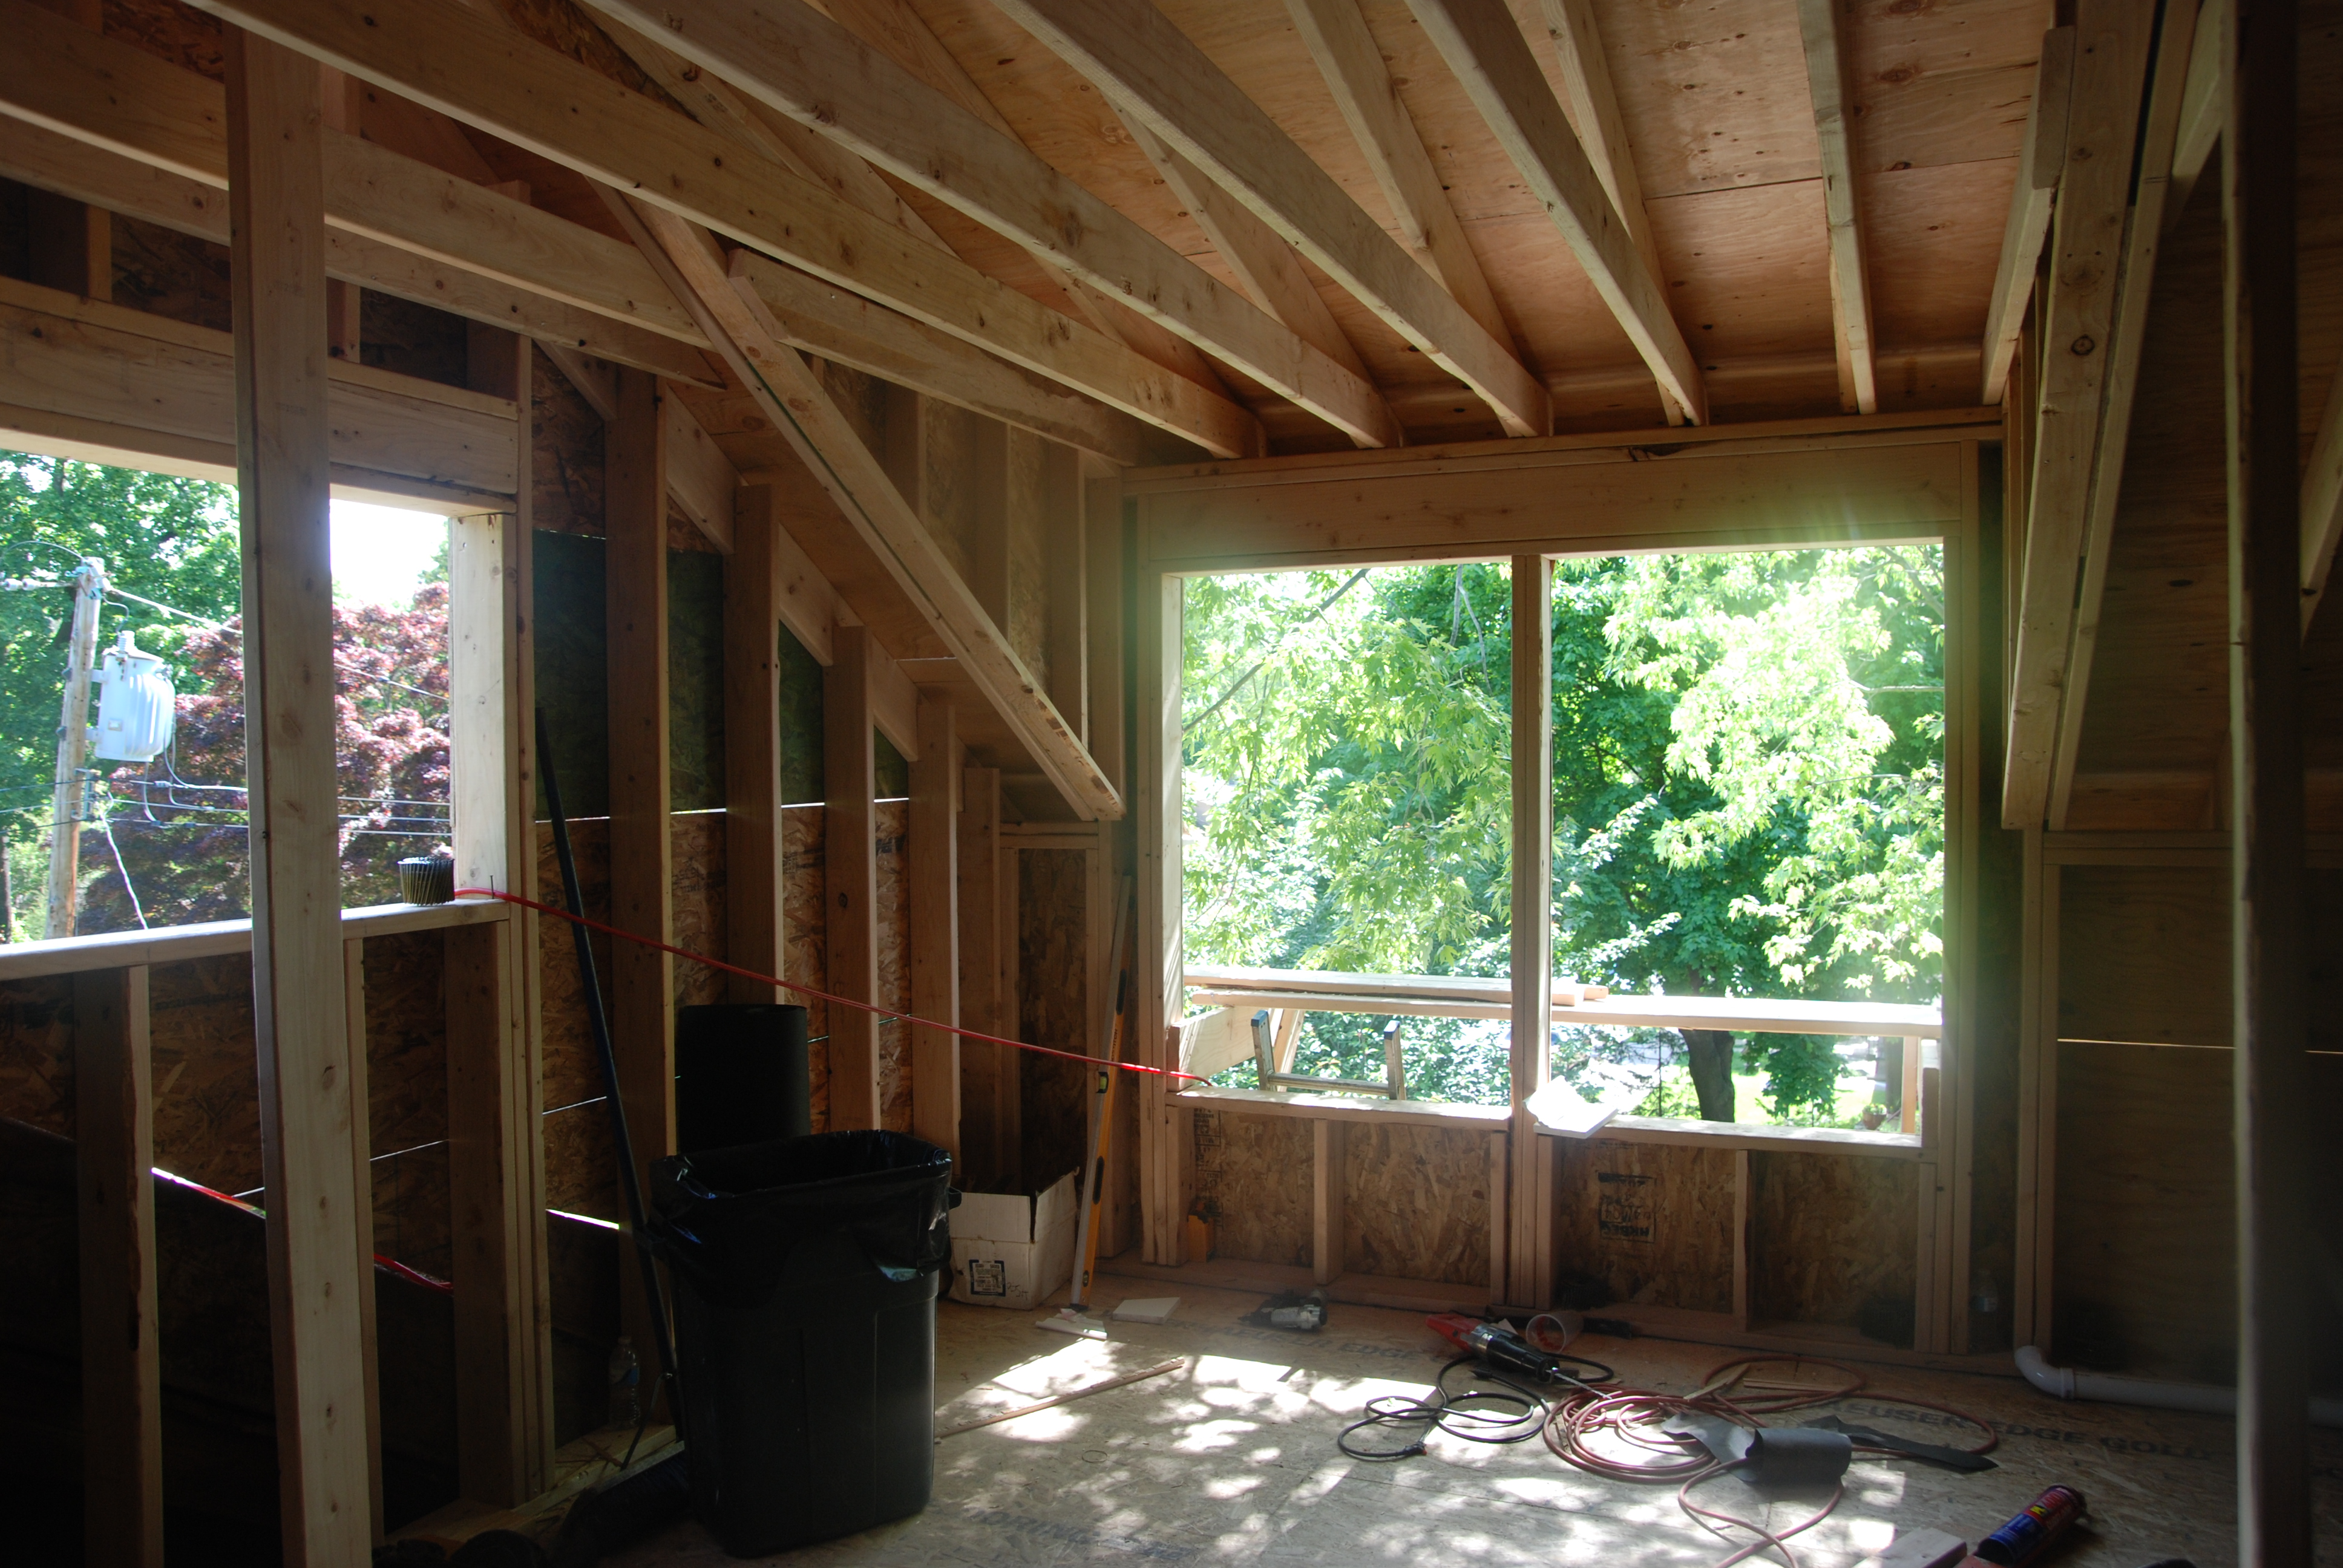
we are all so excited over here watching our home transform before our eyes.

it took me a little while to get used to how big the new addition looks from the outside and how different our house looks from our attached neighbor. but after a few days i began to fall in love and sort of like the whole off-kilter look. i like being a bit eccentric:)
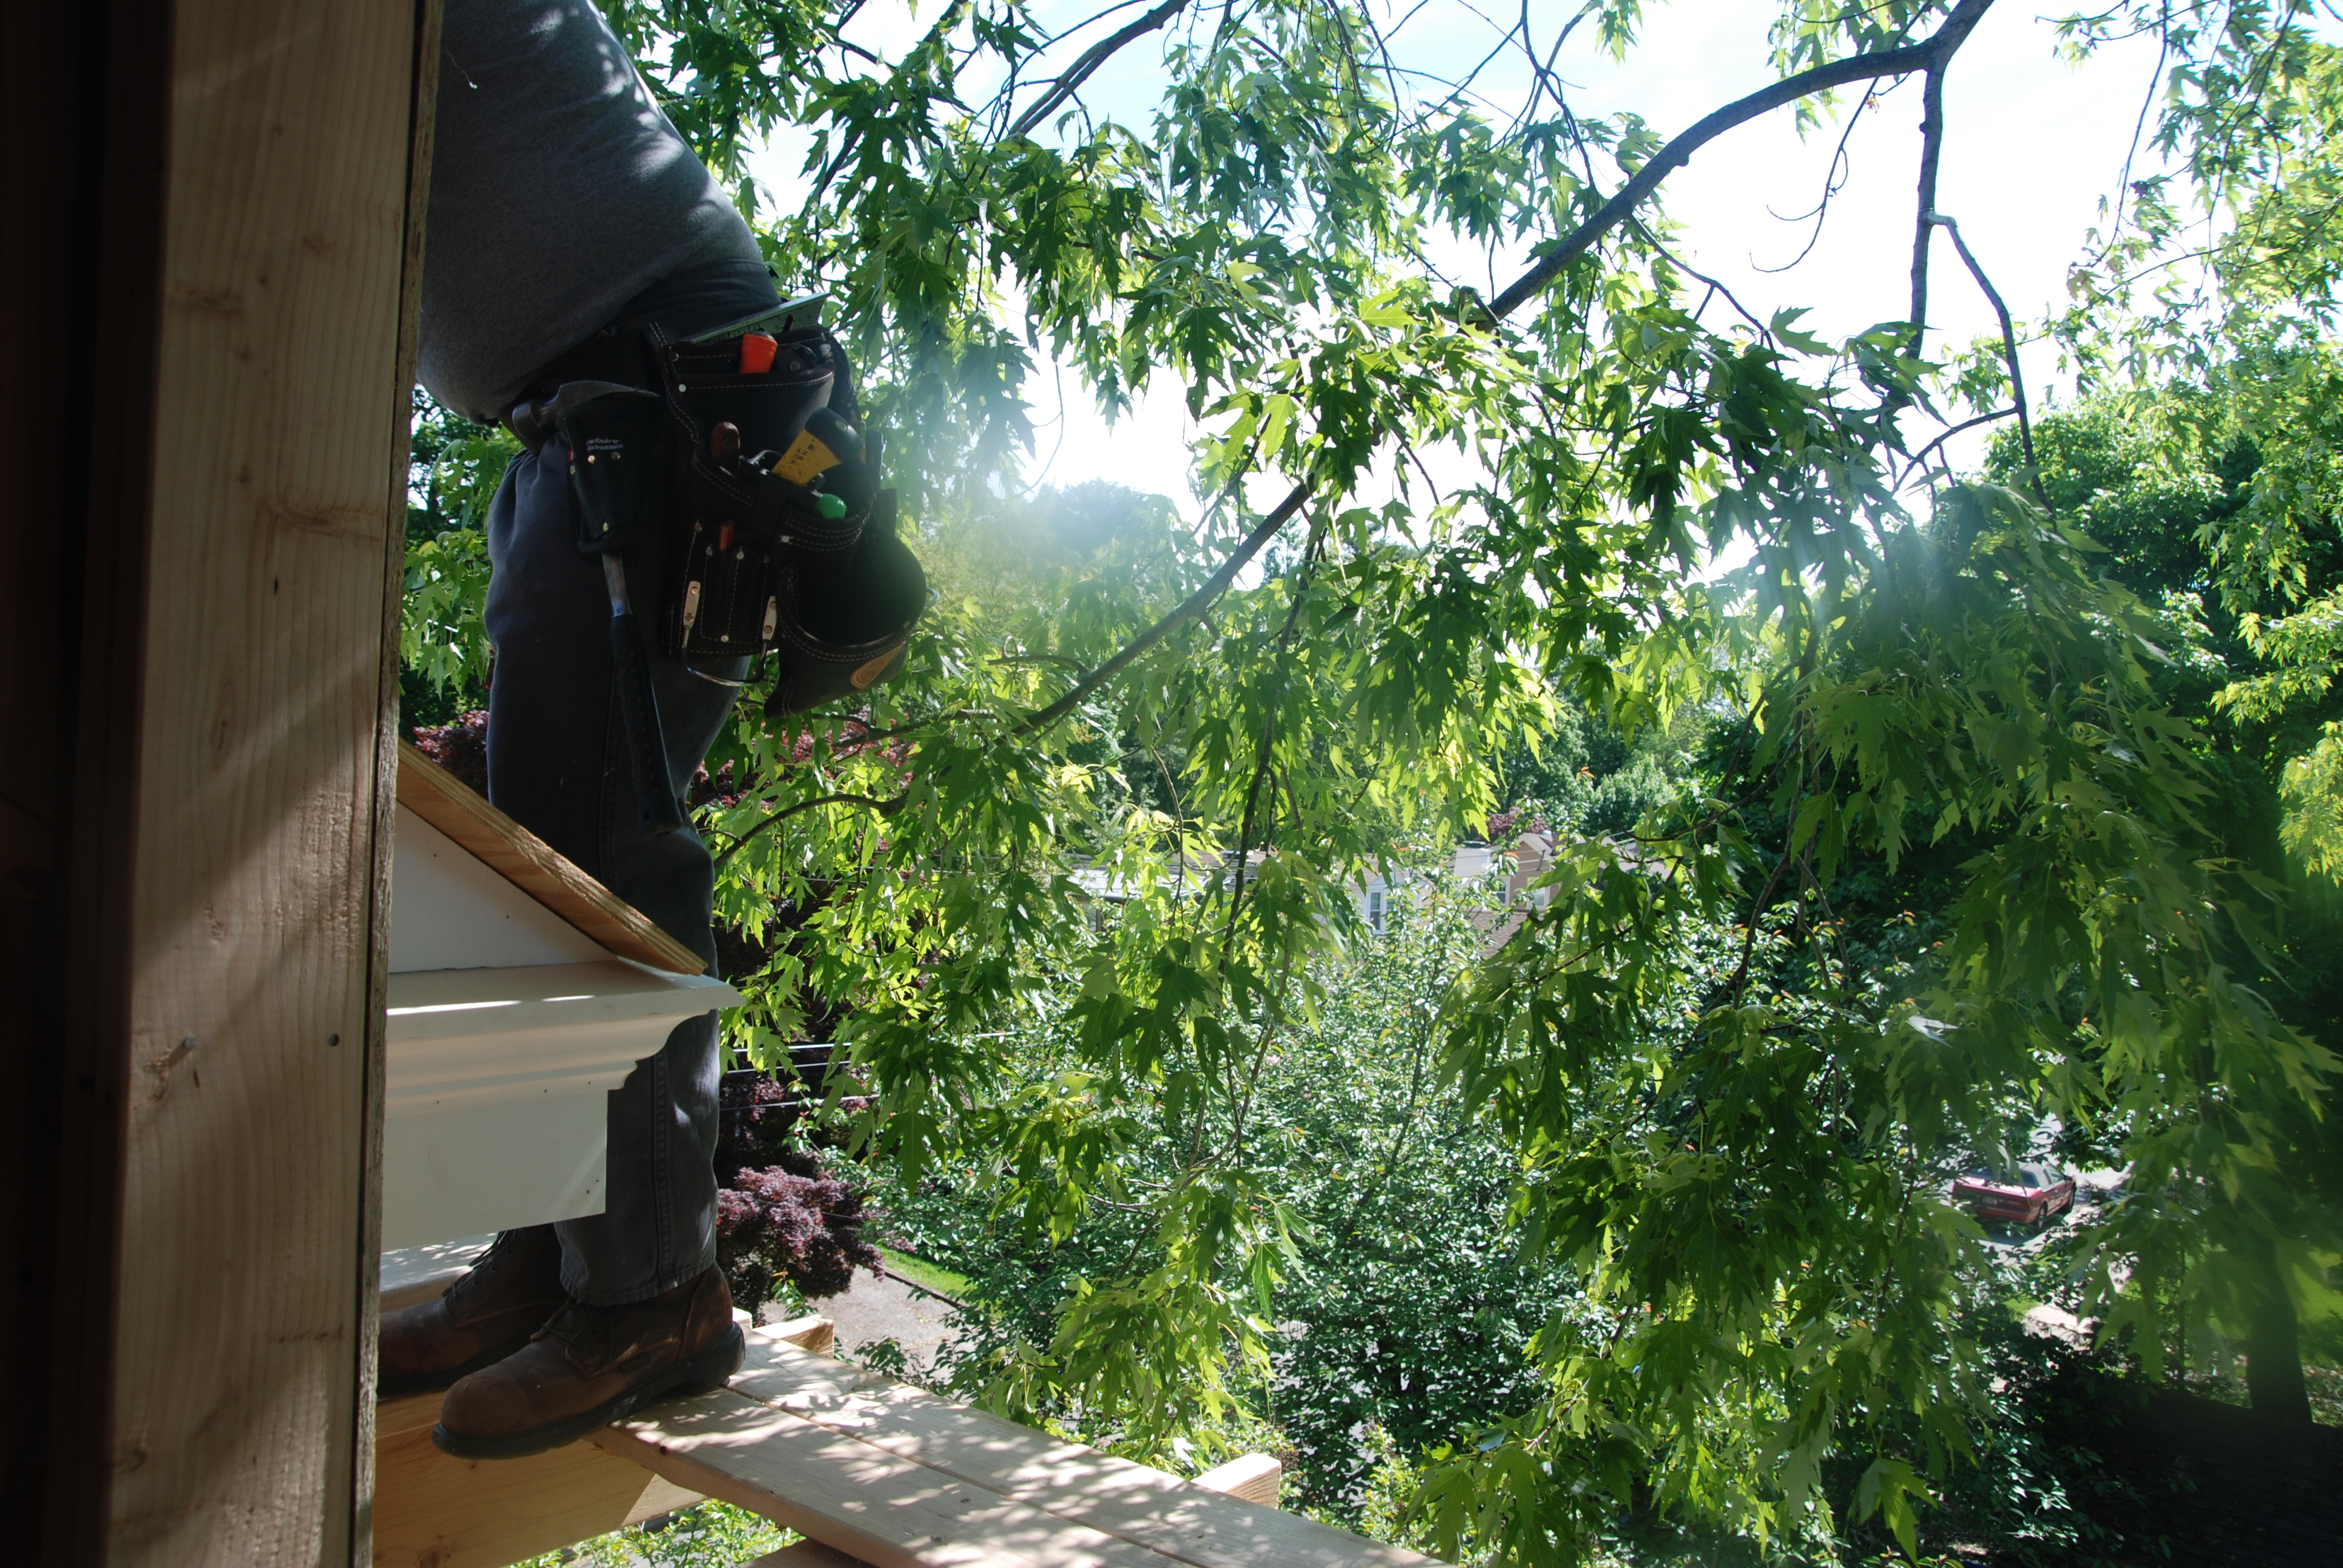
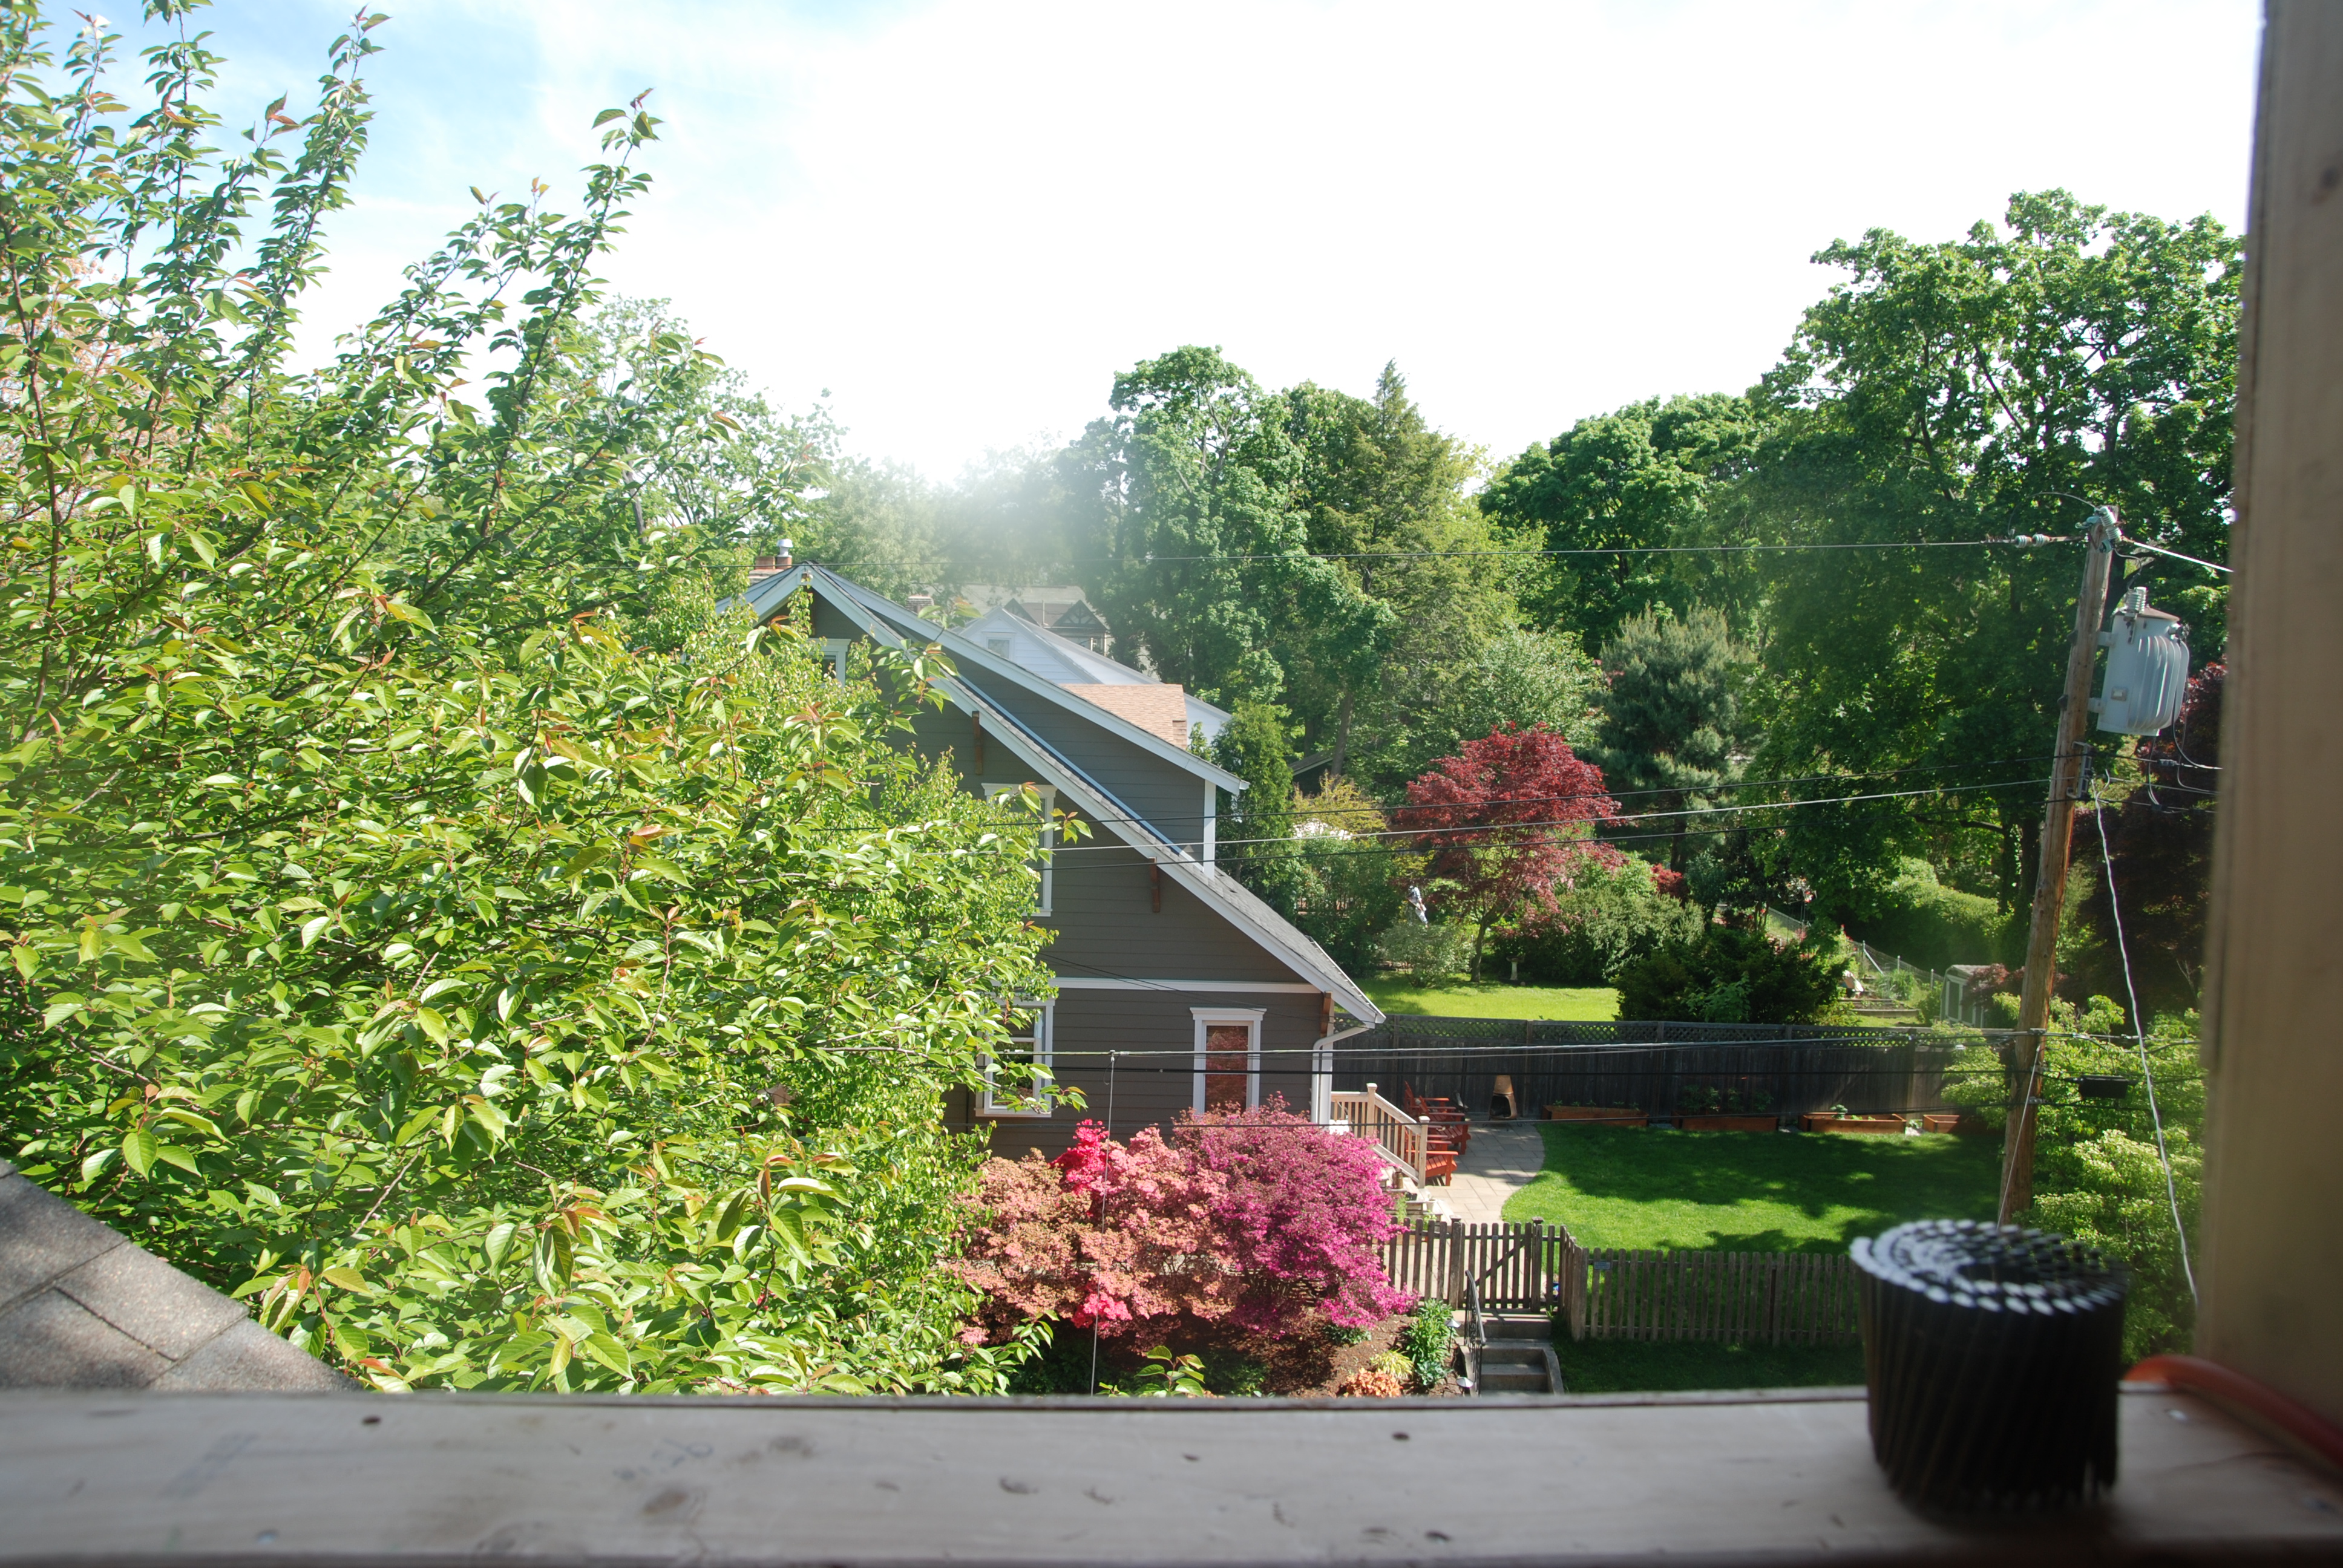
we certainly are the tallest house on the block now and hannah’s view is amazing, overlooking the neighborhood roof tops.

one of her role models is julia butterfly hill who lived in a california redwood for almost two years. with her new room high up in the treetops she will feel a little like julia.

the roof and cedar shakes begin on monday along with the stair case and interior.

we are so very lucky to have been gifted this project by my dad and are so appreciative for his generosity. it still feels like a dream.

i love that we are getting closer and closer to using up every available inch in our home to it’s fullest. but don’t worry i have a few more ideas up my sleeve.

  • 1
  • 2
  • Next Page »
Welcome Welcome Amy Johnson is a writer, photographer, gardener, teacher, mother and wife living on the corner of Second and Edgemont. She creates space for beauty and simplicity in all that she does.
  • Email
  • Facebook
  • Flickr
  • Instagram
  • Pinterest

Amy at Tend Collective

tend collective

Categories

  • Adventures & Getaways
  • At Home
  • Entertaining
  • In the Garden
  • In the Kitchen
  • Projects
  • Thrifting
  • Through the Seasons
  • Traditions and Celebrations

Gallery: Home

Home Gallery

Gallery: Garden

Garden
  • About
  • Garden
  • Home
  • Archive
  • Tend Collective

Tags

2012 2013 2014 2015 2016 2017 adventure april august autumn backyard beach birthday celebration christmas december february friends garden hannah holiday holidays home january july june kitchen lake lake shehawken mama march may norah november october old site papa september spring summer tend tradition traditions vacation winter

Archive

Return to top of page

Copyright © 2026 · Second and Edgemont · Site Design by Nomad Farm