Hi Friends!
First off let me apologize for disappearing for a few months. For those of you who follow me on Instagram you may have figured out that I had a campaign to run. I sit as an elected official on borough council for my home town and was up for re-election. It took up quite a bit of my time and I am happy to report that I won the primary election on May 16th! It feels good to have worked so hard but also to have more free time. I am excited to jump right back into this space. I missed you all!
To make up for my absence I would like to finally honor a request made by many of you about sharing how I make my own Kombucha.
Kombucha or as we like to call it, booch, is a lightly sweetened fermented drink that is produced by fermenting tea using a symbiotic colony of bacteria and yeast (SCOBY). You can enjoy it plain or with fruits, spices or herbs for an added punch. There so many flavor possibilities and combinations and it has been fun experimenting.
I had tried store bought Kombucha a few years back and liked it but it wasn’t until I tried my friend’s homemade batch that I was hooked and had to try making my own. She walked me through the process and I got right to work collecting my supplies. I admit to calling her each time I made a new batch to make sure I had the calculations just right but over time it definitely got easier and part of my weekly routine.
Making your own kombucha may seem intimidating (it was for me!) but I can assure you it really is quite easy, requires only a few ingredients and supplies and is much more affordable than store bought brands. There are many online sources and videos along with starter kits. But most of what you need you can find in your own kitchen or from a friend or local source.
Supplies
+1 gallon crock or glass jar (I own a 2 gallon crock for when I want to make larger batches)
+1 dozen airtight glass jars/bottles .
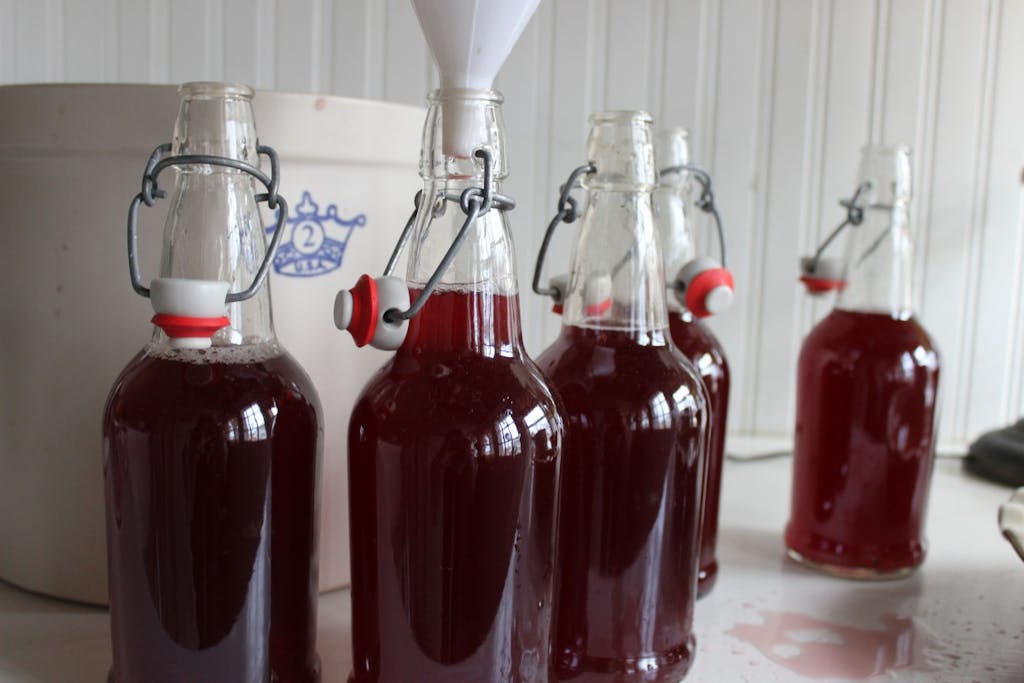
Note: While essentially any glass container with a lid can be used to store kombucha, to achieve the best carbonation, it is important to bottle kombucha in airtight bottles. While canning jars work well, they are not truly airtight, allowing for carbon dioxide to leak from them reducing the fizziness of your kombucha. Since I love a really fizzy booch, I use these 16 oz EZ cap bottles. They work great for the second fermentation/carbonation phase and they are the perfect serving size.
+plastic funnel (plastic utensils are recommended as metal is generally detrimental to kombucha. The only possible exception is stainless steel.)
+plastic or wooden stirring utensil
+tightly woven cloth like a cotton dishtowel
+large rubber band
+measuring cups
Ingredients
Makes up to 8 16oz bottles
+ 10 organic green tea bags
Note: The type of tea used to brew kombucha can affect the health of the SCOBY as well as the taste of your finished brew. If you’re just getting started, it is recommended to use plain black tea to insure a healthy SCOBY. I have used both black and green tea, both of which have worked well. After getting a few batches under your belt and allowing your SCOBY to grow big and strong you could experiment with white tea, rooibos, oolong, Yerba matte and other herbal teas.
+ 1/2 cup organic sugar
+ 16 cups filtered water
+ Active SCOBY (Read here about where to find a healthy SCOBY.) Anyone who is making kombucha tea usually has more than enough to share. I got mine from a friend. Ask around, or check for fermenting groups in your area. I have even seen posts about SCOBY sharing on Facebook and Craigslist. When you find a good source for a SCOBY also ask for 2 cups of starter tea, enough to make your first batch.
+ 2 cups starter tea (See above. If you can’t obtain starter tea from a friend you can use a bottle of store-bought raw, unflavored kombucha tea.)
+ 2 cups organic juice with no added sugar. We have used sour cherry, pomegranate and grape. You can also use fresh fruit, herbs and spices. Use seasonal fruits. I just tried a homemade strawberry rhubarb booch that was to die for!
Instructions
Bring water to a boil.
Turn off heat and add sugar. Stir until sugar is dissolved.
Add tea bags.
Cool the mixture to 68-85ºF. The tea may be left in the liquid as it cools or removed after the first 10-15 minutes. The longer the tea is left in the liquid, the stronger the tea will be.
Remove tea bags
Add starter tea.
Add active SCOBY
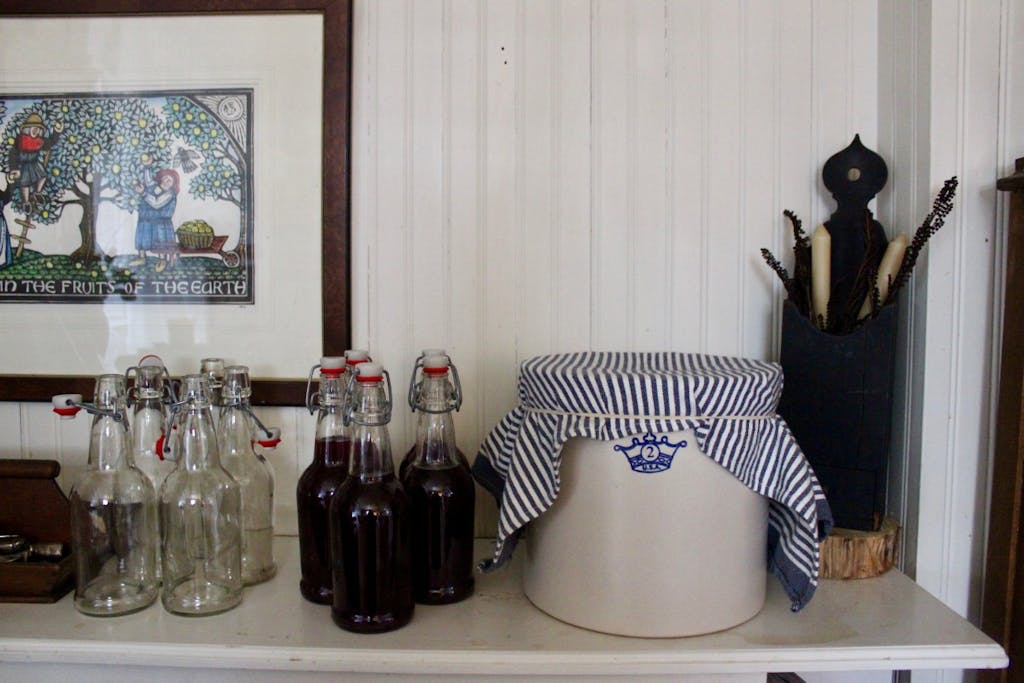
Cover crock or jar with a tight-weave towel and secure with a rubber band
Allow the mixture to sit undisturbed at 68-85°F, out of direct sunlight, for 7-30 days, or to taste. The longer the kombucha ferments, the less sweet and more vinegary it will taste. Time of year will affect the rate of fermentation. My booch takes much longer to ferment in the winter months. I keep it on top of our radiator to help speed things up. In the summer months it ferments much quicker. I typically let it sit for 10 days. How do you know if fermentation is taking place? Flavor becomes less sweet and more vinegary, SCOBY thickens, look for stringy brown yeast particles, tea has lightened in color.
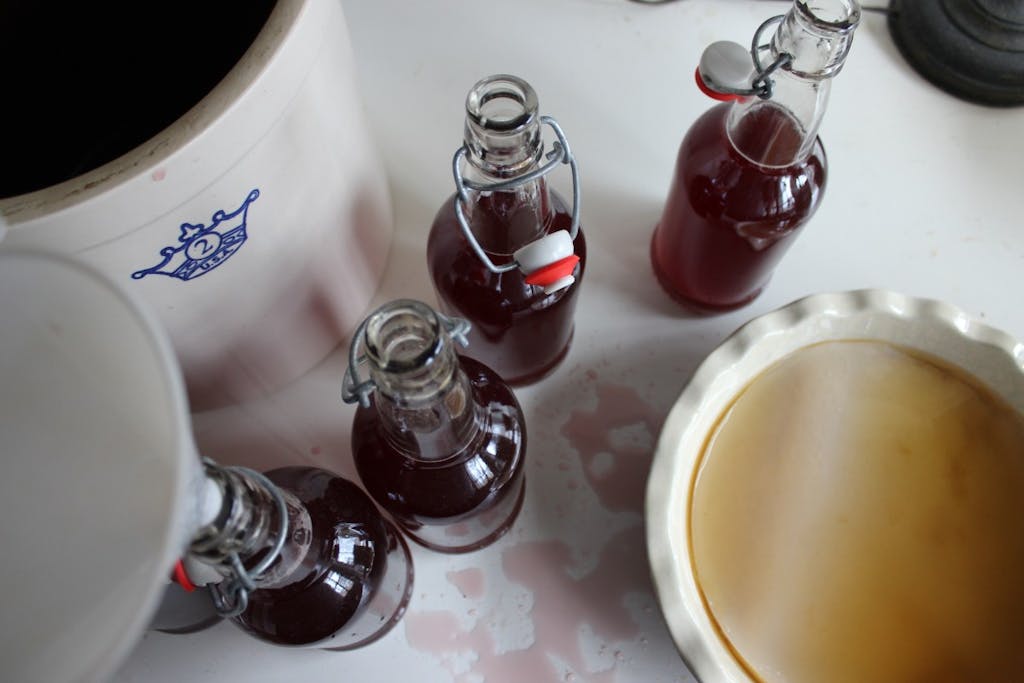
Remove SCOBY and 2 cups of tea (this will be your starter for the next batch) and hold in a separate container.
The finished kombucha can be flavored and bottled, or enjoyed plain.
If wanting a flavored non-carbonated booch, add 2 cups of juice. Mix and store in glass jars in refrigerator for up to 14 days. You can also add fresh fruit whole or pureed and strained to each jar. Have fun experimenting. An easy one is adding lemon rind and a large chunk of ginger to each jar or bottle.
If wanting a plain non carbonated booch, simply pour into glass jars and store in refrigerator.
Now if you are wanting to bring it to the next level for a delicious, refreshing fizzy carbonated brew there are just a few more steps, but well worth the trouble and wait!
Making A Fizzy Carbonated Booch
To make a fizzy Kombucha, a second fermentation is required.
A second fermentation period allows the flavors to meld and achieve a deeper and more complex flavor. Additionally, if bottled in an airtight container, the carbon dioxide produced during fermentation will remain, giving the kombucha the fizzy texture.
- Add the desired flavoring and mix to combine.
- Using the funnel pour flavored kombucha in to airtight bottles leaving a few inches of head space.
- Leave the bottled kombucha to ferment for 2-14 days at room temperature.
- Once the second fermentation process is complete, store in the refrigerator.
When it’s time to pour yourself a glass of booch use caution when opening bottles. Creation of carbon dioxide during the secondary fermentation period means the contents of the bottle will be under pressure. Cover the bottle with a cloth to catch any spraying liquid and open the bottle slowly over the sink.
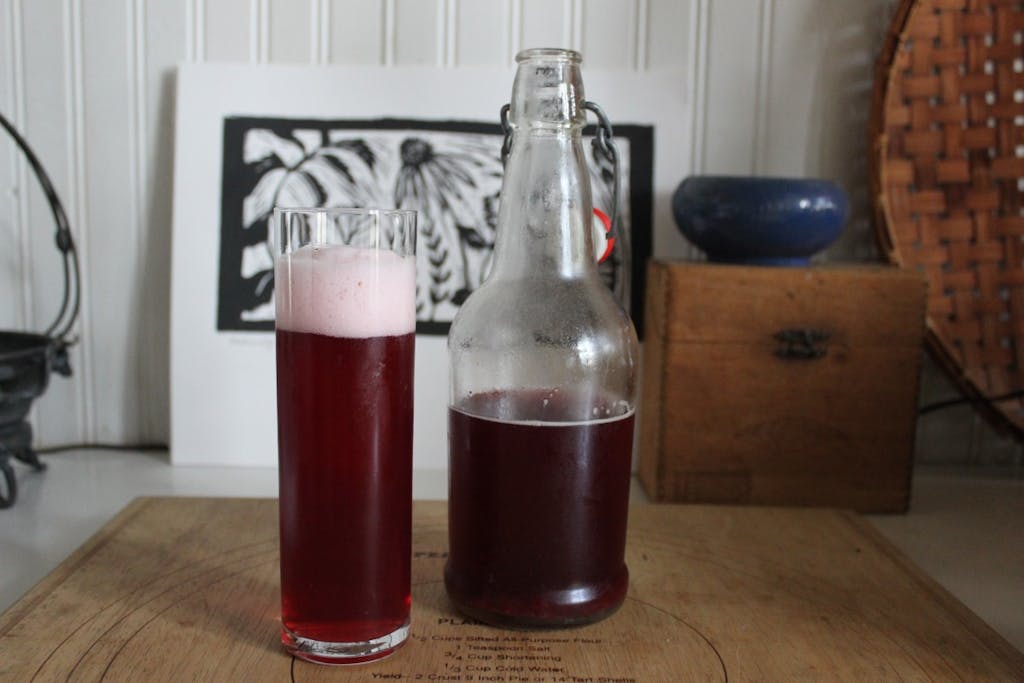
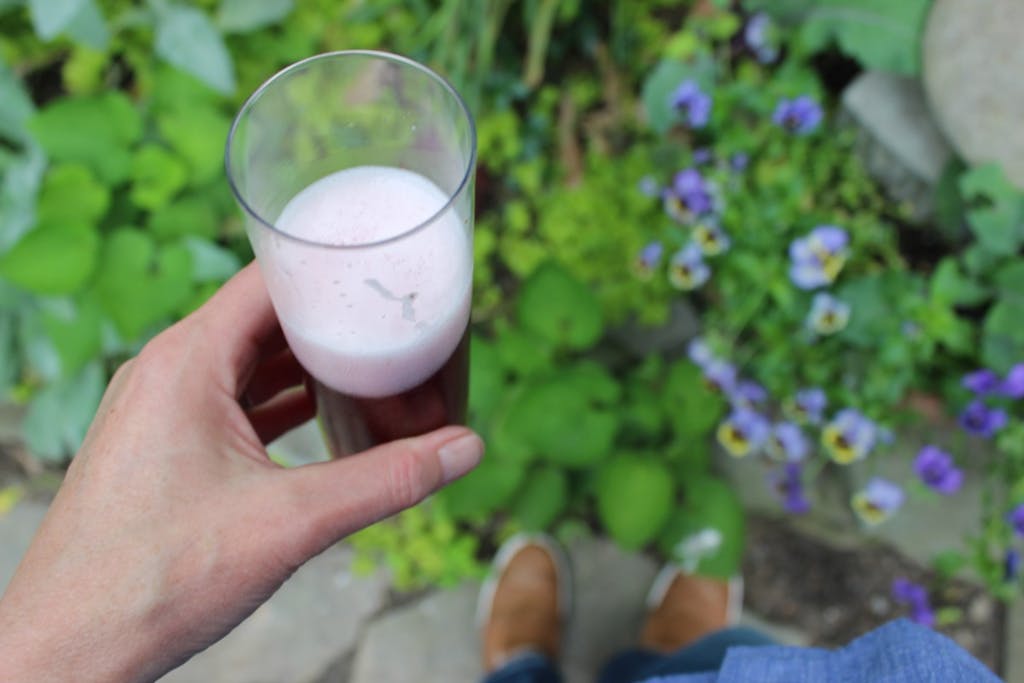
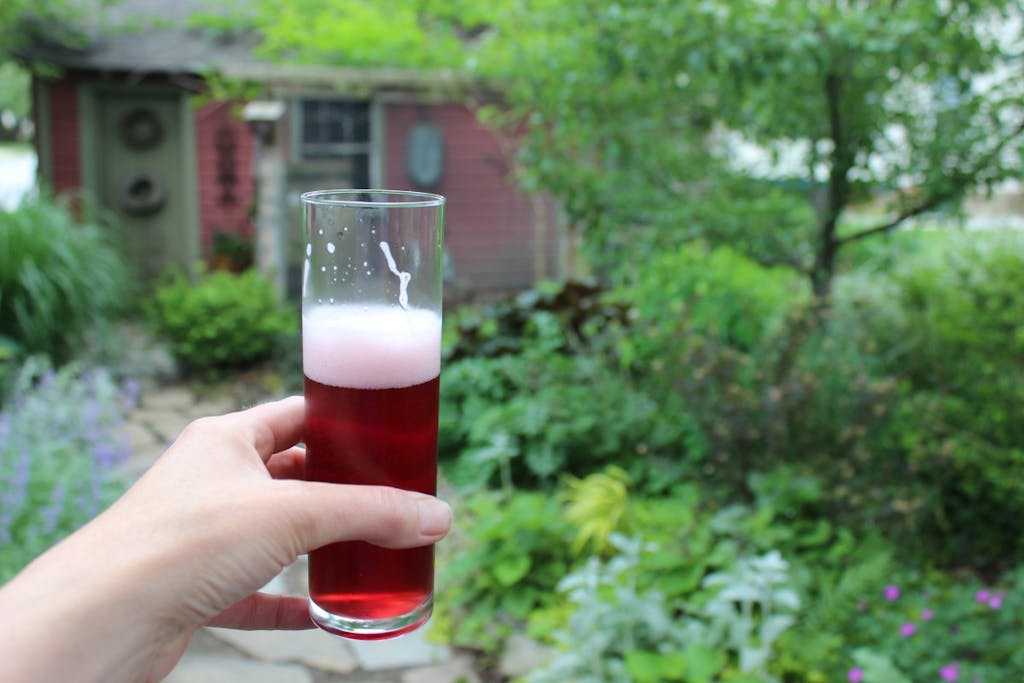
You’ve inspired me to try making our own kombucha again. We drink it almost daily but it gets really expensive at $3 a bottle. We tried a few years back while we lived in an apartment and there just wasn’t enough room to have it sitting around while it fermented. So, here we go! Thanks for step-by-step process in great detail! Yours looks so pretty, did you use cherry juice for the ones in the picture? I’ve been following along with your ig stories and garden tours~so much inspiration~Thanks, Rebecca
Thanks Rebecca! The one in
the photo is made with organic grape juice. So yummy!