second and edgemont

creating space for beauty & simplicity

  • About
  • Gallery
    • Garden
    • Home

Kombucha

May 27, 2017

Hi Friends!

First off let me apologize for disappearing for a few months. For those of you who follow me on Instagram you may have figured out that I had a campaign to run. I sit as an elected official on borough council for my home town and was up for re-election. It took up quite a bit of my time and I am happy to report that I won the primary election on May 16th! It feels good to have worked so hard but also to have more free time. I am excited to jump right back into this space. I missed you all!

To make up for my absence I would like to finally honor a request made by many of you about sharing how I make my own Kombucha.

Kombucha or as we like to call it, booch, is a lightly sweetened fermented drink that is produced by fermenting tea using a symbiotic colony of bacteria and yeast (SCOBY). You can enjoy it plain or with fruits, spices or herbs for an added punch. There so many flavor possibilities and combinations and it has been fun experimenting.

I had tried store bought Kombucha a few years back and liked it but it wasn’t until I tried my friend’s homemade batch that I was hooked and had to try making my own. She walked me through the process and I got right to work collecting my supplies.  I admit to calling her each time I made a new batch to make sure I had the calculations just right but over time it definitely got easier and part of my weekly routine.

Making your own kombucha may seem intimidating (it was for me!) but I can assure you it really is quite easy, requires only a few ingredients and supplies and is much more affordable than store bought brands. There are many online sources and videos along with starter kits.  But most of what you need you can find in your own kitchen or from a friend or local source.

Supplies

+1 gallon crock or glass jar (I own a 2 gallon crock for when I want to make larger batches)

+1 dozen airtight glass jars/bottles .

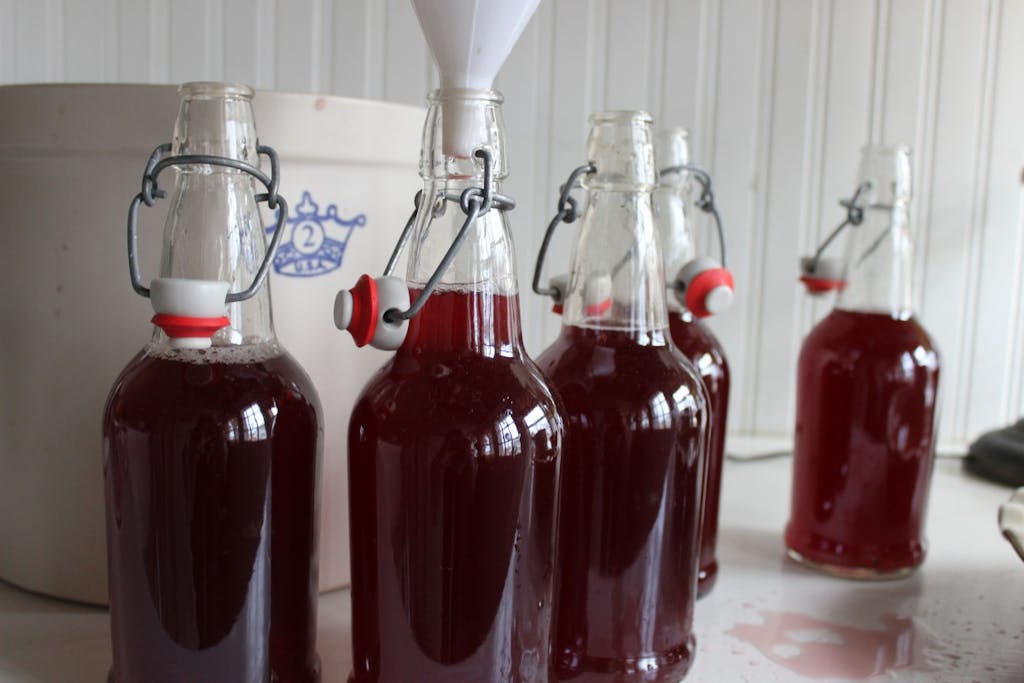
Note: While essentially any glass container with a lid can be used to store kombucha, to achieve the best carbonation, it is important to bottle kombucha in airtight bottles. While canning jars work well, they are not truly airtight, allowing for carbon dioxide to leak from them reducing the fizziness of your kombucha. Since I love a really fizzy booch, I use these 16 oz EZ cap bottles. They work great for the second fermentation/carbonation phase and they are the perfect serving size.

+plastic funnel (plastic utensils are recommended as metal is generally detrimental to kombucha. The only possible exception is stainless steel.)

+plastic or wooden stirring utensil

+tightly woven cloth like a cotton dishtowel

+large rubber band

+measuring cups


Ingredients

Makes up to 8 16oz bottles

+ 10 organic green tea bags

Note: The type of tea used to brew kombucha can affect the health of the SCOBY as well as the taste of your finished brew. If you’re just getting started, it is recommended to use plain black tea to insure a healthy SCOBY. I have used both black and green tea, both of which have worked well. After getting a few batches under your belt and allowing your SCOBY to grow big and strong you could experiment with white tea, rooibos, oolong, Yerba matte and other herbal teas.

+ 1/2 cup organic sugar

+ 16 cups filtered water

+ Active SCOBY  (Read here about where to find a healthy SCOBY.) Anyone who is making kombucha tea usually has more than enough to share. I got mine from a friend. Ask around, or check for fermenting groups in your area. I have even seen posts about SCOBY sharing on Facebook and Craigslist. When you find a good source for a SCOBY also ask for 2 cups of starter tea, enough to make your first batch.

+ 2 cups starter tea (See above. If you can’t obtain starter tea from a friend you can use a bottle of store-bought raw, unflavored kombucha tea.)

+ 2 cups organic juice with no added sugar. We have used sour cherry, pomegranate and grape. You can also use fresh fruit, herbs and spices. Use seasonal fruits. I just tried a homemade strawberry rhubarb booch that was to die for!


Instructions

Bring water to a boil.

Turn off heat and add sugar. Stir until sugar is dissolved.

Add tea bags.

Cool the mixture to 68-85ºF. The tea may be left in the liquid as it cools or removed after the first 10-15 minutes. The longer the tea is left in the liquid, the stronger the tea will be.

Remove tea bags

Add starter tea.

Add active SCOBY

Cover crock or jar with a tight-weave towel and secure with a rubber band

Allow the mixture to sit undisturbed at 68-85°F, out of direct sunlight, for 7-30 days, or to taste. The longer the kombucha ferments, the less sweet and more vinegary it will taste. Time of year will affect the rate of fermentation. My booch takes much longer to ferment in the winter months. I keep it on top of our radiator to help speed things up. In the summer months it ferments much quicker. I typically let it sit for 10 days. How do you know if fermentation is taking place? Flavor becomes less sweet  and more vinegary, SCOBY thickens, look for stringy brown yeast particles, tea has lightened in color.

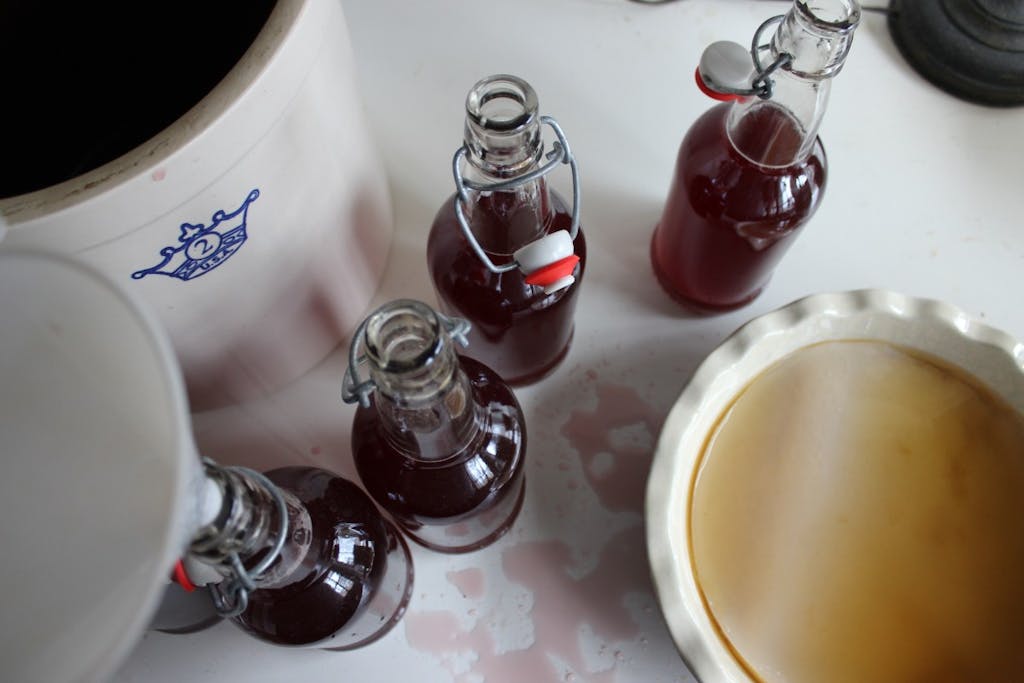
Remove SCOBY and 2 cups of tea (this will be your starter for the next batch) and hold in a separate container.

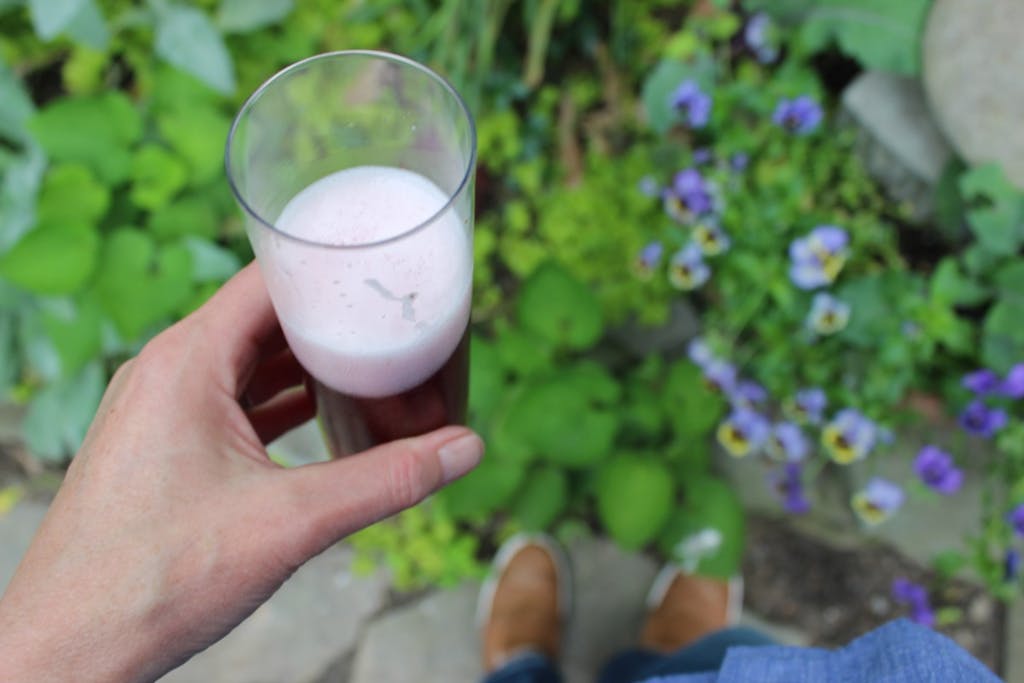
The finished kombucha can be flavored and bottled,  or enjoyed plain.

If wanting a flavored non-carbonated booch, add 2 cups of juice. Mix and store in glass jars in refrigerator for up to 14 days. You can also add fresh fruit whole or pureed and strained to each jar. Have fun experimenting. An easy one is adding lemon rind and a large chunk of ginger to each jar or bottle.

If wanting a plain non carbonated booch, simply pour into glass jars and store in refrigerator.

Now if you are wanting to bring it to the next level for a delicious, refreshing fizzy carbonated brew there are just a few more steps, but well worth the trouble and wait!

Making A Fizzy Carbonated Booch 

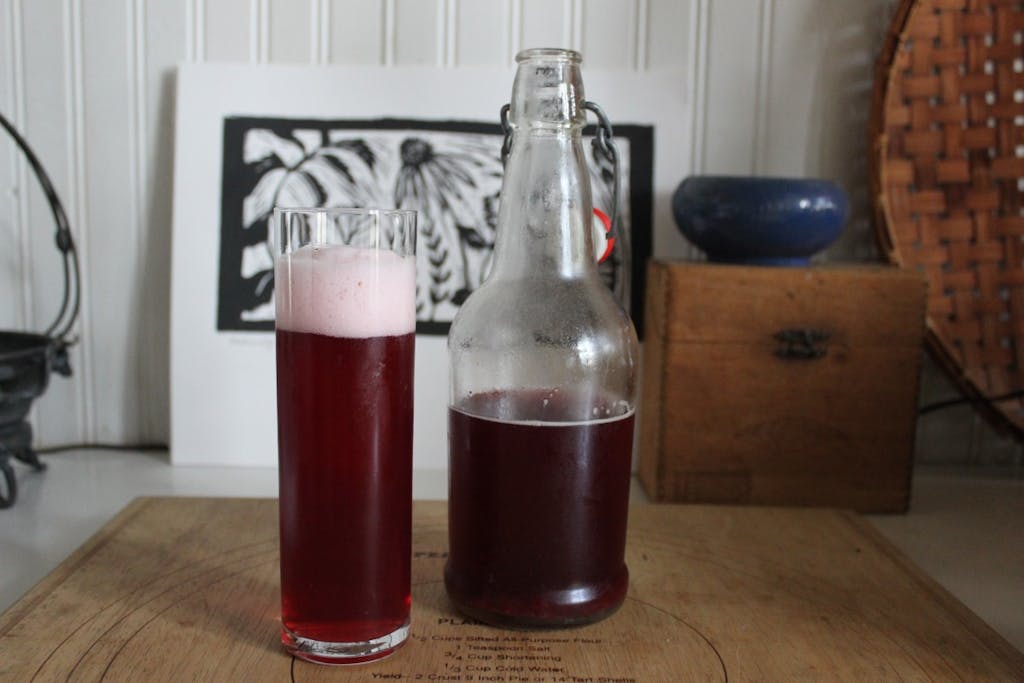
To make a fizzy Kombucha, a second fermentation is required.

A second fermentation period allows the flavors to meld and achieve a deeper and more complex flavor. Additionally, if bottled in an airtight container, the carbon dioxide produced during fermentation will remain, giving the kombucha the fizzy texture.

  1. Add the desired flavoring and mix to combine.
  2. Using the funnel pour flavored kombucha in to airtight bottles leaving a few inches of head space.
  3. Leave the bottled kombucha to ferment for 2-14 days at room temperature.
  4. Once the second fermentation process is complete, store  in the refrigerator.

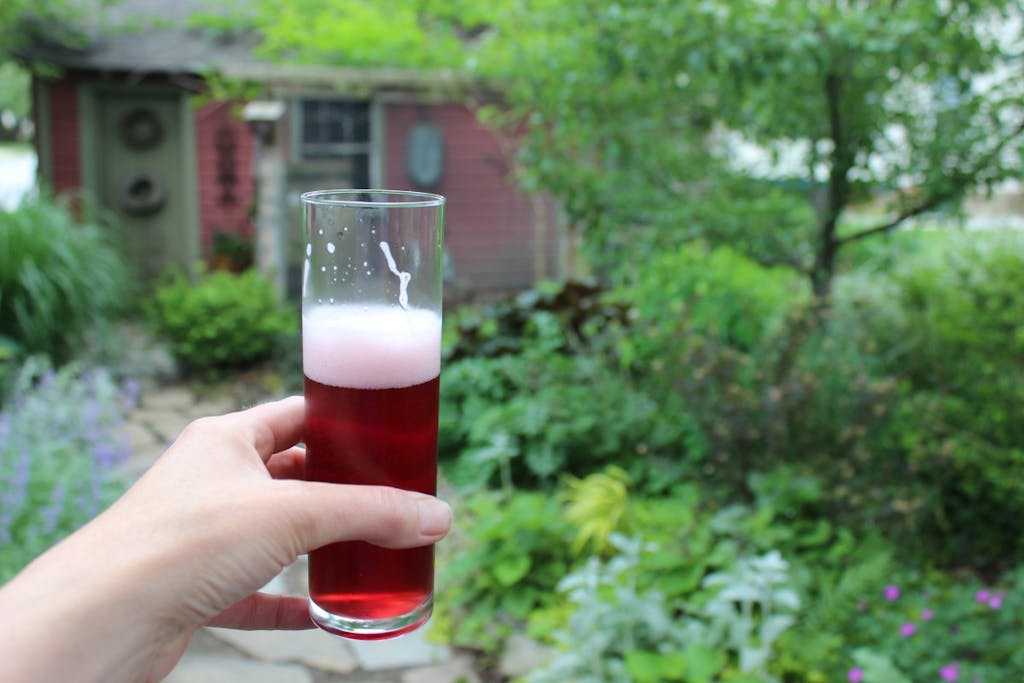
When it’s time to pour yourself a glass of booch use caution when opening bottles. Creation of carbon dioxide during the secondary fermentation period means the contents of the bottle will be under pressure. Cover the bottle with a cloth to catch any spraying liquid and open the bottle slowly over the sink.

And now it’s time to make yourself a whole new batch of Kombucha!
I know this is a lot of information to absorb but before you know it you will have a continuous brewing routine and system and a fridge full of refreshing Kombucha to enjoy. You will have fun experimenting with different flavors and get to know your booch. It has a mind of it’s own and with intuition you can work with it for the perfect texture and flavor.
Let me know if I can answer any questions you may have. Or for you fellow booch brewers out there please share your tips!
Enjoy!


In the garden-May

May 26, 2016

IMG_2895 IMG_2900 IMG_2904 IMG_2905 IMG_2906 IMG_2907 IMG_2910 IMG_2911 IMG_2912 IMG_2913 IMG_2925 IMG_2926

Happy Spring!

April 3, 2016

IMG_2461 IMG_2462 IMG_2467 IMG_2475 IMG_2477 IMG_2479  IMG_2484 IMG_2488 IMG_2491 IMG_2495 IMG_2496 IMG_2497 IMG_2500 IMG_2504 IMG_2507 IMG_2509 IMG_2563 IMG_2586 IMG_2593 IMG_2598 IMG_2602 IMG_2641  IMG_2648 IMG_2661  IMG_2686

IMG_2680 IMG_2688 IMG_2714

Happy Spring!


Lighting

June 4, 2015

IMG_8907

IMG_8903

IMG_8904

IMG_8910

IMG_8911

IMG_8914

IMG_8915

IMG_8918

IMG_8922

IMG_8924

I tend to take most of the photos inside my home during the day soaking in the sun light that filters in but last night I looked up to see Hannah drawing lamp-side and had to grab my camera.

After I took the photo I walked around the house to click a few more photos, appreciating the soft light of each room.

Lighting is so very important to me. It sets the mood and tone of a room. I admit that from time to time in the evening I like to cross the street and look into my cozy glowing home.

There are only a few rooms in my house that have overhead lighting, the kitchen, the bathroom and the dining room and all of which are set with dimmers. These rooms also have lamps for the many times I do not want the overhead lights on.

Dimmers are my best friend. Whether I am taking a bath or cooking dinner I can decide how bright or how dim I want the mood to be. There are some in this household who like things a bit brighter than I do which results in the battle of the dimmer. I chuckle sometimes thinking at what the person walking by at night may think as they see the light show inside.

I have quite a collection of lamps in all shapes and sizes, mostly thrifted, some new and even hand made. Chris (the one who prefers bright overhead lighting) sometimes curses me each night as he turns off each lamp before retiring for the evening.

I think I may do a post soon dedicated to all of the lamps in my home. They each have their own story and perform individual roles in my home.

Would you like to see this sort of post?

A new season over at Tend!

May 3, 2015

IMG_8579

IMG_8585

IMG_8613

IMG_8614

IMG_8644

IMG_8647

A new season over at Tend has begun!

As always, I write on Fridays.

It amazes me that little space is going into it’s 5th year.

Pop on over.

xo

A few thrifted treasures

April 30, 2015

IMG_8593

IMG_8594

IMG_8595

IMG_8596

IMG_8599

IMG_8601

Because I strive to live by the questions “Do I truly love this? Will it bring me joy?” when out shopping I tend to not buy a whole lot of stuff.

As of late there hasn’t been much that has caught my eye and I have walked out of several thrift stores in the last couple months empty handed, that is, until yesterday.

As far as I’m concerned I hit the jack pot because what I brought home, I absolutely love. Did I need any of it? No. Where any of these things on my “List”? No. But I do adore my new treasures and I did stick a few things in my Goodwill bag to cancel out what I brought in.

There is no guilt in my book if something I bring into my home brings me joy.

:: I actually squealed a little when I spotted a set of those vintage antler candle stick holders. We have quite a collection of antlers in all shapes and sizes around our house all of which were found in the woods by Chris and the girls. These will happily be added to the collection. I just may gift one to my sister for Christmas this year. Shhhhhh!

:: I fell in love with that green glass carafe with the brown leather strapping and stopper. It will look great on the bar with my beginning collection of antique wine bottle coasters.

:: That sweet little studio pottery vase spoke to me. It said “bring me home!” I love it’s shape, pattern and blue hues. It’s new home for now is the mantle.

:: About a year ago I found a shorter version of that same set of hooks where it hangs in the baking area of my kitchen. I love the rustic look of the wood and metal hardware and the hooks swing! This longer one now lives in my bathroom above the tub, perfect for washcloths.

A new storage space

April 23, 2015

IMG_8471

IMG_8474

IMG_8522

IMG_8532

IMG_8525

IMG_8527

IMG_8530

IMG_8529

I love the challenge of living in a small house. Rather than wishing we had more closets and storage we get creative and work at finding ways to utilize our space making life feel a little more efficient incorporating both the practical and beautiful.

Our most recent light bulb moment was the top of our basement steps.

My Pop and Chris had installed bead board in this area when we first moved in but it never got painted and quite honestly was left forgotten as the basement door hid this neglected space.
A few years ago (when our girls were safe from tumbling down the stairs) we removed the door to open things up which actually made the kitchen feel a bit bigger.

The door was left off but the space remained unpainted and under-utilized until recently when I became frustrated with my ever growing cast iron pan collection. We have accumulated an array of second hand pans in all shapes and sizes. They are the workhorses of our kitchen and are used daily. I love the versatility of cast iron, able to go from stove-top to oven. Our favorite pan is the extra large one used for big batches of granola and roasted vegetables. Chris found that pan for only 25 cents at a yard sale! Wishing that I had a space to hang my pans rather than stack them I realized that I did have a place!

Yes, the top of our basement steps would make the perfect pantry for pans but how about a place for hanging tools such as dust pans, brushes and a brooms. And while we are at it, let’s hang a few hooks for extra coats when we host company since our house came without a coat closet. Killing two or even three birds with one stone is how I like to roll in our home.

Once we envisioned our new space we got to work and started with painting the bead board and walls a crisp white. Chris hand forged hooks (made with recycled iron from an old hay rake) that would be sturdy enough to hold the heavy pans.
He also made a light fixture from Kentucky Coffee Tree wood and a ball jar.

I hung a wooden accordion hook on one side for dust pans, brushes and brooms and installed a few hooks on the other side for aprons, coats, spare cutting boards, etc.

A while back my mom had gifted me an antique drawing of a woman selling at market. I could never find quite the right place for her until now.

I love this new space displaying our tools that are both practical and beautiful.

I find that domestic work becomes a bit more enjoyable when your tools are pretty enough to display.

Rather than let them sit until the end of the day, I now eagerly wash up our pans after each use to hang them back on their hand forged hooks in their very own pantry.

Easter Weekend

April 7, 2015

IMG_8303

IMG_8304

IMG_8311

IMG_8314

IMG_8316

IMG_8325

IMG_8331

IMG_8360

IMG_8362

IMG_8363

IMG_8367

IMG_8368

IMG_8370

IMG_8374

IMG_8379

IMG_8387

IMG_8395

IMG_8397

IMG_8427

IMG_8437

IMG_8439

IMG_8442

IMG_8444

IMG_8447

IMG_8452

Fish fry

March 25, 2015

IMG_8219

IMG_8221

IMG_8224

IMG_8243

IMG_8251

It was our turn this week to host dinner with Izzy.
It’s always fun to share some of our favorite recipes with the ones we love, so we smoked up the house with a fish fry.

There was breaded fish made with coarse cornmeal served with garlicky roasted potatoes and sauteed swiss chard and kale. In the middle of the table there were dishes of tartar and cocktail sauce and slices of lemon.

No one seemed to mind the smoky fog as we delighted in the fact that we are now eating dinner without having to turn on a single light!

Chris’s Fish Fry

4 fillets of atalantic cod, talapia or sea bass
2 eggs beaten
1/2 cup unbleached flour
1 1/2 cup coarse cornmeal
Olive oil or coconut oil
Salt and Pepper to taste

Rinse fillets.
In a large cast iron pan heat 1/2 inch of olive or coconut oil at medium to high heat.
Coat fillet in flour on both sides.
Dip floured fillet in egg wash, coat entirely.
Coat fillet heavily in cornmeal.

Fry in oil on both sides until cornmeal turns golden brown. About 3 minutes on each side.
Drain on a paper towel.

Sunday Scenes

June 2, 2014

IMG_3254

IMG_3259

IMG_3263

IMG_3264

IMG_3271
Happy June!
Yesterday was a relaxing one with time in between for hanging laundry on the line, making a big batch of granola for the week and arranging little bouquets from the garden to scatter about the house.

  • 1
  • 2
  • 3
  • …
  • 9
  • Next Page »
Welcome Welcome Amy Johnson is a writer, photographer, gardener, teacher, mother and wife living on the corner of Second and Edgemont. She creates space for beauty and simplicity in all that she does.
  • Email
  • Facebook
  • Flickr
  • Instagram
  • Pinterest

Amy at Tend Collective

tend collective

Categories

  • Adventures & Getaways
  • At Home
  • Entertaining
  • In the Garden
  • In the Kitchen
  • Projects
  • Thrifting
  • Through the Seasons
  • Traditions and Celebrations

Gallery: Home

Home Gallery

Gallery: Garden

Garden
  • About
  • Garden
  • Home
  • Archive
  • Tend Collective

Tags

2012 2013 2014 2015 2016 2017 adventure april august autumn backyard beach birthday celebration christmas december february friends garden hannah holiday holidays home january july june kitchen lake lake shehawken mama march may norah november october old site papa september spring summer tend tradition traditions vacation winter

Archive

Return to top of page

Copyright © 2023 · Second and Edgemont · Site Design by Nomad Farm