second and edgemont

creating space for beauty & simplicity

  • About
  • Gallery
    • Garden
    • Home

Thumbprints

January 13, 2018

Many moons ago when I was studying agriculture as a farm apprentice I became close friends with my bunk mate Ian. Ian and I didn’t have much in common at first other than the desire to learn how to grow vegetables but we quickly realized that what we did both love was food.  When we weren’t out in the fields, we spent most of our time together in the kitchen. And when we weren’t in the kitchen we spent most of our time out in the fields talking about food. We spent hours chatting about our favorite family recipes and perusing through cookbooks, dog-earing new recipes to try. But what we spent most of our time together doing was baking.

We would make our tried and true favorite baked goods for each other and the other bunk mates to sample. We’d experiment and critique new recipes. I distinctly remember being so excited at making a successful batch of homemade fig newtons that year and falling in love with a sesame benne wafer. There were always fresh baked goods to nibble on in the farm house or wrapped up to pass out at break time in the fields. That year felt a bit like The Great British Baking Show. I never baked so much in my life and I learned so much from Ian.

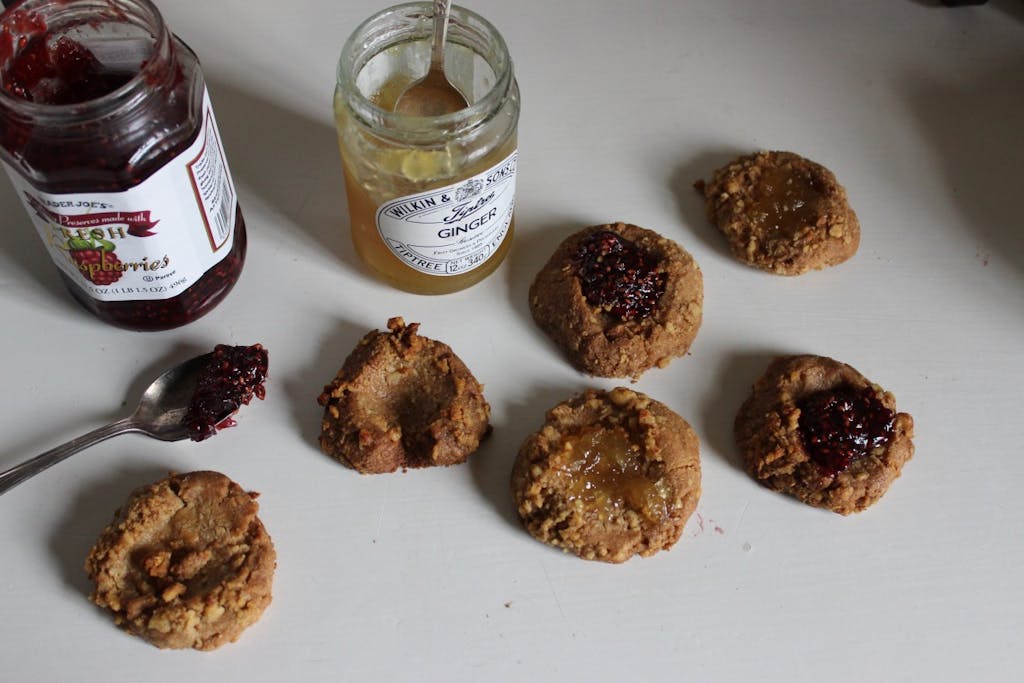
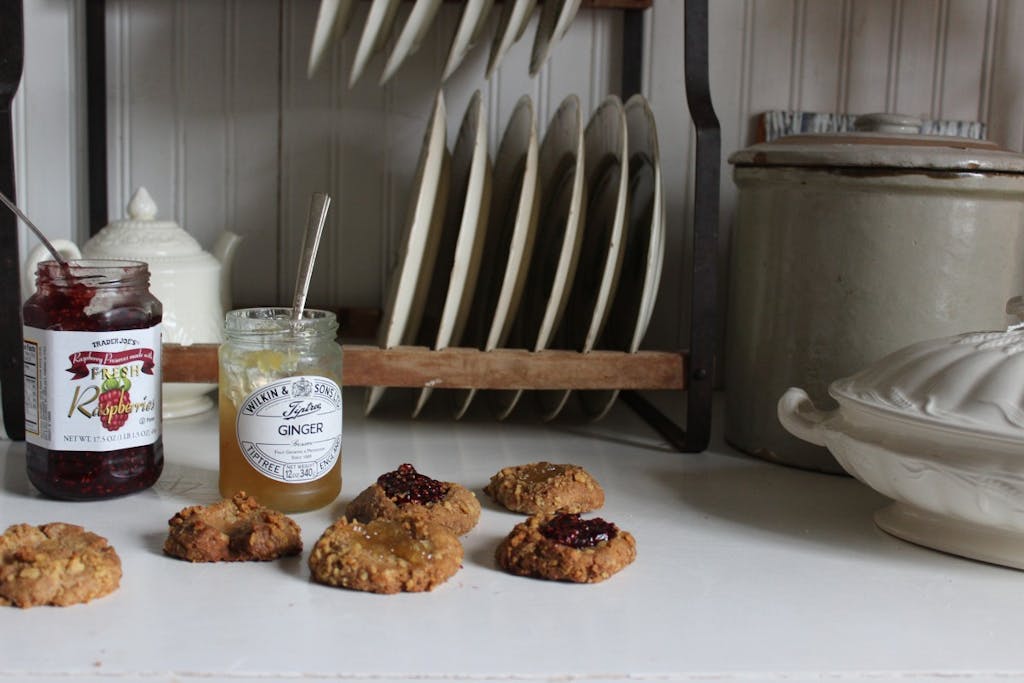
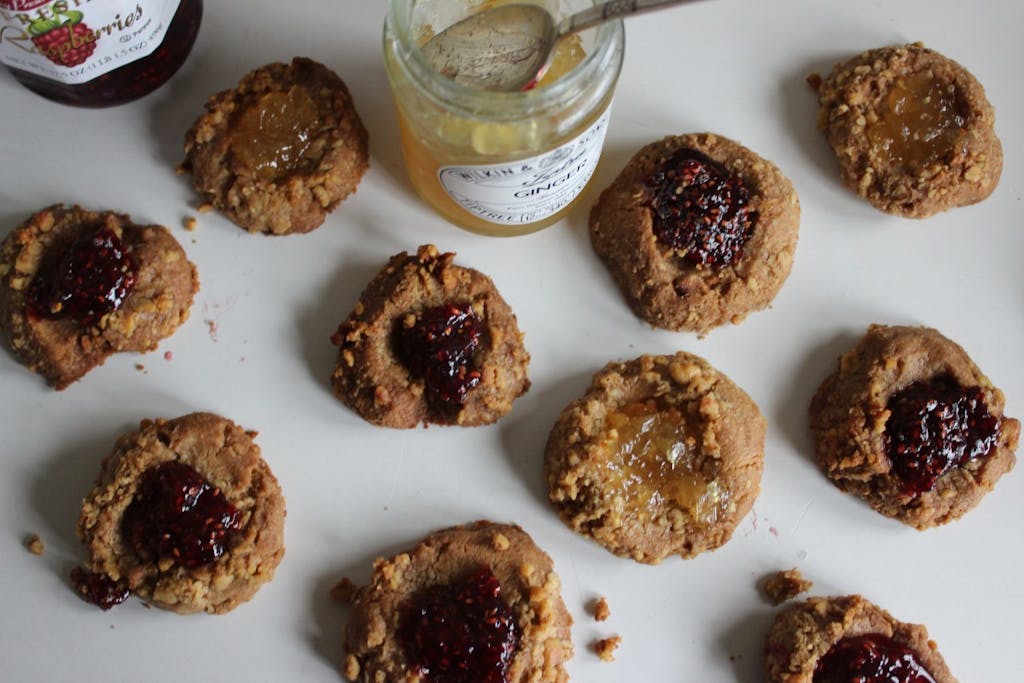
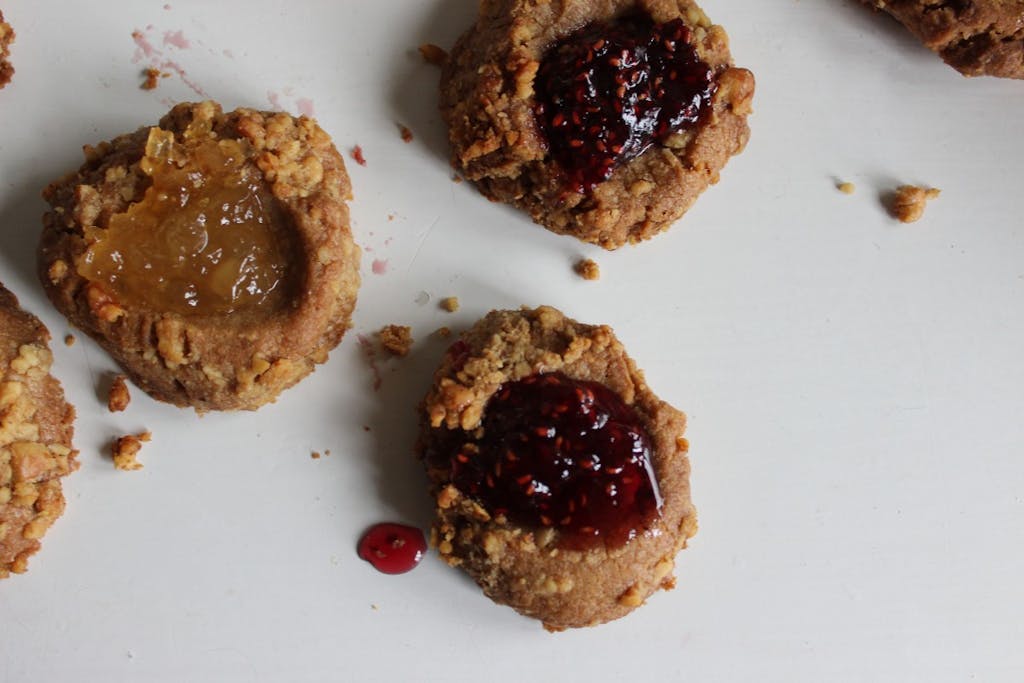
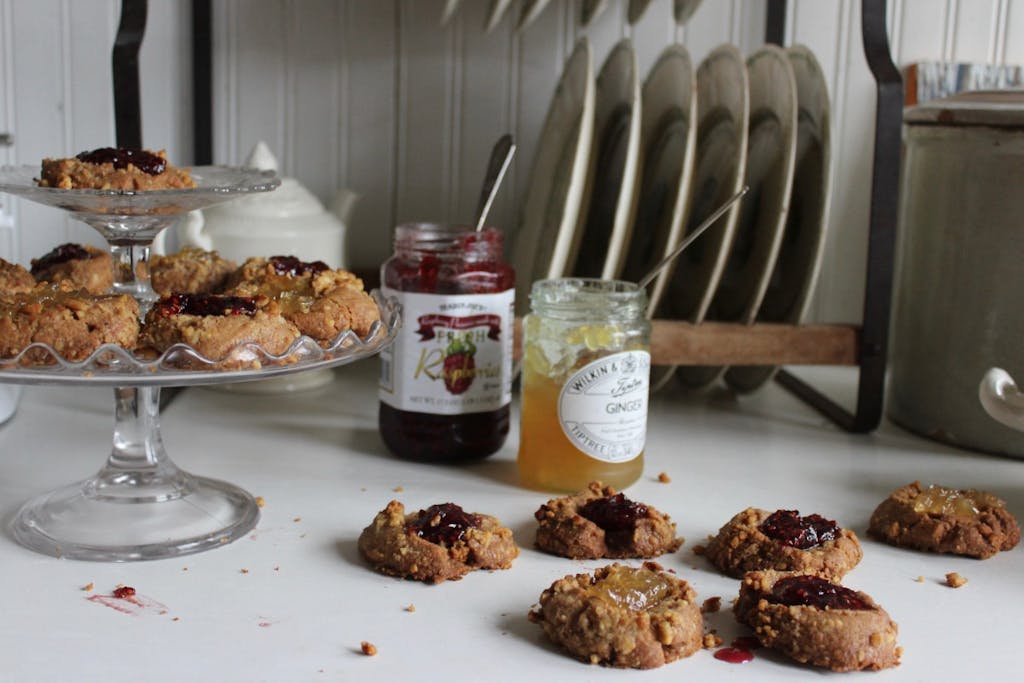
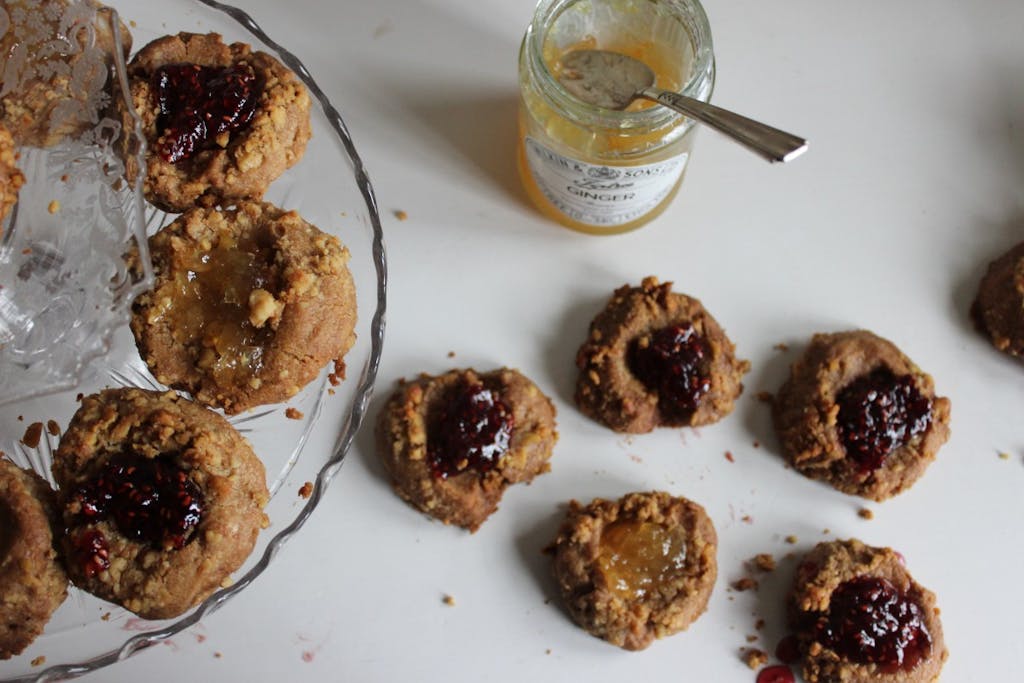
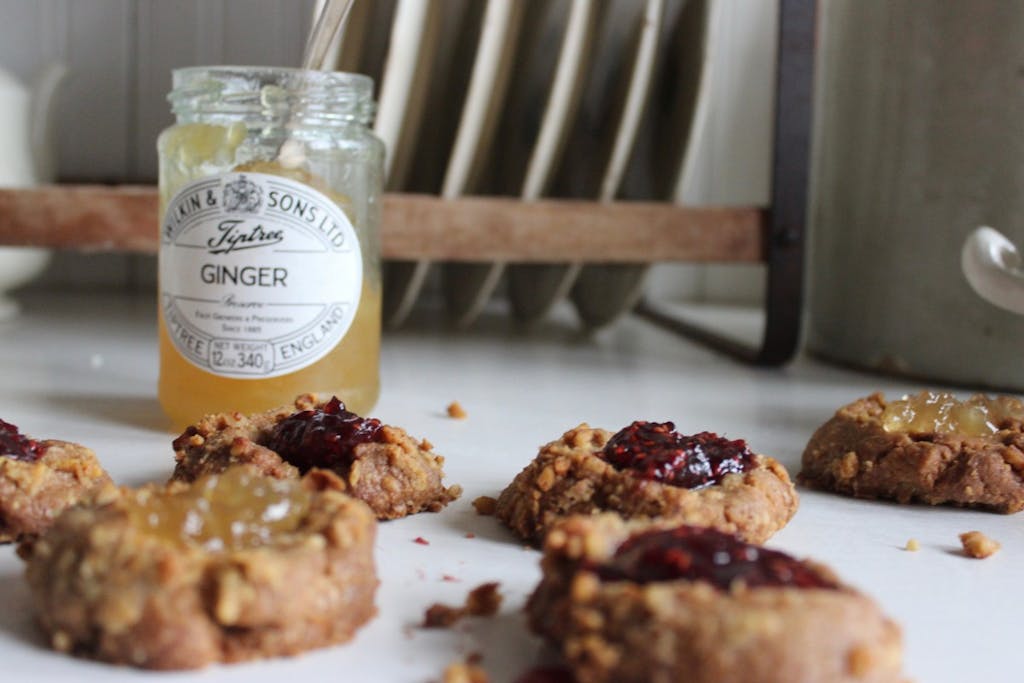
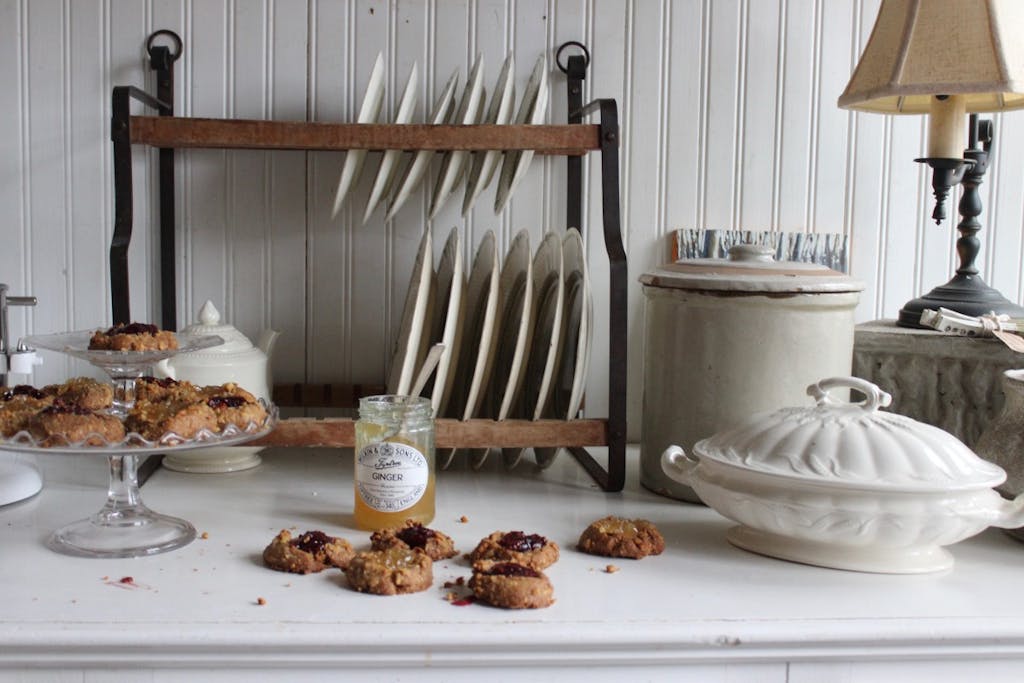
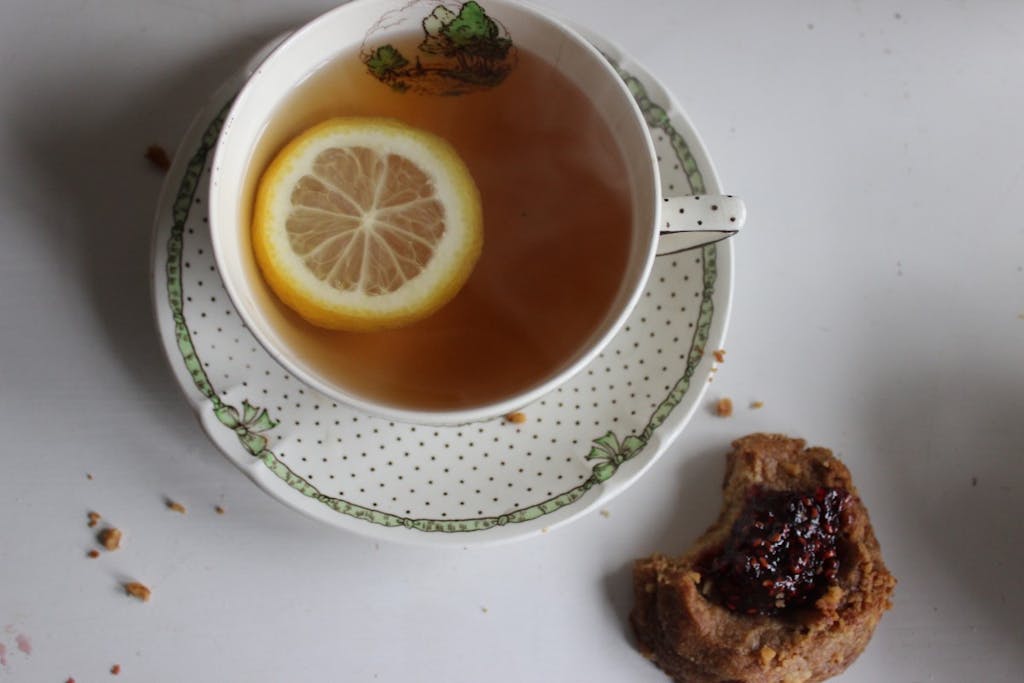
Prior to the farm apprenticeship, Ian had worked at The Pink Rose, a tea room in Philadelphia that I had visited frequently as a child but has since closed. When he left he took with him his favorite recipes which he shared with me that year, my favorite being the Thumbprint. This cookie is extremely buttery (made with 1 pound of butter!), rolled in crushed walnuts and filled with your favorite flavors of jam, the perfect cookie in my opinion. I made this particular batch with raspberry and ginger preserves. I am especially pleased with the ginger!

Ian and I still keep in touch. We don’t see each other as much as we’d like but the recipes we shared and made together that year keep us connected. Today felt like old times at the farm as I pressed my thumb into the dough and drizzled in jam. Instead of  bunk mates I share them with you. Enjoy!

Thumbprints

1 pound of butter (yep, that’s 4 sticks of butter!)

1 cup brown sugar

1 tablespoon vanilla

4 cups flour

1/2 pound crushed walnuts

3 egg whites

Jam or preserves


Preheat oven to 325 degrees

In a mixer, combine butter and brown sugar until smooth. Add vanilla and flour. Roll into balls, dip in egg white and then roll in walnuts.

Place balls on greased cookie sheet and press thumb in gently. Bake 20 minutes or until golden brown. Fill thumbprints with jam after 30 minutes of cooling.
The Lemon Drop

January 7, 2018

  Happy new year friends! It’s so nice to be back here in this space.
I do love a fresh year full of possibility, new beginnings and intentions.  I tend to not make resolutions but rather be a bit more mindful and open to trying new things that will bring me joy and health. January, being a quiet and slow month, always feels like the perfect time to reflect on how I want to make change or continue with what feels good.

Making time for  health of mind and body is at the top of my list these days and I have already begun to make an effort for self care through diet, exercise and good quality, well made products. I am striving to shift my mind around issues that challenge me. Steering away from comparison and resistance and working hard at staying in my own lane as a mother, a partner, a businesswoman and overall human being is an important goal this year. I am ready for you, 2018!

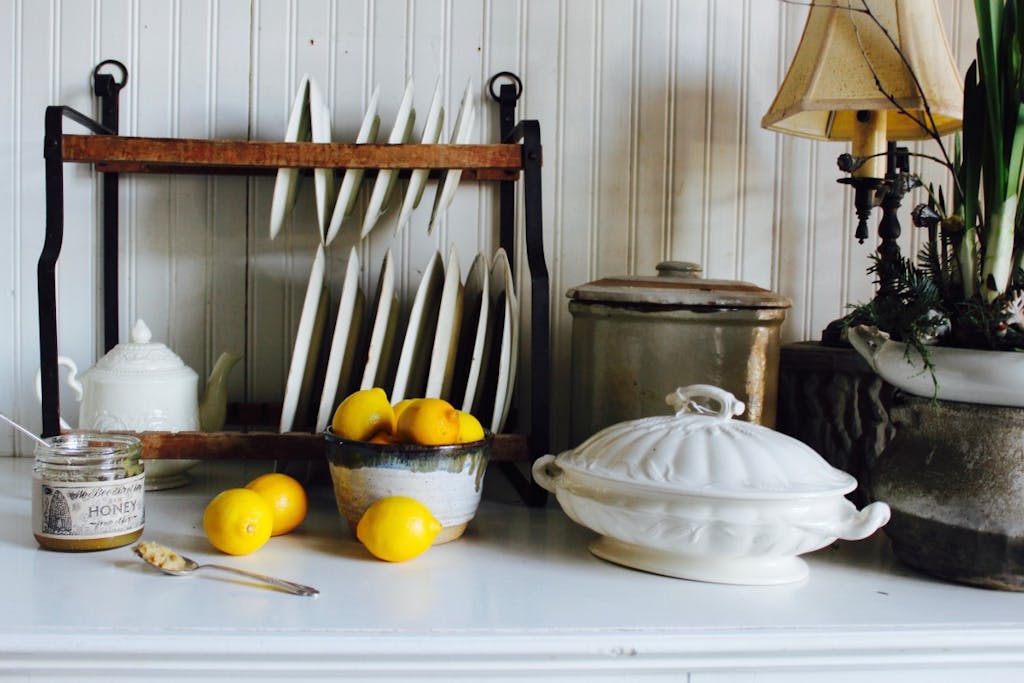
One of my self care goals is hydration.  It has been bitter cold here this past month and my body has been feeling parched. My skin is dry, I wake feeling a bit shriveled up and I am thirsty. Thanks to the many wonderful recommendations from friends over on Instagram, I have purchased some new and natural skin care products. This and this to soothe my dry cracked hands and this for a more supple face. I have been keeping a tin of water on my radiator next to my bed each night with a few drops of lavender to keep from waking up feeling like a dried out prune and I am working on drinking more water. I am not a big drinker of anything really but I know when I do make an effort to consume water on a daily basis I feel so much better!  Adding citrus to my water (some thing I crave in the wintertime) makes it easier to drink more. I like to start my day with a hot cup of lemon water. It warms me up and it gets the digestive juices going. I have also been filling a large pitcher with water each morning and dropping in slices of lemon, orange or grapefruit with the goal of finishing it by the end of the day.

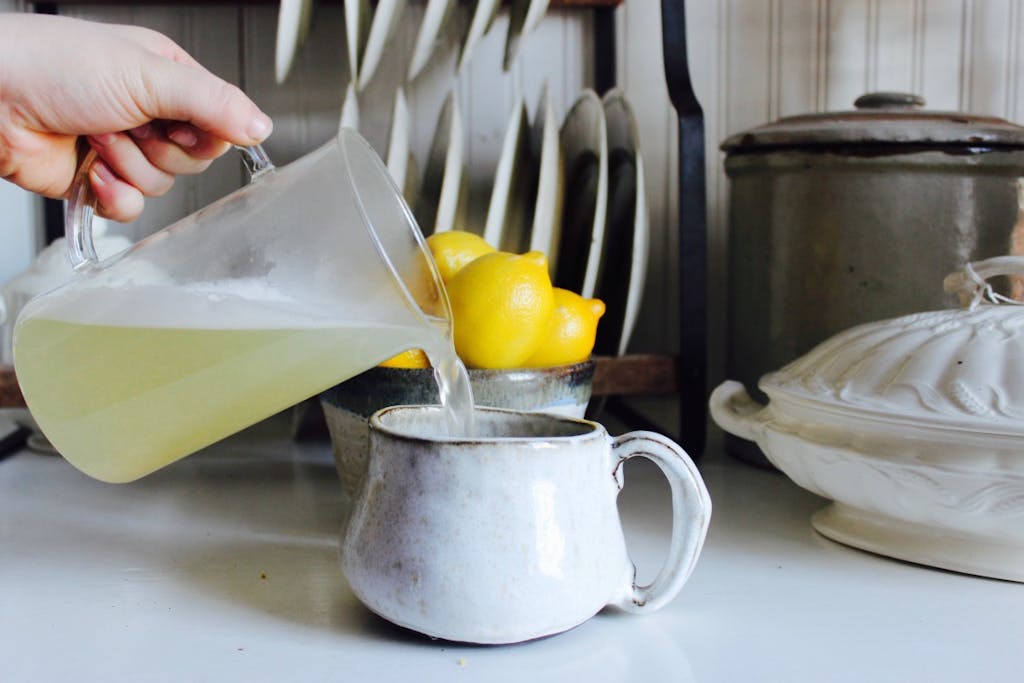
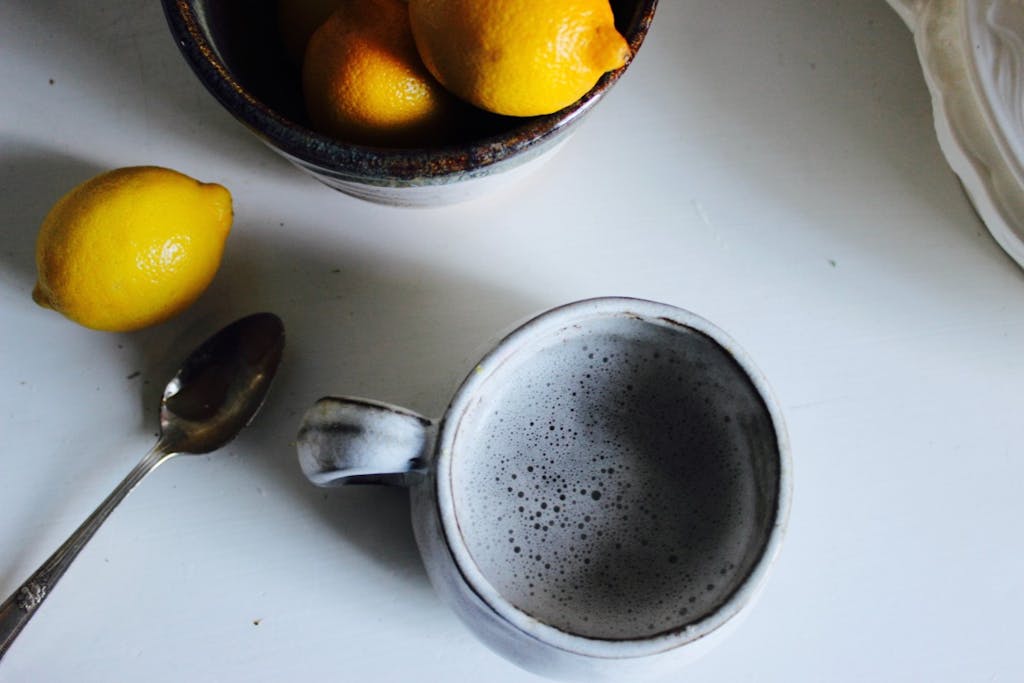
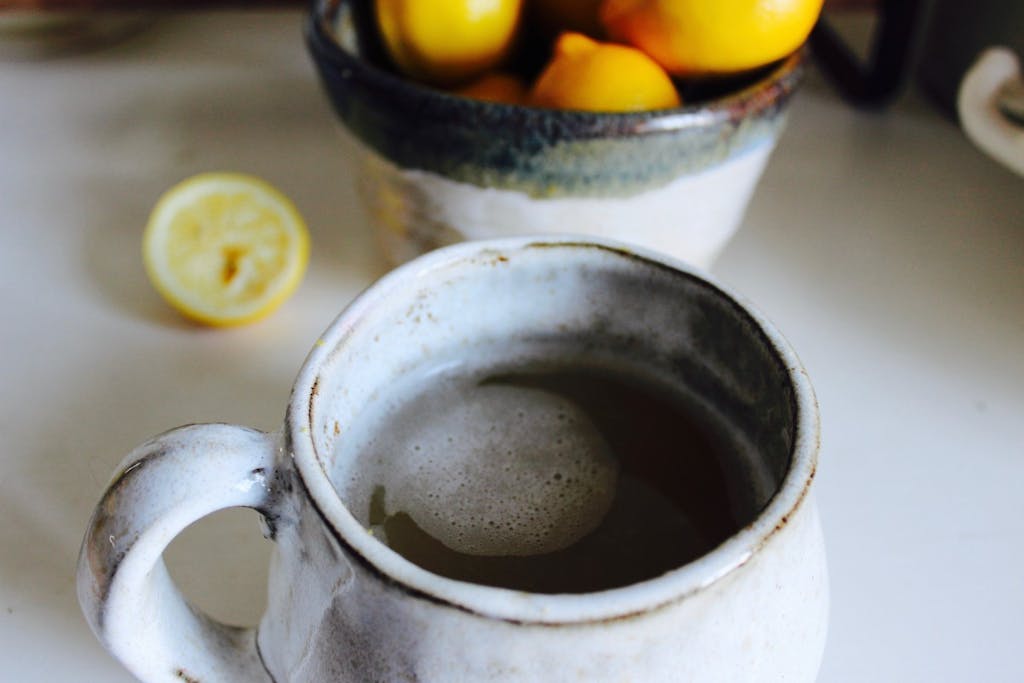
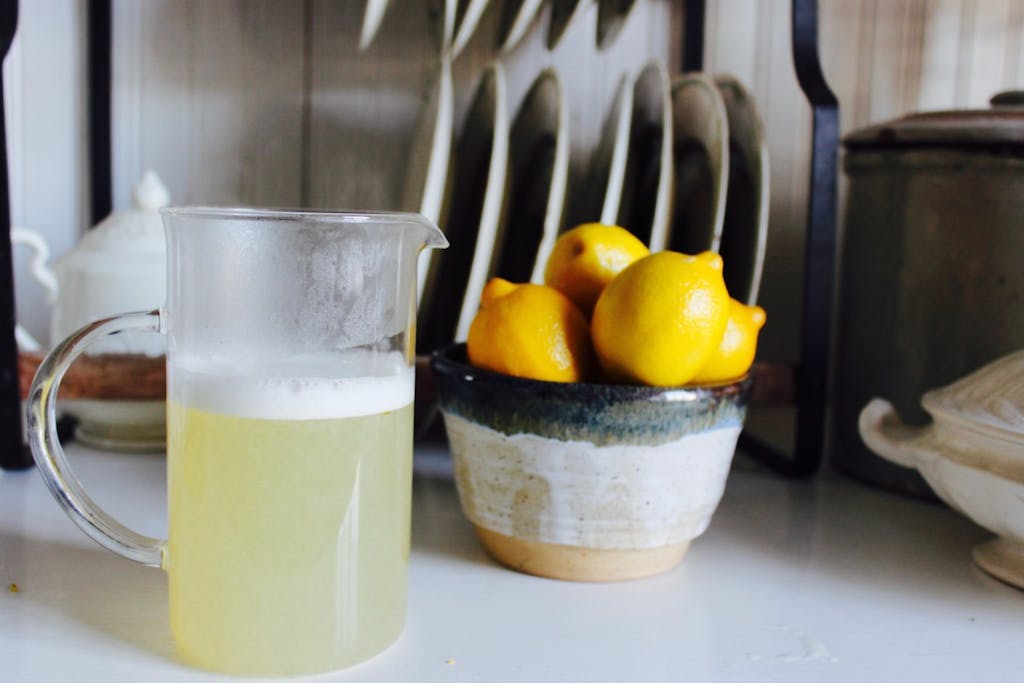
I recently have been working on replicating a hot lemon frothy drink I first tried at a local coffee spot . I am not a coffee drinker but I love coffee shops and it’s  sometimes hard for me to find something hot I actually want to drink. I have found a few places that make a tasty homemade chai latte (stay tuned for my own recipe soon!) but this hot lemonade left me craving for more. I am embarrassed to admit just how often I would find myself driving completely out of my way just to get one until I realized I could just make it myself. After many trials I am quite happy with my own version which I call “The Lemon Drop” because that is exactly what it reminds me of- that little tin of lemon candy I would find in my Christmas stocking as a child.

The beauty of this drink is that you can tailor it to your own taste buds. Up the ginger for a little more spice or cut back on the honey for a little less sweet. Play around with it and make it your own. Pucker up and enjoy!

The Lemon Drop

1 1/2 cup water

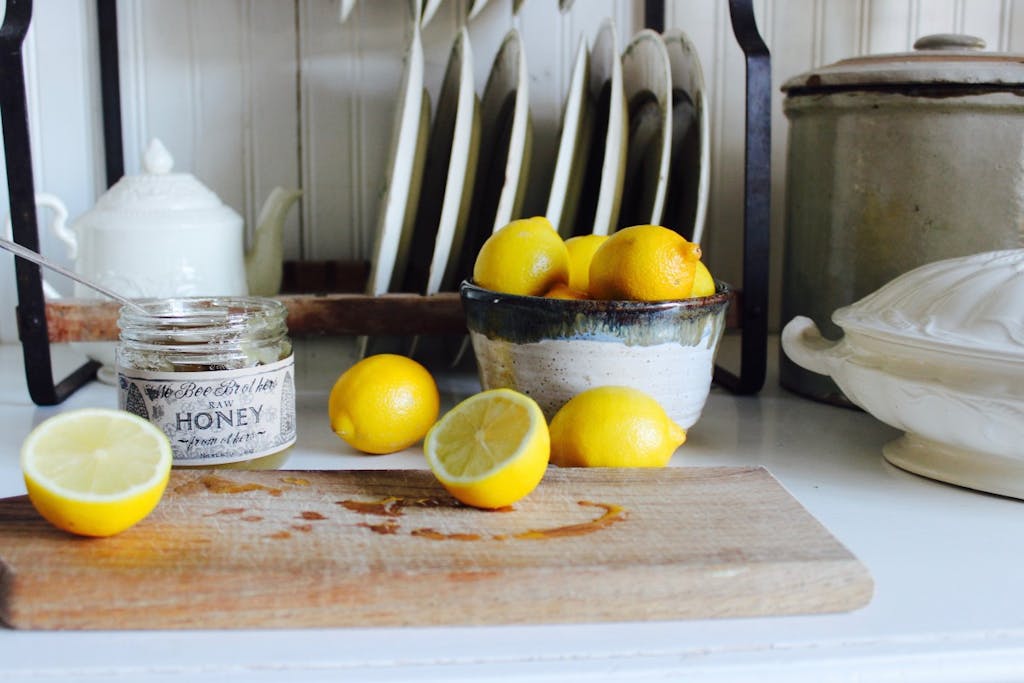
Juice of 2 lemons

1 teaspoon fresh minced ginger  (a quick and easy ginger for when I don’t have fresh on hand)

1 1/2 tablespoon local raw honey

A dash of lemon zest

A pinch of cayenne pepper


Heat water, lemon juice, ginger and honey and simmer over medium heat for 5 minutes. With an immersion blender blend until frothy and pour into your favorite mug. Dust with lemon zest.

If wanting a bit more of a kick or if you are feeling like you are coming down with something add a dash of cayenne pepper.


Kombucha

May 27, 2017

Hi Friends!

First off let me apologize for disappearing for a few months. For those of you who follow me on Instagram you may have figured out that I had a campaign to run. I sit as an elected official on borough council for my home town and was up for re-election. It took up quite a bit of my time and I am happy to report that I won the primary election on May 16th! It feels good to have worked so hard but also to have more free time. I am excited to jump right back into this space. I missed you all!

To make up for my absence I would like to finally honor a request made by many of you about sharing how I make my own Kombucha.

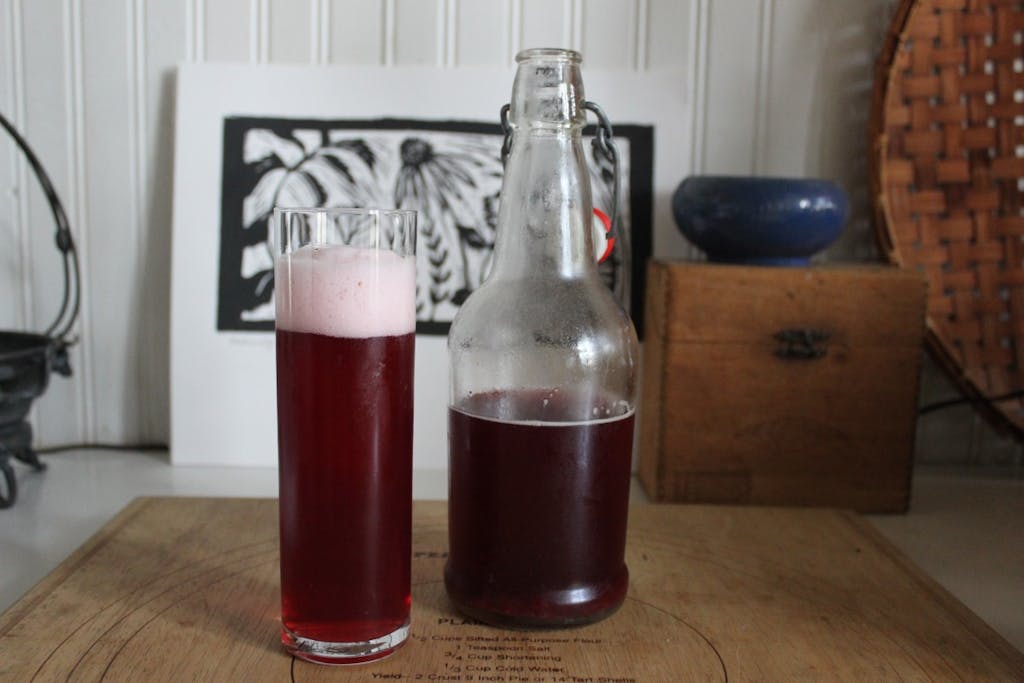
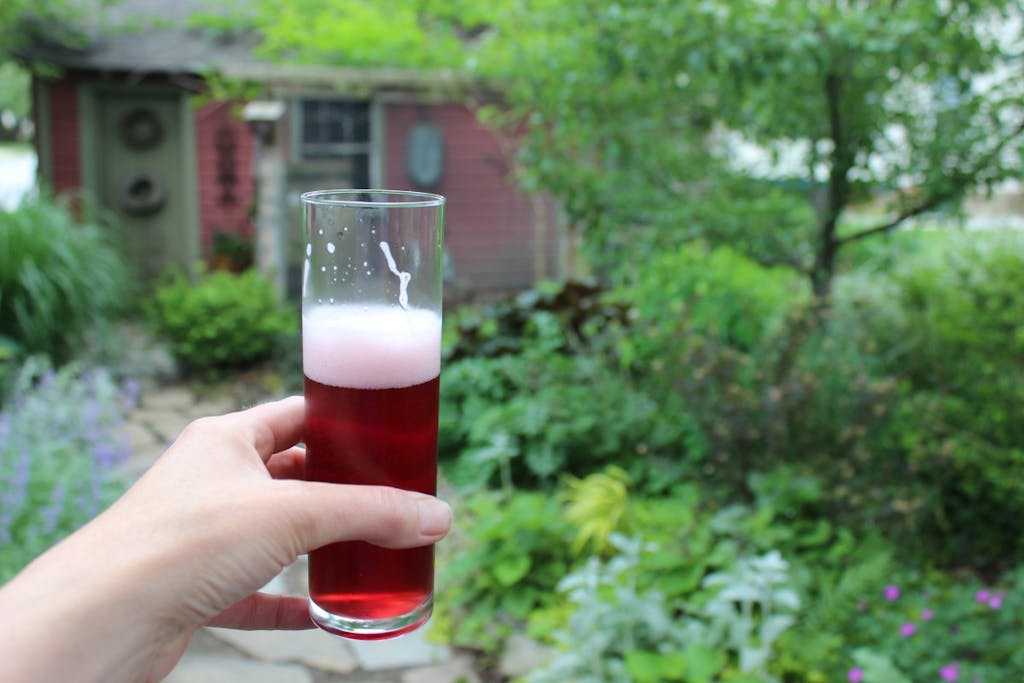
Kombucha or as we like to call it, booch, is a lightly sweetened fermented drink that is produced by fermenting tea using a symbiotic colony of bacteria and yeast (SCOBY). You can enjoy it plain or with fruits, spices or herbs for an added punch. There so many flavor possibilities and combinations and it has been fun experimenting.

I had tried store bought Kombucha a few years back and liked it but it wasn’t until I tried my friend’s homemade batch that I was hooked and had to try making my own. She walked me through the process and I got right to work collecting my supplies.  I admit to calling her each time I made a new batch to make sure I had the calculations just right but over time it definitely got easier and part of my weekly routine.

Making your own kombucha may seem intimidating (it was for me!) but I can assure you it really is quite easy, requires only a few ingredients and supplies and is much more affordable than store bought brands. There are many online sources and videos along with starter kits.  But most of what you need you can find in your own kitchen or from a friend or local source.

Supplies

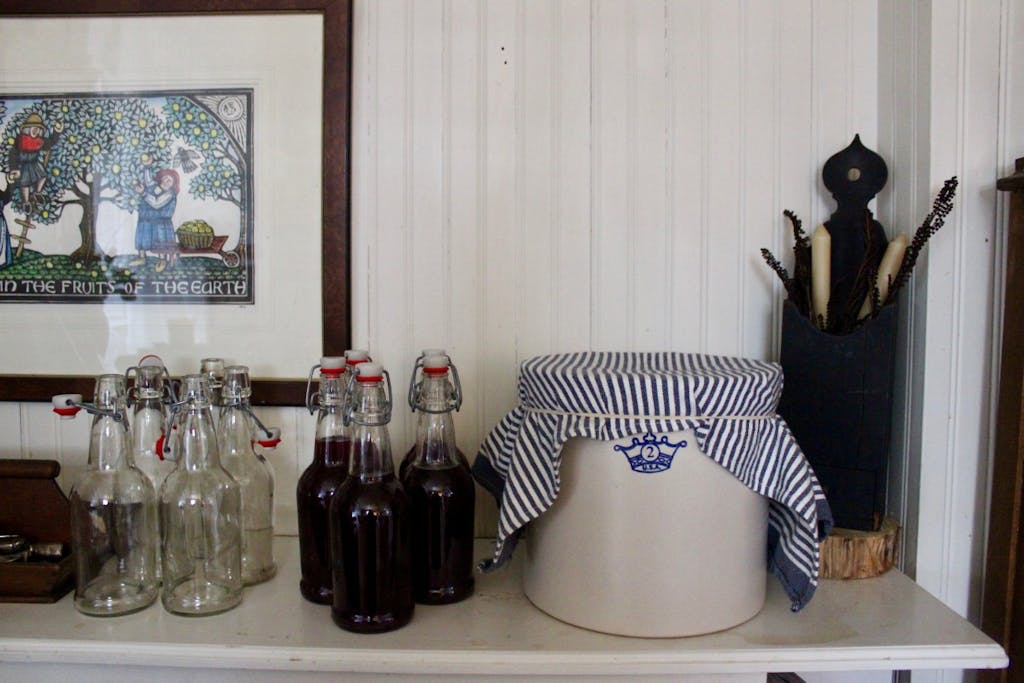
+1 gallon crock or glass jar (I own a 2 gallon crock for when I want to make larger batches)

+1 dozen airtight glass jars/bottles .

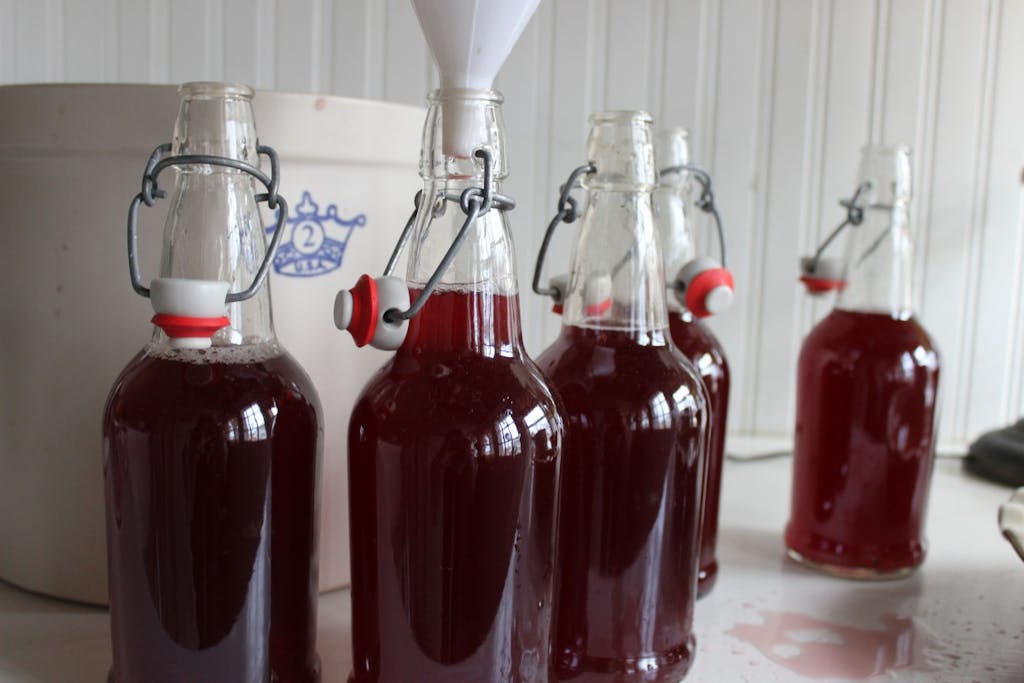
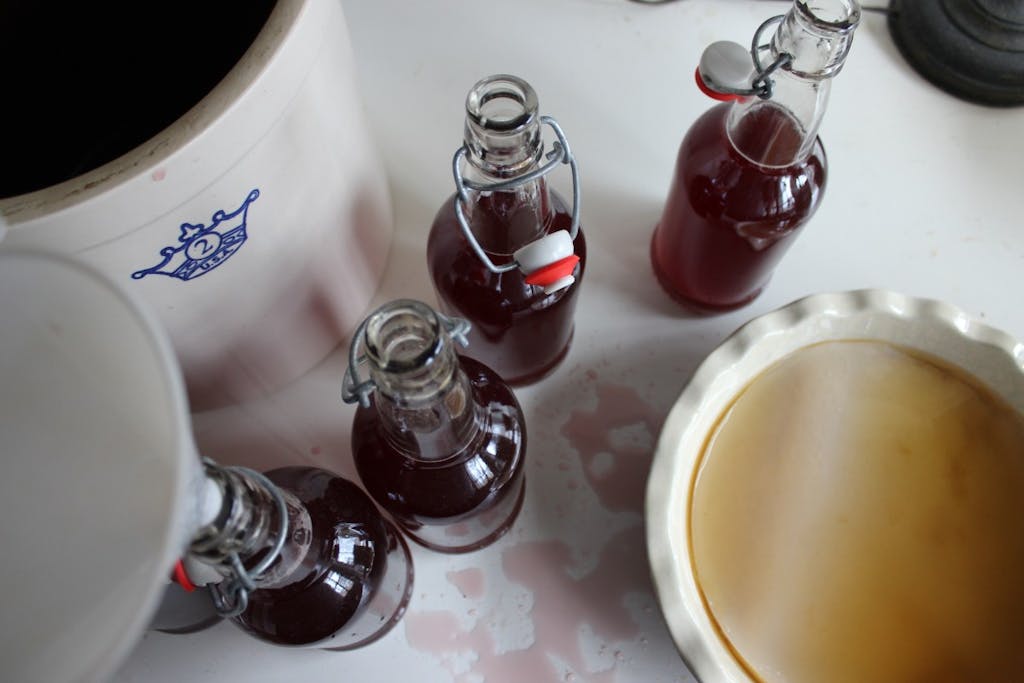
Note: While essentially any glass container with a lid can be used to store kombucha, to achieve the best carbonation, it is important to bottle kombucha in airtight bottles. While canning jars work well, they are not truly airtight, allowing for carbon dioxide to leak from them reducing the fizziness of your kombucha. Since I love a really fizzy booch, I use these 16 oz EZ cap bottles. They work great for the second fermentation/carbonation phase and they are the perfect serving size.

+plastic funnel (plastic utensils are recommended as metal is generally detrimental to kombucha. The only possible exception is stainless steel.)

+plastic or wooden stirring utensil

+tightly woven cloth like a cotton dishtowel

+large rubber band

+measuring cups


Ingredients

Makes up to 8 16oz bottles

+ 10 organic green tea bags

Note: The type of tea used to brew kombucha can affect the health of the SCOBY as well as the taste of your finished brew. If you’re just getting started, it is recommended to use plain black tea to insure a healthy SCOBY. I have used both black and green tea, both of which have worked well. After getting a few batches under your belt and allowing your SCOBY to grow big and strong you could experiment with white tea, rooibos, oolong, Yerba matte and other herbal teas.

+ 1/2 cup organic sugar

+ 16 cups filtered water

+ Active SCOBY  (Read here about where to find a healthy SCOBY.) Anyone who is making kombucha tea usually has more than enough to share. I got mine from a friend. Ask around, or check for fermenting groups in your area. I have even seen posts about SCOBY sharing on Facebook and Craigslist. When you find a good source for a SCOBY also ask for 2 cups of starter tea, enough to make your first batch.

+ 2 cups starter tea (See above. If you can’t obtain starter tea from a friend you can use a bottle of store-bought raw, unflavored kombucha tea.)

+ 2 cups organic juice with no added sugar. We have used sour cherry, pomegranate and grape. You can also use fresh fruit, herbs and spices. Use seasonal fruits. I just tried a homemade strawberry rhubarb booch that was to die for!


Instructions

Bring water to a boil.

Turn off heat and add sugar. Stir until sugar is dissolved.

Add tea bags.

Cool the mixture to 68-85ºF. The tea may be left in the liquid as it cools or removed after the first 10-15 minutes. The longer the tea is left in the liquid, the stronger the tea will be.

Remove tea bags

Add starter tea.

Add active SCOBY

Cover crock or jar with a tight-weave towel and secure with a rubber band

Allow the mixture to sit undisturbed at 68-85°F, out of direct sunlight, for 7-30 days, or to taste. The longer the kombucha ferments, the less sweet and more vinegary it will taste. Time of year will affect the rate of fermentation. My booch takes much longer to ferment in the winter months. I keep it on top of our radiator to help speed things up. In the summer months it ferments much quicker. I typically let it sit for 10 days. How do you know if fermentation is taking place? Flavor becomes less sweet  and more vinegary, SCOBY thickens, look for stringy brown yeast particles, tea has lightened in color.

Remove SCOBY and 2 cups of tea (this will be your starter for the next batch) and hold in a separate container.

The finished kombucha can be flavored and bottled,  or enjoyed plain.

If wanting a flavored non-carbonated booch, add 2 cups of juice. Mix and store in glass jars in refrigerator for up to 14 days. You can also add fresh fruit whole or pureed and strained to each jar. Have fun experimenting. An easy one is adding lemon rind and a large chunk of ginger to each jar or bottle.

If wanting a plain non carbonated booch, simply pour into glass jars and store in refrigerator.

Now if you are wanting to bring it to the next level for a delicious, refreshing fizzy carbonated brew there are just a few more steps, but well worth the trouble and wait!

Making A Fizzy Carbonated Booch 

To make a fizzy Kombucha, a second fermentation is required.

A second fermentation period allows the flavors to meld and achieve a deeper and more complex flavor. Additionally, if bottled in an airtight container, the carbon dioxide produced during fermentation will remain, giving the kombucha the fizzy texture.

  1. Add the desired flavoring and mix to combine.
  2. Using the funnel pour flavored kombucha in to airtight bottles leaving a few inches of head space.
  3. Leave the bottled kombucha to ferment for 2-14 days at room temperature.
  4. Once the second fermentation process is complete, store  in the refrigerator.

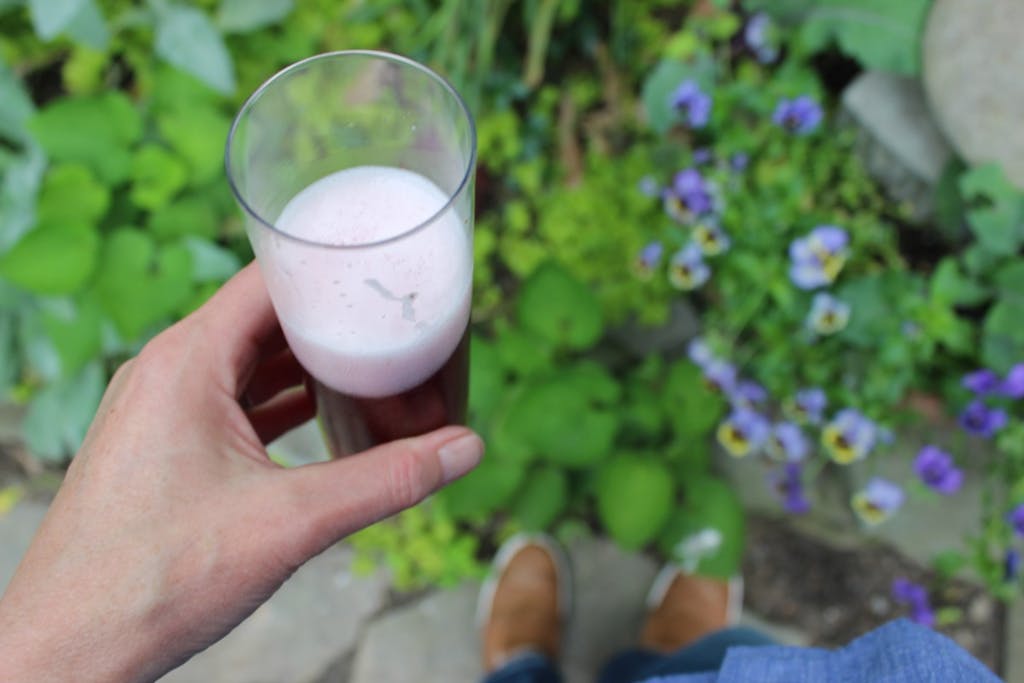
When it’s time to pour yourself a glass of booch use caution when opening bottles. Creation of carbon dioxide during the secondary fermentation period means the contents of the bottle will be under pressure. Cover the bottle with a cloth to catch any spraying liquid and open the bottle slowly over the sink.

And now it’s time to make yourself a whole new batch of Kombucha!
I know this is a lot of information to absorb but before you know it you will have a continuous brewing routine and system and a fridge full of refreshing Kombucha to enjoy. You will have fun experimenting with different flavors and get to know your booch. It has a mind of it’s own and with intuition you can work with it for the perfect texture and flavor.
Let me know if I can answer any questions you may have. Or for you fellow booch brewers out there please share your tips!
Enjoy!


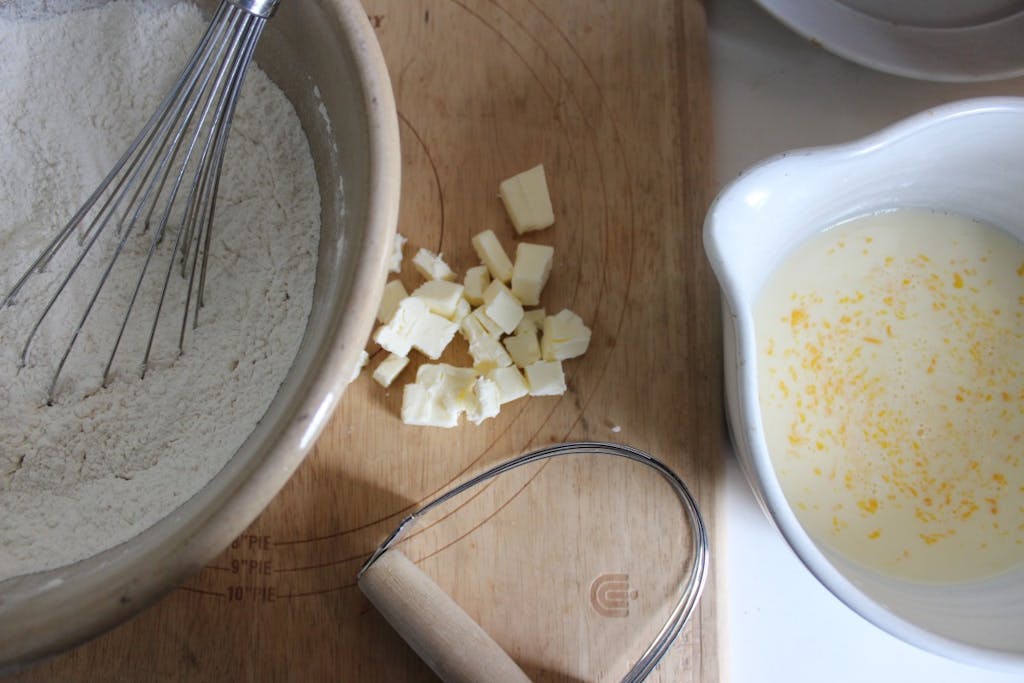
Scone (like gone)

March 15, 2017

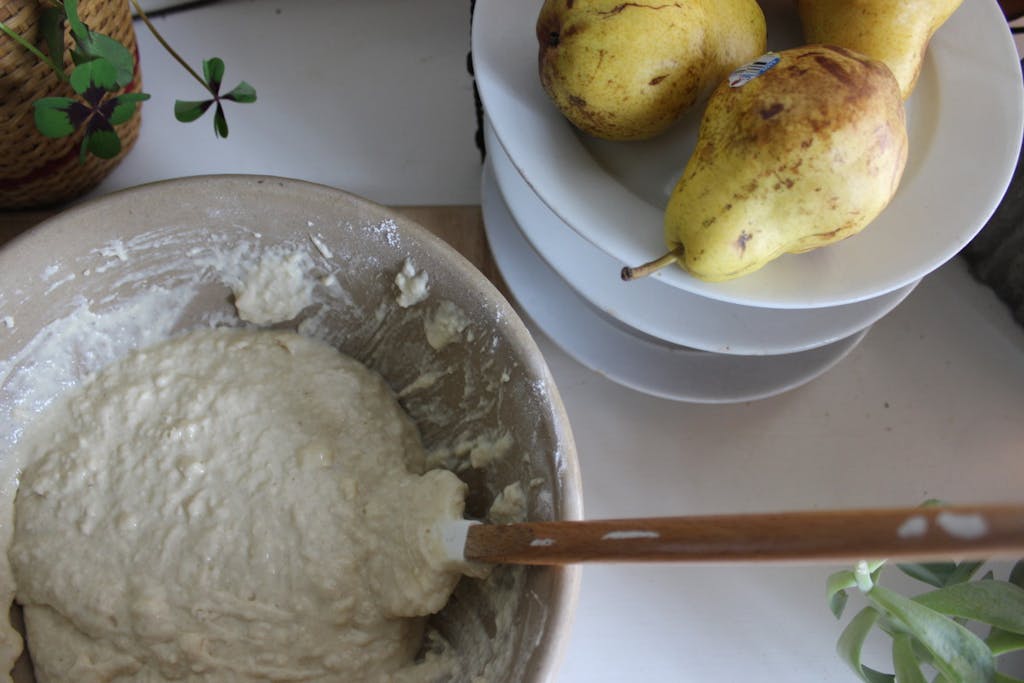
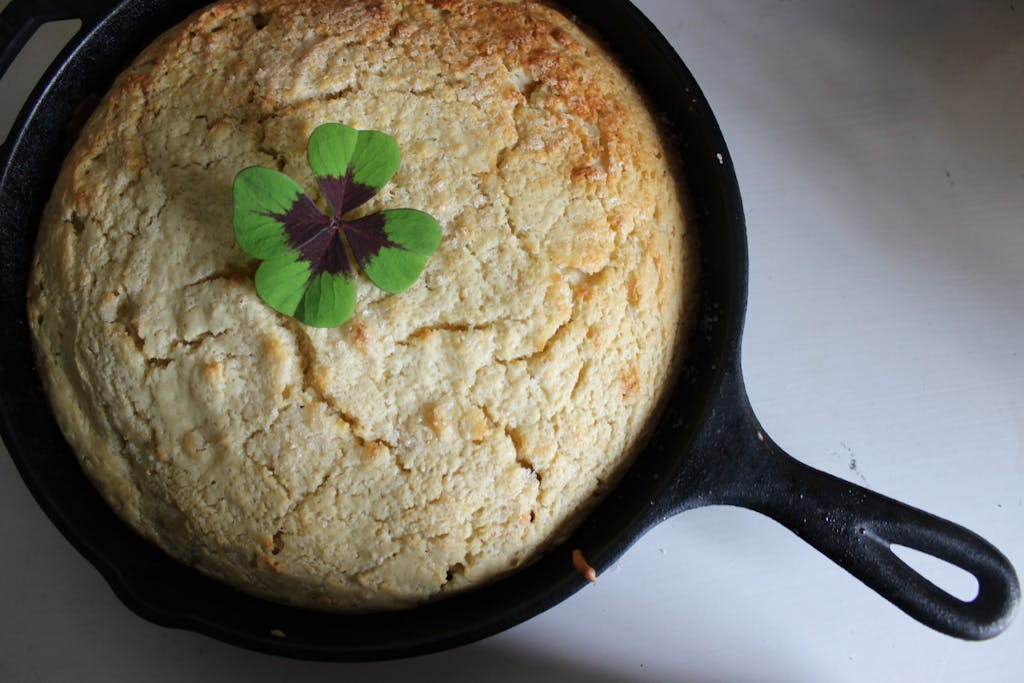
Irish scone bread Irish scone bread Irish Scone Bread

With St. Patrick’s day just a few days away I thought I would share with you a recipe passed down by my great grandmother, Sarah McMonigle Jennings. Sarah was my mother’s grandmother from Letterkenny, a town in Donegal, Ireland. Sarah died before I was born but I remember her husband, my great grandfather James Joseph Jennings who was from County Mayo. He looked like a leprechaun with his twinkly blue eyes and he had a thick Irish brogue that was hard to understand at times. As a child I remember helping him in his vegetable garden and he always let me blow out his match after lighting his pipe.

According to my mom, this recipe was made for parties and church functions  and was always accompanied with tea (although almost everything is accompanied with tea in Ireland). This is not an Irish soda bread as it calls for baking powder instead of soda. It is very moist and resembles more of a cake with the taste of a scone or as my mother pronounces it, scOn, with a short o. Apparently there is quite a debate on how to pronounce the word scone depending on where you are from. Some argue the proper way to pronounce the word is scone like gone but some say scone like bone. My mother must have only heard her grandmother say it like gone because when asked by my sister recently for the recipe for scone (like bone) my mother replied “I don’t know what you are referring to. Oh do you mean do you mean scone (like gone)?” It’s a running joke now in our family (sorry Mom).

When researching about the proper pronunciation I stumbled upon this little rhyme which made me giggle.

I asked the maid in dulcet tone
To order me a buttered scone;
The silly girl has been and gone
And ordered me a buttered scone


Scone

4 cups flour

1/4 cup sugar

4 teaspoon baking powder

1/4 cup cold salted  butter

2 eggs

2 cups milk

Preheat oven to 400 degrees.

Grease a 8 or 9 inch skillet with butter.

Mix sugar, flour and baking powder. Work in cold butter with a pastry cutter or knife until pea sized.

Whisk together eggs and milk and pour into dry mixture.

With rubber spatula mix until just combined (the dough will be wet).

Pour batter into skillet and lightly sprinkle with sugar.

Bake for 1/2 hour or until golden brown on top.

I make this bread plain (because of some picky eaters around here) but grew up eating it with both raisins or currants and caraway seeds.  


To get you in the Irish mood…

A beautiful Irish legend.

A favorite I grew up singing along to.

Anything played by these guys.

The Bodhran!


Bliss Balls

January 2, 2017

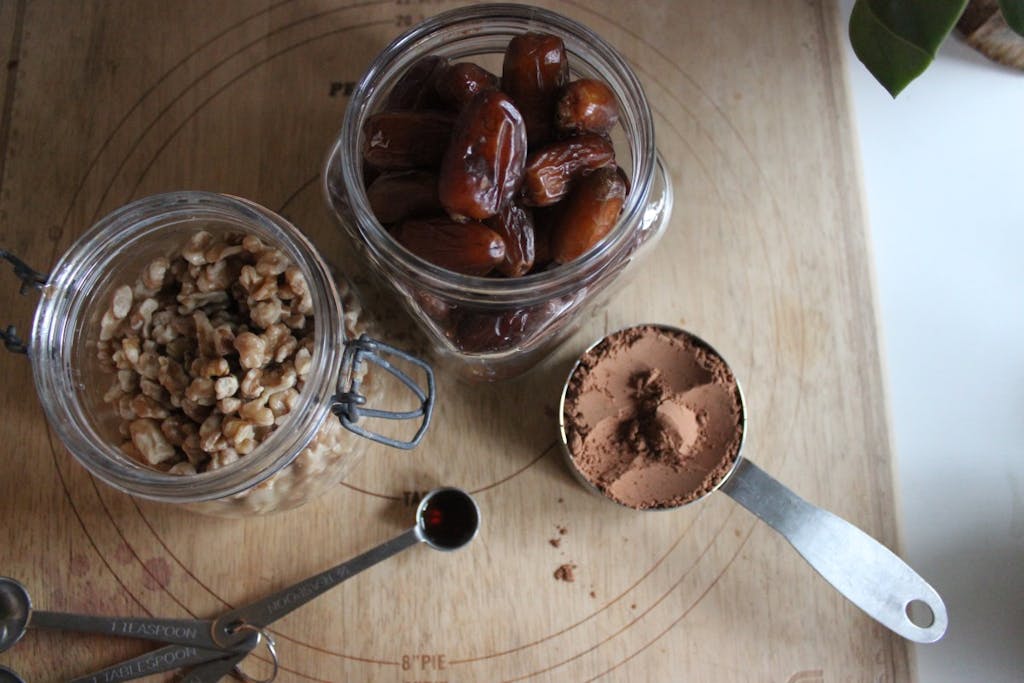
img_4503 img_4509 img_4517


This past year I made a conscious decision to try to omit sugar from my diet. I notice how much better I feel when I don’t eat it and over time the cravings do go away. However I do still enjoy something sweet late afternoon or after a meal. Fruit is always a go to for me but sometimes I just want chocolate! I do always have a little dark chocolate hidden away for those days when I need a pick me up.

About a month ago I taught a healthy snacks class where I included some of my all time favorite ball recipes made with variations of dried fruit, nuts and seeds. I wanted to include something a little more decadent and something that satisfied my love of chocolate.

I did a little research online and found the bliss ball.  After some experimenting I came up with my own version that included 4 simple ingredients. It was an absolute hit with those who took the class, a favorite over all.

These little balls pack a powerful, protein-filled punch and taste just like a chocolate truffle!  I always double the recipe because let’s face it I cannot eat just one and Hannah loves them too.


Bliss Balls

1/4 cup cocoa powder

1/4 teaspoon vanilla

1 cup walnuts (preferably soaked for 2-4 hours)

1 1/4 cup dates


Place all four ingredients into food processor and grind until a moist ball of dough forms.  Roll the dough into balls. They are delicious just plain but have fun experimenting with different coatings such as sesame seeds, hemp seeds, chia seeds, flax seeds, shredded coconut, cinnamon, cocoa powder, chile powder, grated citrus peel.

We store ours in the freezer as they are a bit too sticky if left out.


Saturday’s Snack Board

January 31, 2016

IMG_1916 IMG_1919 IMG_1921 IMG_1925 IMG_1927 IMG_1928 IMG_1931 IMG_1933 IMG_1934 IMG_1937

I love an open weekend. One that may fill up with a last minute outing or gathering but could also remain quiet and slow.  On those not so full weekends, along with a roast chicken on Sunday ,there is usually a snack tray of sorts on Saturday.

As much as I love to sit down to as many meals together as possible there is something so simple and casual yet interactive and open ended about a board of nibblies.

Our snacks may sit front and center by the fire as we gather around to feast and chat. Or maybe side saddle as we play a board game at the dining room table.  Or sometimes just  simply set up on the kitchen counter to be grazed upon throughout the day by those passing by.

Some Saturdays are simple with fruit, cheese and some nuts.  Or when we’re feeling a bit fancy we might step it up a notch with some smoked salmon.

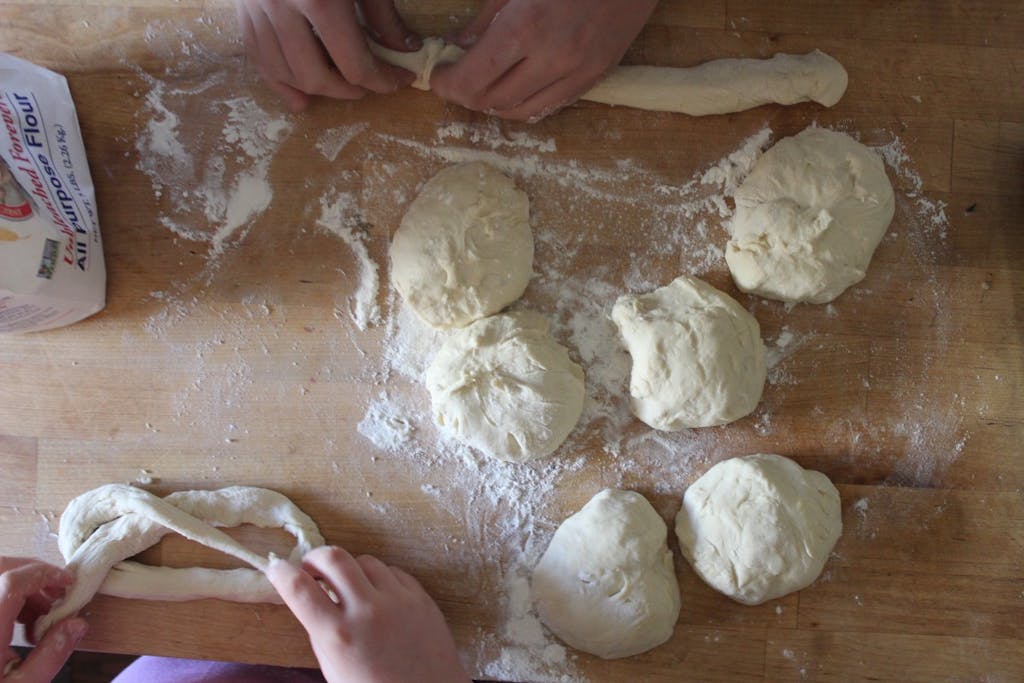
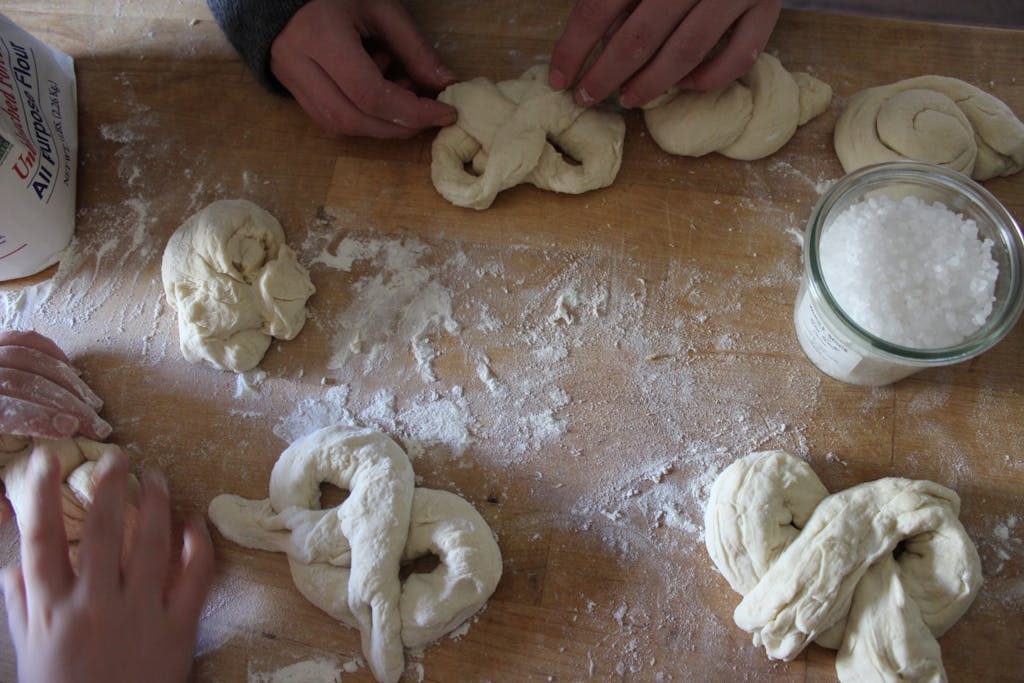
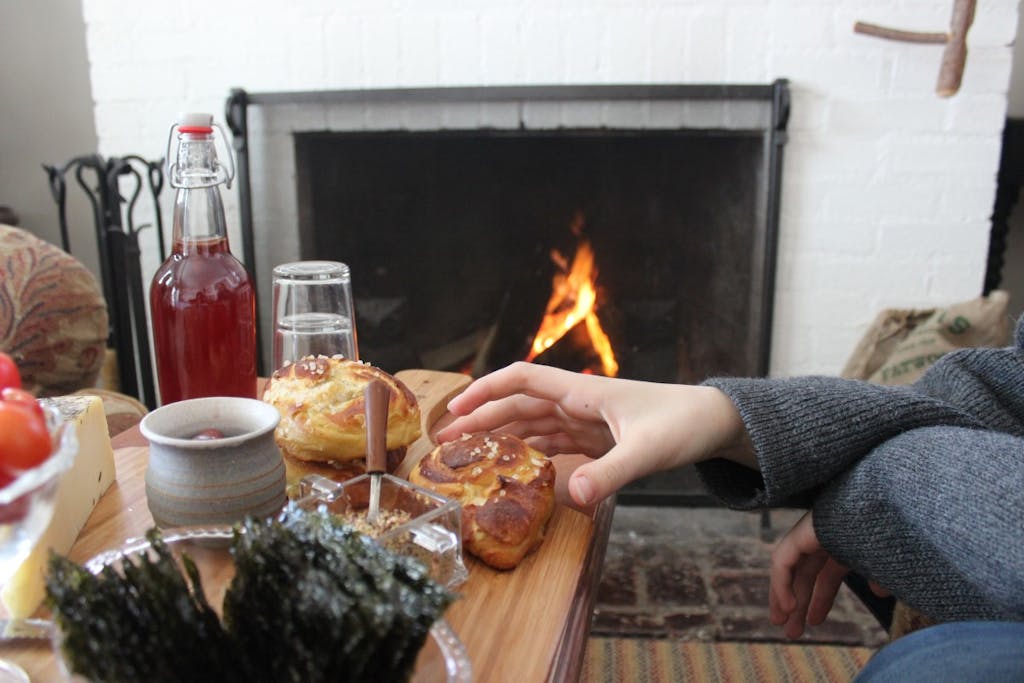
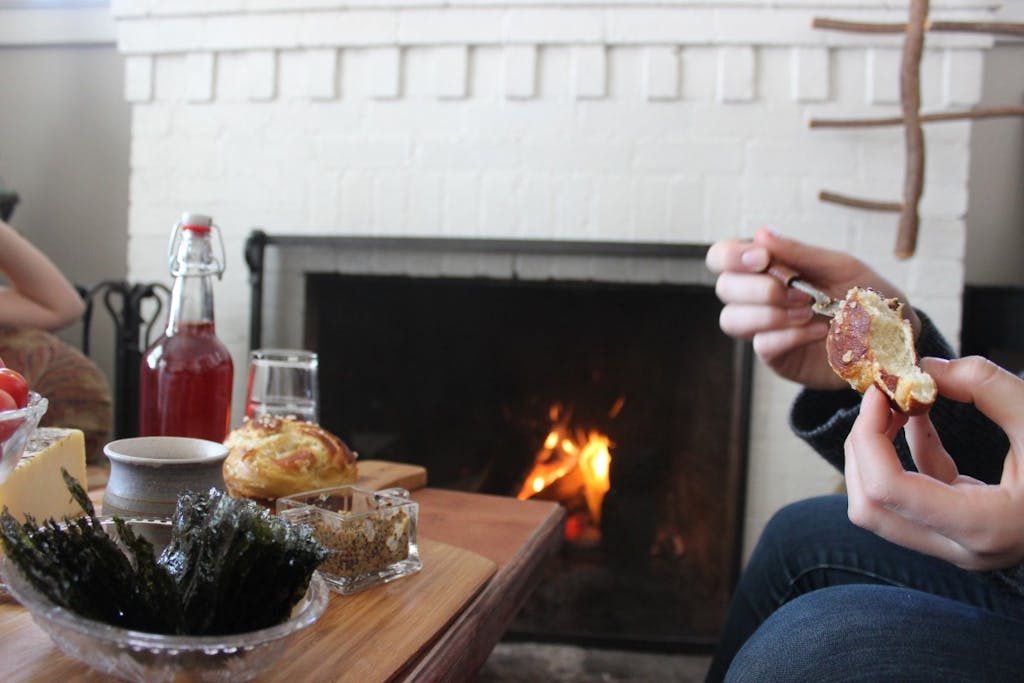
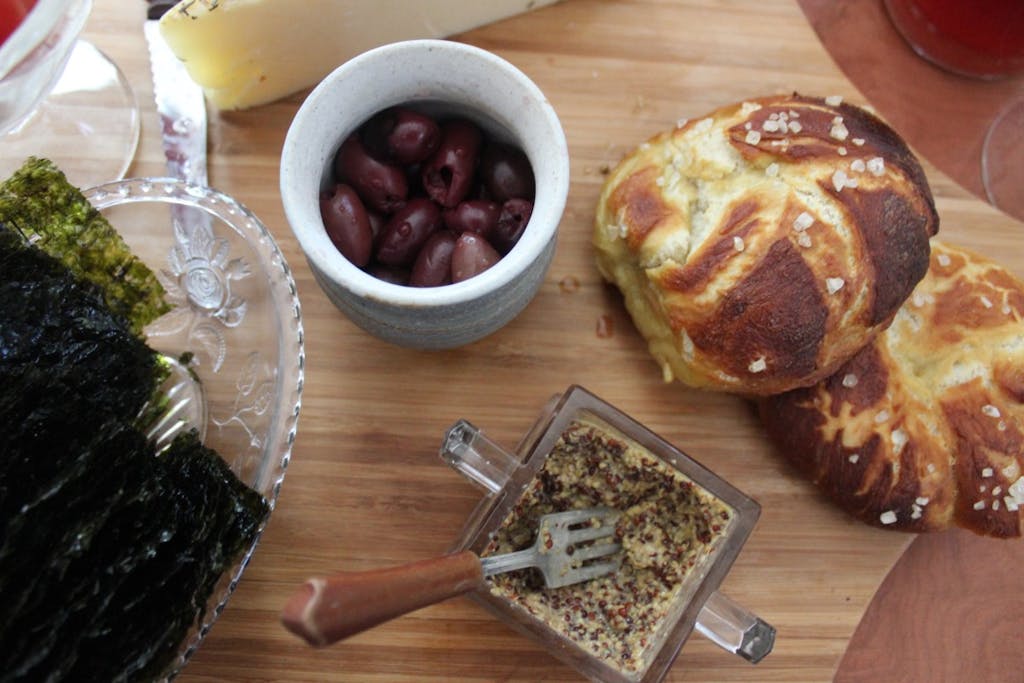
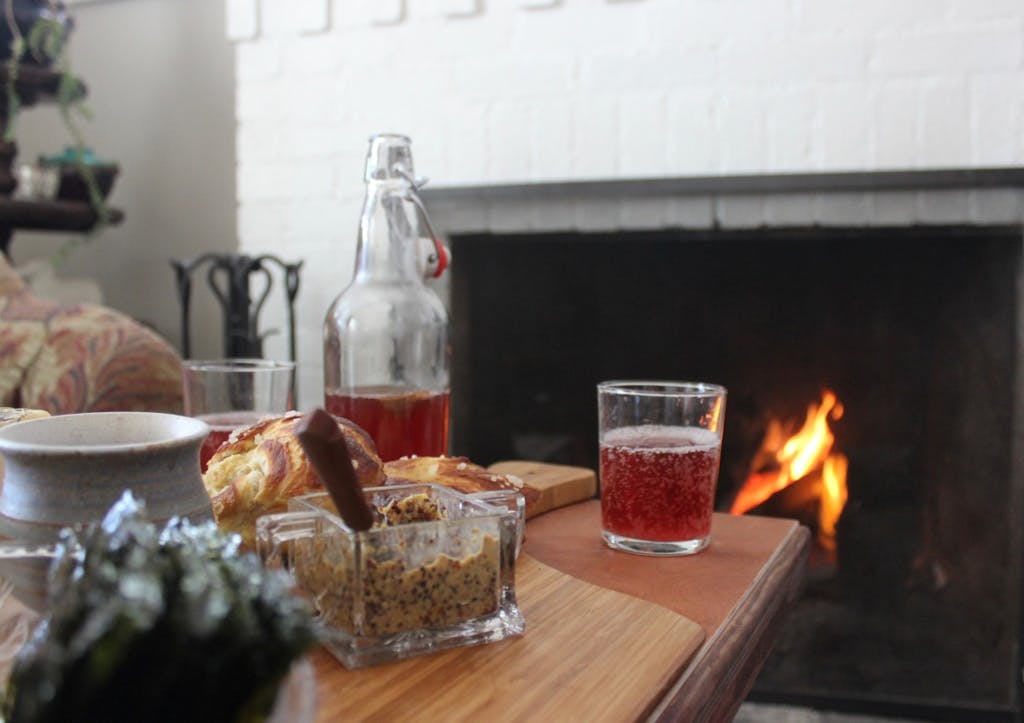
When I recently saw the cover of the February Martha I knew our next snack board had to consist of homemade soft pretzels. I’ve been making this recipe for years now. I love how quick and easy it is.  I do have plans of trying Lina Kulchinsky’s recipe very soon though.

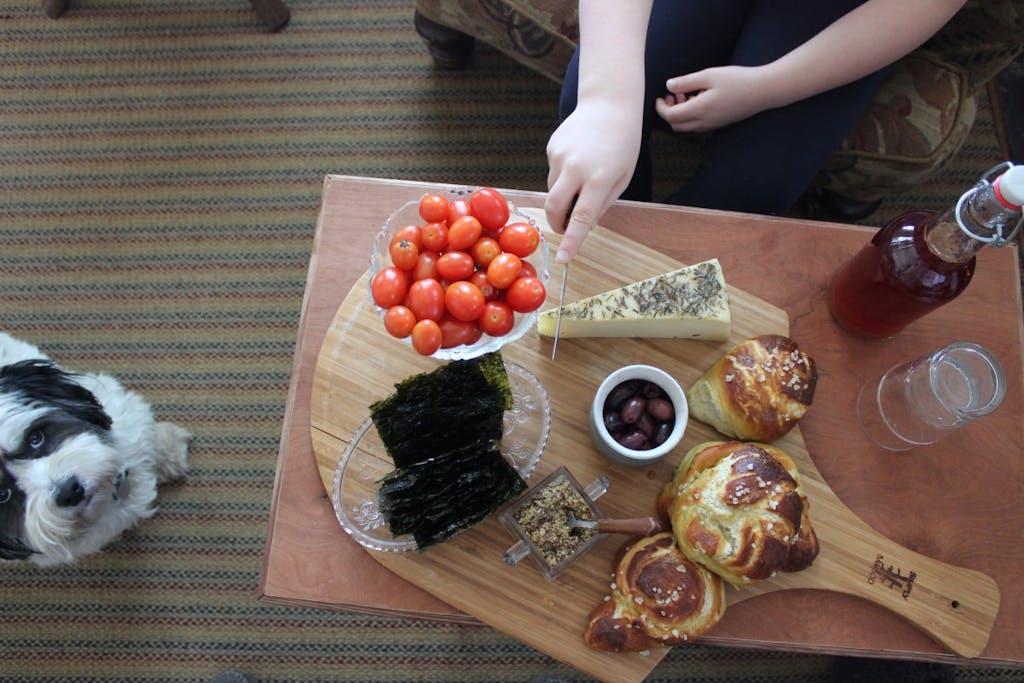
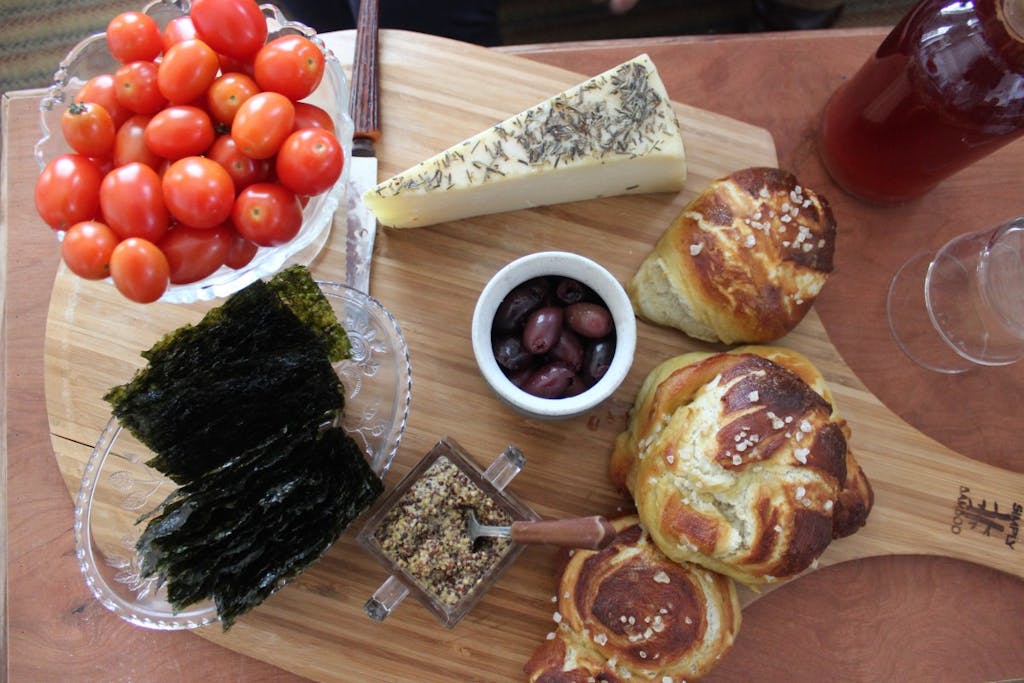
Along with the pretzels, I served up a seedy mustard, homemade sauerkraut,  rosemary cheese, olives, seaweed and cherry tomatoes. We also popped a bottle of homemade kombucha (stay tuned for a post on that soon!).

Today, just as I had set the snacks down in front of the fire, aunt Izzy stopped by and then not long after my dad.  There was plenty for everyone and our impromptu snack tray party was a huge hit.

We all decided sauerkraut atop a  soft pretzel is a pretty perfect combo!


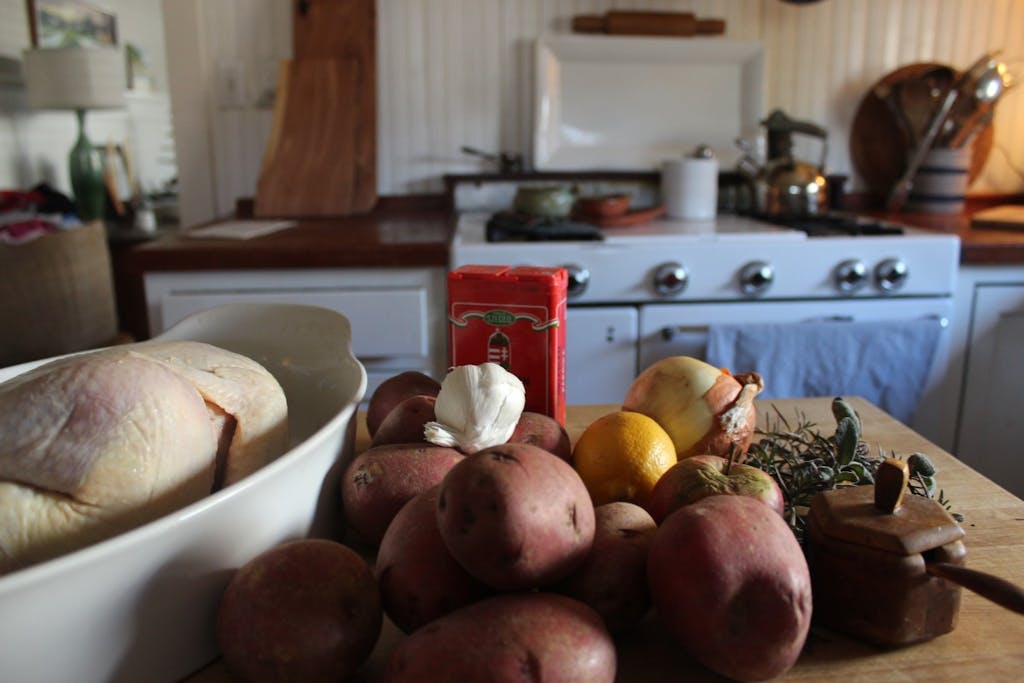
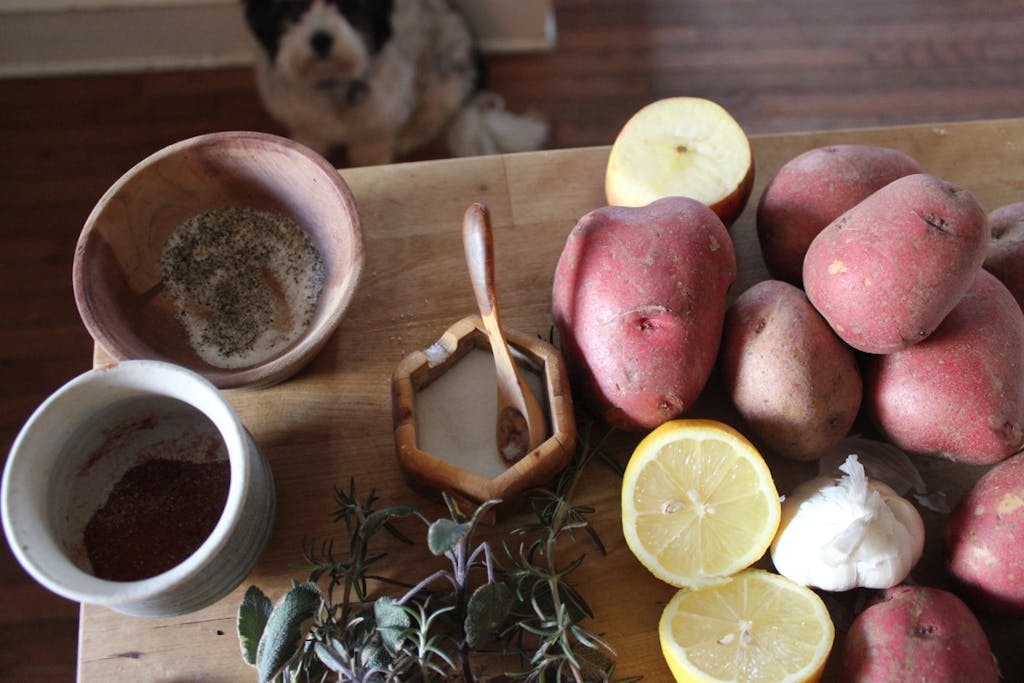
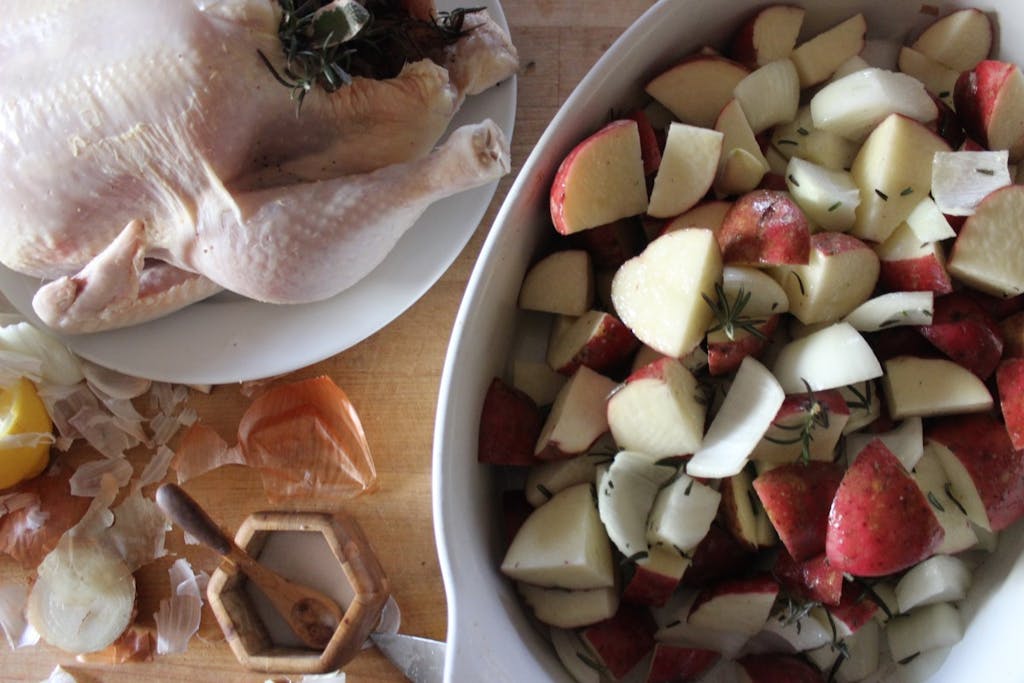
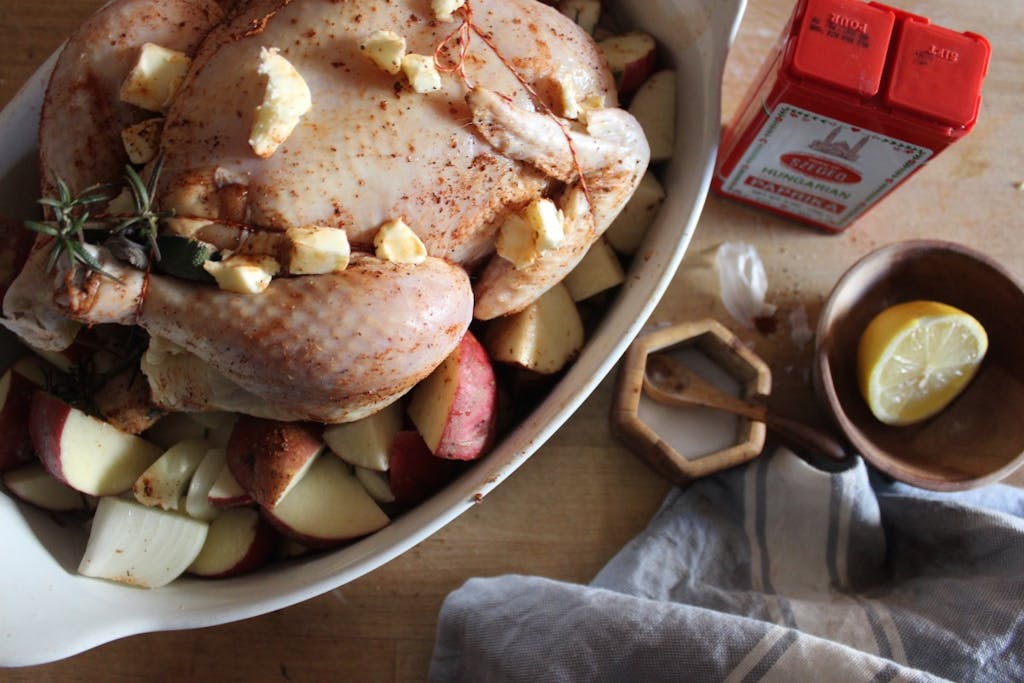
Sunday’s Roast Chicken

January 20, 2016

IMG_1820 IMG_1823 IMG_1826 IMG_1828 IMG_1847

I love Sunday. It is definitely my favorite day of the week.  I try to keep Sunday sacred by leaving it completely open and most of the time I strive to never get into a car or even leave the house  (except for my morning walk or maybe to walk to the market).

Our Sundays  shift and change with the seasons but Sundays in the winter and autumn are definitely my favorite. There’s always a late, sit down breakfast. There’s always a fire. And there’s always a chicken in the oven by late afternoon.

There is something so slow and intentional about making a  meal on Sunday. And there is something so special about ending the week with your favorite people eating that meal.

I use this recipe   every time but use different roots  from week to week and usually serve it up with garlicky sauteed greens such as kale, collards, swiss chard or mustard greens.

After the chicken has been carved and picked over, the bones and carcass are thrown into a pot and covered with water. I simmer the broth over night for 12 or more hours and wake to find  a golden elixir!

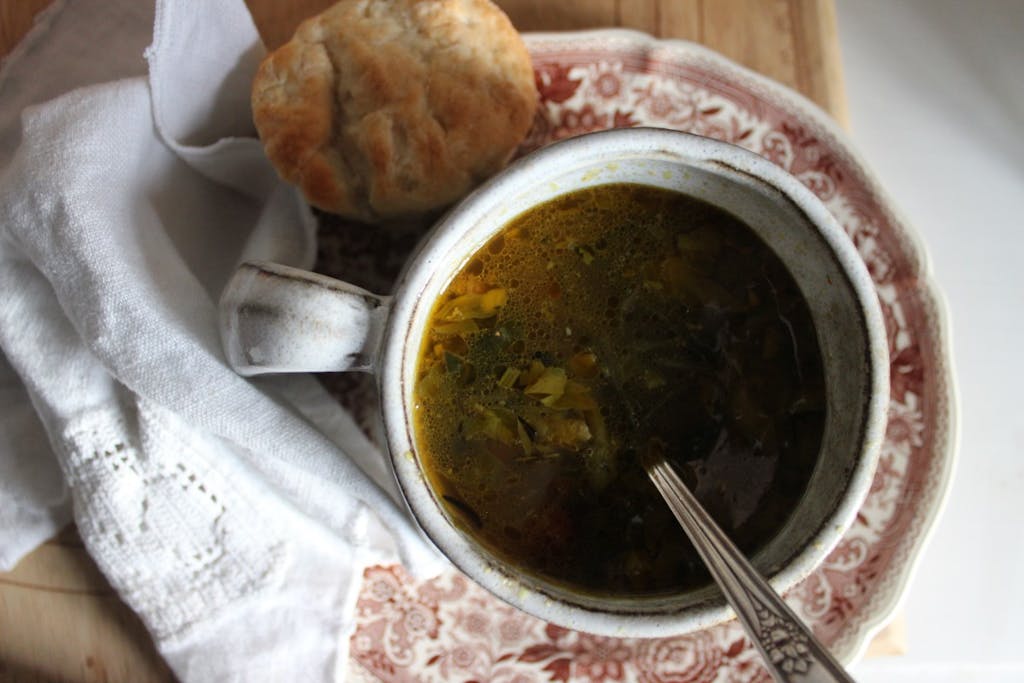
Monday night is chicken soup night. I make several variations but always fall back on a few simple tricks. This week I made a curried vegetable, chicken soup. There is always a salad and if time allows, homemade biscuits or corn bread with a  hunk of cheese.

If there are left overs, lunches on Tuesday consist of thermoses of hot soup. Although I admit to eating it for breakfast too.


Curried Chicken Soup

2 tablespoons butter

3 cloves of garlic chopped

1 onion chopped

3 stalks of celery chopped

4 carrots sliced

2 tablespoons curry powder (I am a curry-aholic. Feel free to half this)

1-16 ounce can of fire roasted tomatoes

6-8 cups of homemade chicken broth

1 cup frozen riced cauliflower (my new favorite TJs find!)

1 bunch fresh spinach or kale, leaves finely chopped

3 cups of cubed cooked chicken

Salt and fresh cracked pepper to taste

Heat butter in bottom of soup pot. Sautee garlic and onion. Once translucent, add celery and then carrots. Add 1/2 the curry powder and a  pinch of salt. Once the veggies are soft, add the tomatoes and then broth. Let simmer on low heat for 30 minutes. Add cauliflower, greens and chicken and rest of curry powder. Simmer for 30 more minutes. Turn off heat. Season with salt and pepper.

This soups improves with age.   


Applesauce

November 5, 2015

IMG_0959

IMG_0961

I grew up eating a lot of applesauce. There was always a jar in the fridge and I loved a bowlful sprinkled with cinnamon. One of my favorite meals served up at Nan and Pop’s house was pork-chops and applesauce.

I had only experienced store bought sauce until my first farm apprenticeship in my early twenties. Aside from learning how to grow my own food, a whole new world in the kitchen was opened up as I began to experience making many a thing from scratch. Homemade salsa, tomato sauce, fresh baked bread. But I will never forget my first taste of freshly milled applesauce. I was hooked and I have been making it every year since.

The orchard at the farm where I work had a bumper crop of apples this year.
We grow a large variety including Jonagold, Stamen, Cortland, Braeburn and my favorite, an heirloom variety, Cox’s Orange Pippin.

We like to stock up on sauce to eat throughout the winter months but also to give as holiday gifts.

I have been making the same simple recipe over the years but like to try something a little new and different from time to time.

Applesauce

4-6 pounds of a variety of apples (the sweeter variety, the better)
2 tsp vanilla
2 TBS cinnamon

Core apples and chop, leaving the skins on.

Cook apples down in a large soup pot with a little water or apple cider to prevent from burning the bottom of the pot. Simmer until apples are very soft.

Turn apples through a food mill. Stir in vanilla and cinnamon.

:: I recently remembered reading somewhere about adding lemon rind to the apples as they simmered down. I tried it and was pleased with the results.

:: I like to use sweeter apples rather than tart to avoid using sugar. I sometimes add a few over ripe pears for a little extra sweetness.

Chocolate covered mint leaves

August 27, 2015

IMG_9966

IMG_9961

IMG_9960

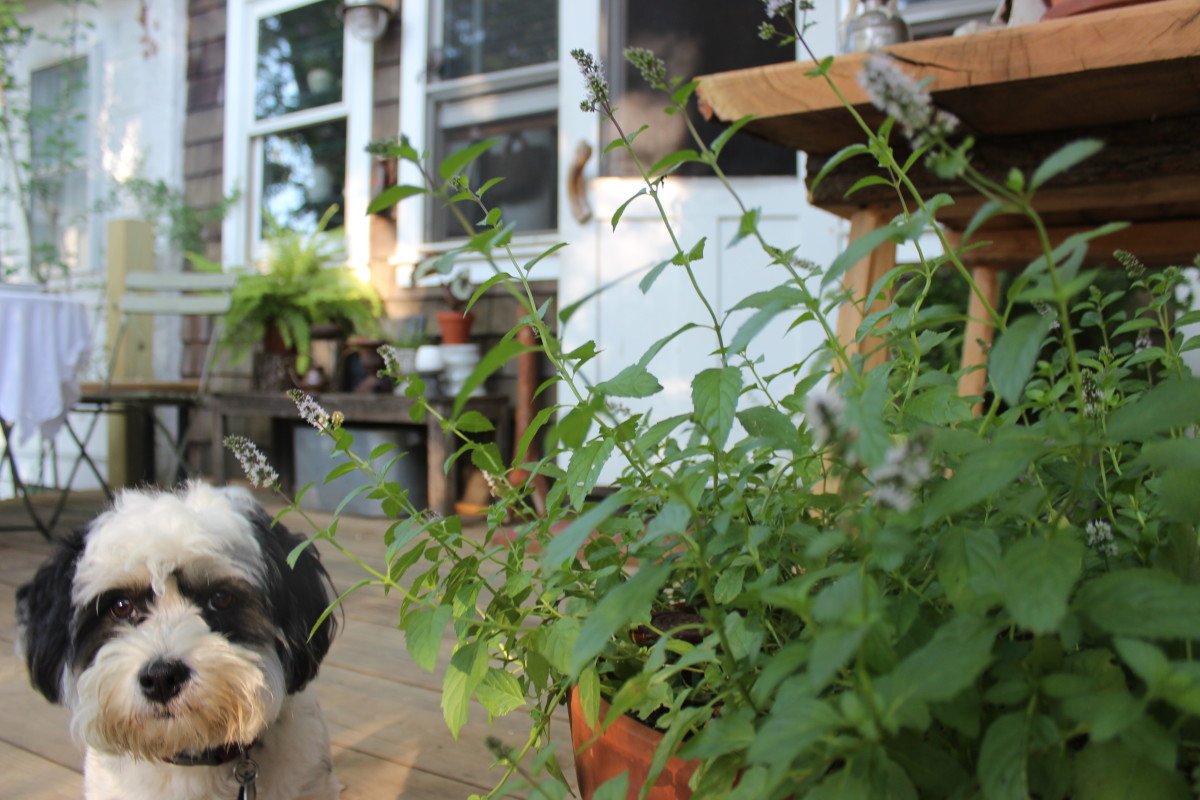
Last night after dinner while Hannah and I were sitting on the back porch chatting, she began picking and nibbling on mint leaves from a plant growing in a big terracotta pot. As I watched her, I remembered a fun idea I had read about and told her to pick a small bowl full of the largest mint leaves she could find. Looking a bit puzzled she followed orders while I poured chocolate chips into the double boiler to melt.

My chocolate loving girl’s eyes immediately lit up once she realized that we were making after dinner mints!

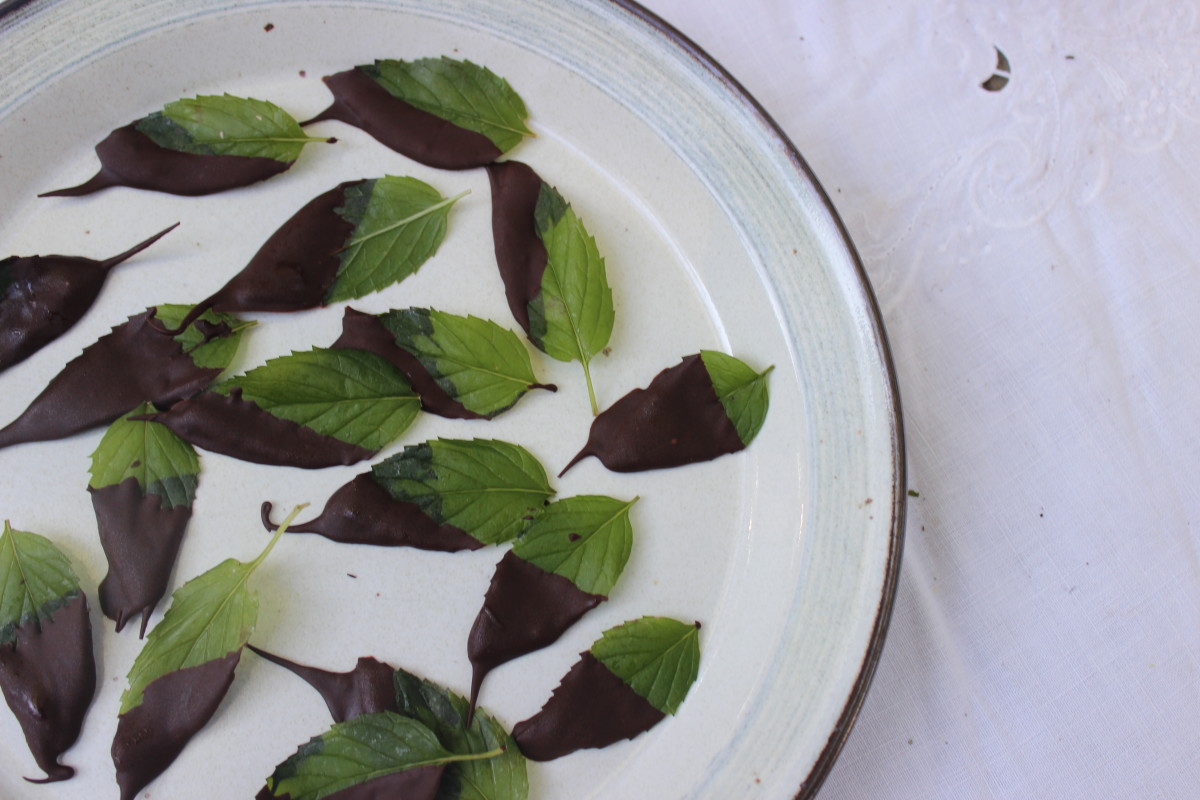
Chocolate Covered Mint Leaves

20-30 fresh peppermint leaves
a few handfuls of chocolate chips
1/2 teaspoon coconut oil

Wash and dry mint leaves. Heat up chocolate chips and coconut oil into a double boiler and stir until smooth. Turn off heat and with tongs or tweezers dip leaf into chocolate and lay on a sheet of wax paper. Freeze for a few hours. Store in an airtight container in fridge.

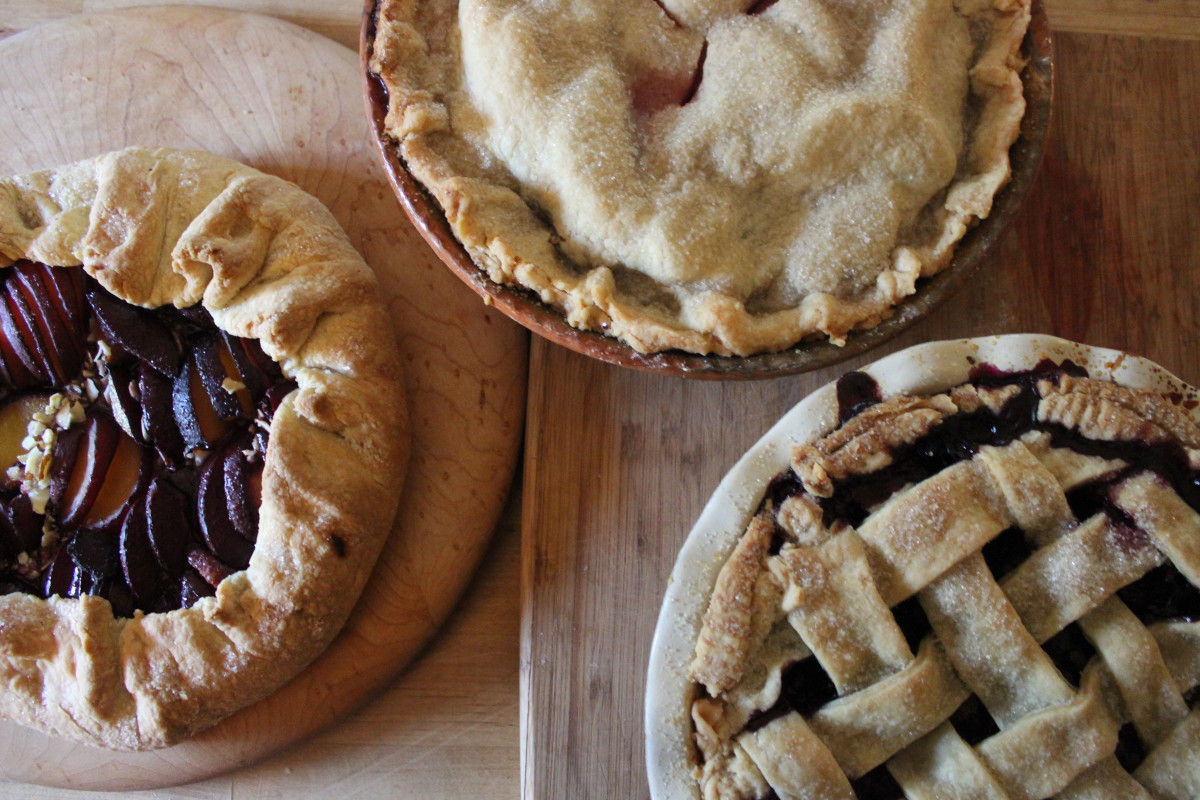
Pie on the Porch Party over at Terrain!

August 26, 2015

IMG_9313

I’m super honored to be featured over at Terrain today where I talk about a hosting a Pie on the Porch party.

Click here to read all about it.

  • 1
  • 2
  • 3
  • …
  • 5
  • Next Page »
Welcome Welcome Amy Johnson is a writer, photographer, gardener, teacher, mother and wife living on the corner of Second and Edgemont. She creates space for beauty and simplicity in all that she does.
  • Email
  • Facebook
  • Flickr
  • Instagram
  • Pinterest

Amy at Tend Collective

tend collective

Categories

  • Adventures & Getaways
  • At Home
  • Entertaining
  • In the Garden
  • In the Kitchen
  • Projects
  • Thrifting
  • Through the Seasons
  • Traditions and Celebrations

Gallery: Home

Home Gallery

Gallery: Garden

Garden
  • About
  • Garden
  • Home
  • Archive
  • Tend Collective

Tags

2012 2013 2014 2015 2016 2017 adventure april august autumn backyard beach birthday celebration christmas december february friends garden hannah holiday holidays home january july june kitchen lake lake shehawken mama march may norah november october old site papa september spring summer tend tradition traditions vacation winter

Archive

Return to top of page

Copyright © 2026 · Second and Edgemont · Site Design by Nomad Farm