second and edgemont

creating space for beauty & simplicity

  • About
  • Gallery
    • Garden
    • Home

Making pretty with what you have

May 27, 2014

IMG_3180

IMG_3188
IMG_3196
IMG_3203
IMG_3205
IMG_3214
IMG_3232
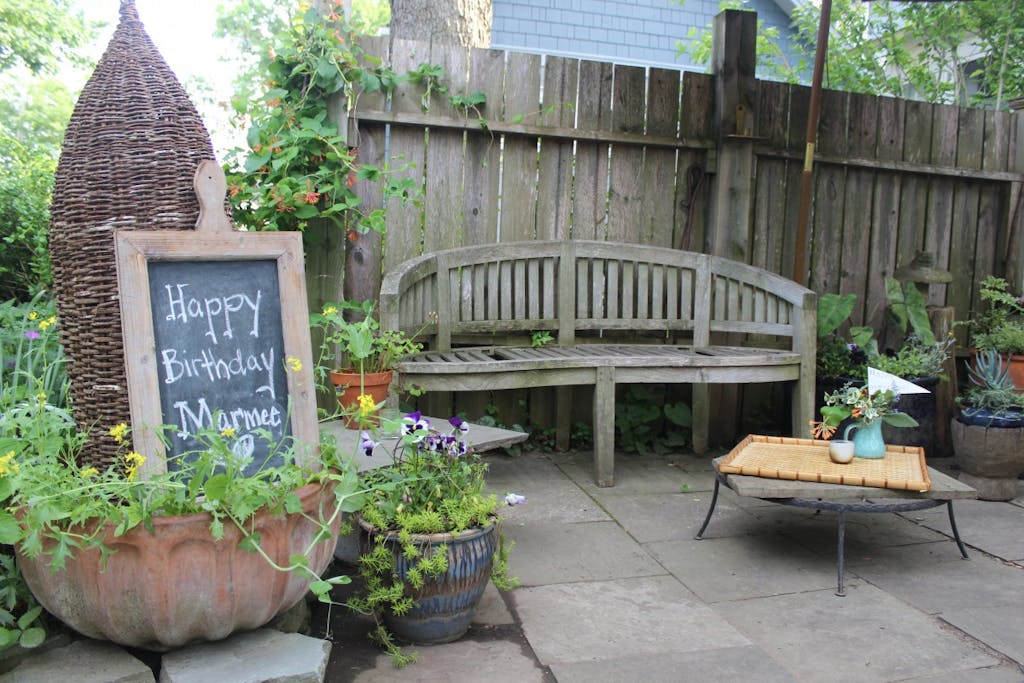
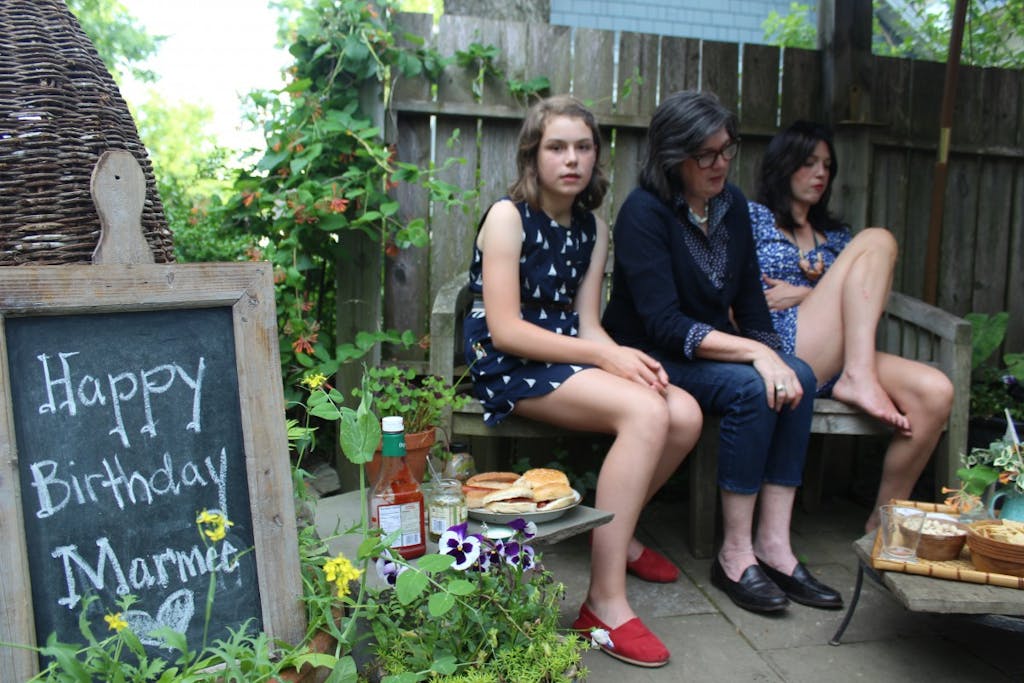
We hosted a little birthday celebration for my mom yesterday.
As we were driving back from the beach in the morning my mind began to wander as to what needed to be done once I got home to prepare for the party. Bake a strawberry rhubarb cobbler, clean the bathroom, marinate the chicken and asparagus for the grill, make a few flower arrangements…..

I wanted to be able to entertain mostly outdoors since it was going to be a warm evening but I began to get into a funk as I thought about our back porch which is looking a bit run down (plans to rebuild it next month!) and the fact that we needed new outdoor furniture and that I wished there was some money in the budget for some new plants and …… you get the point.
I stopped myself and said “Amy you can do this. You can get creative and make a beautiful outdoor experience with what you have. I know you can!”

After the car was unpacked and a visit to the market I got to work.
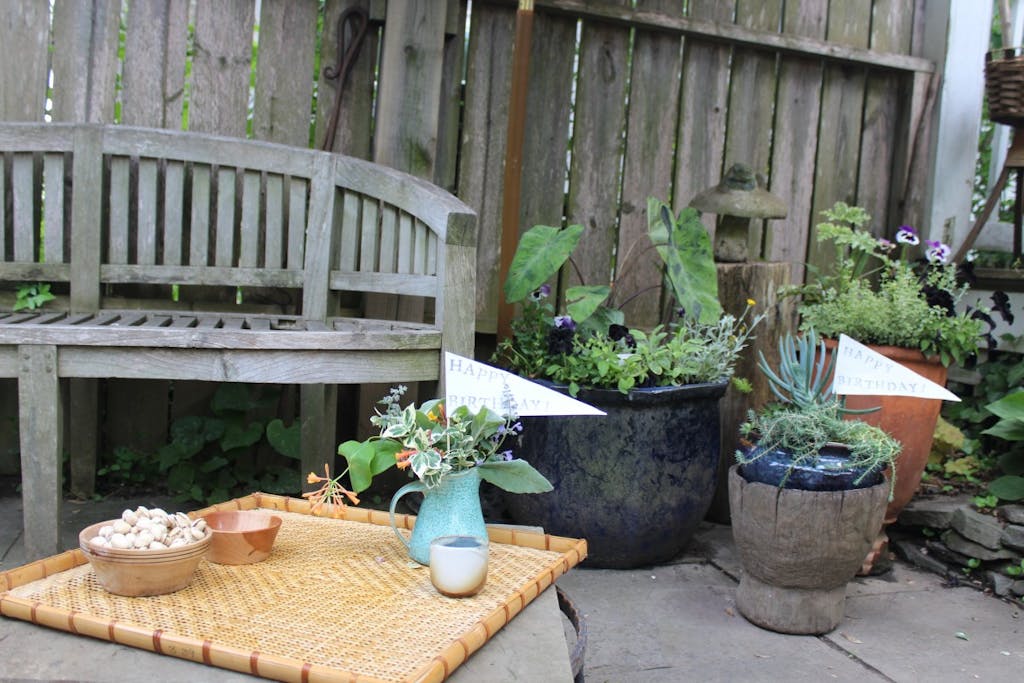
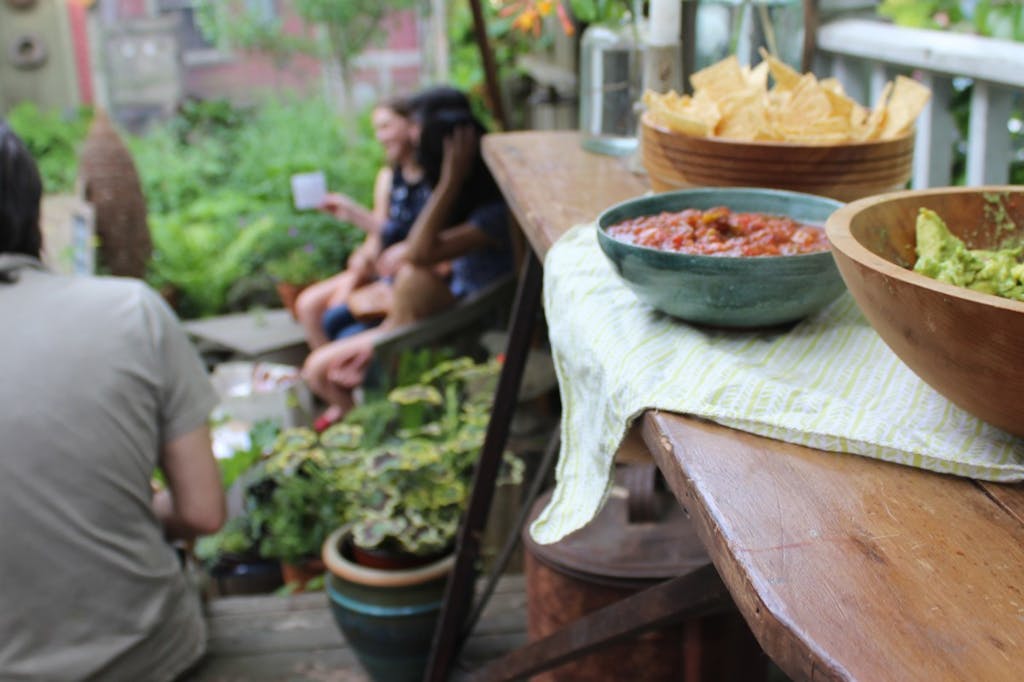
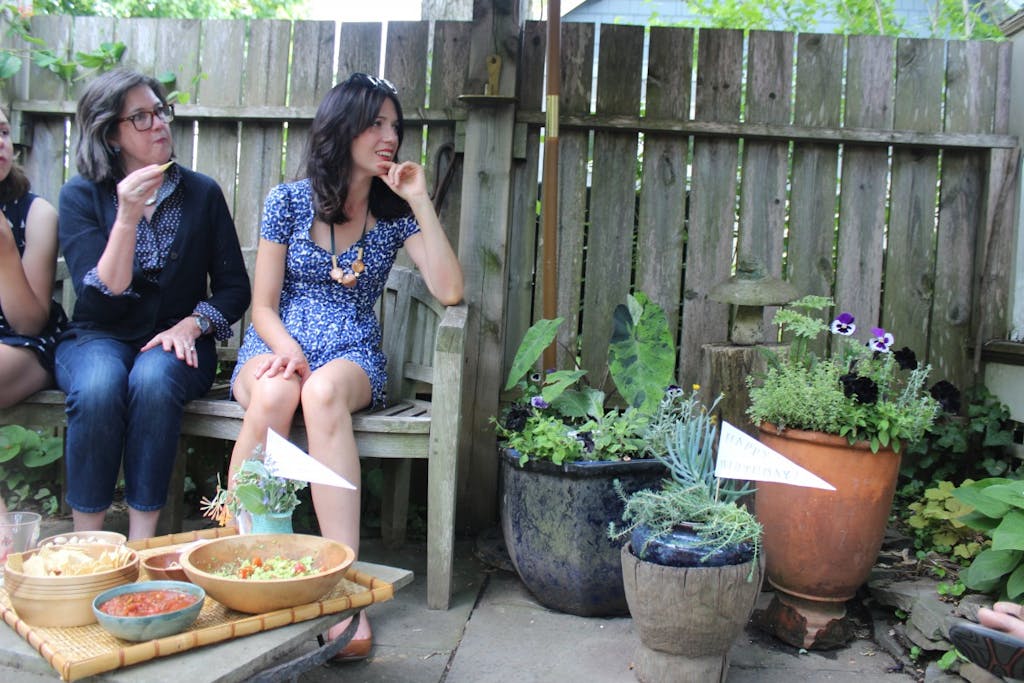
I swept the patio and porch clean (what a difference a clean swept space makes!) and unearthed the patio umbrella from the garage. I brought out a woven rug and laid it out on the porch. To serve hors d’oeuvres, I set up my antique ironing board with a pretty cloth napkin and glass jars filled with stems of Solomons Seal and Honeysuckle. I placed a piece of large flagstone on top of a clay crock and one on top of the stand that holds our fire pit to make little tables to set food and drinks on. I used a basket tray to place on top of one the tables for a homey feel and set out a bouquet of flowers and a votive. Instead of buying flowers, I made arrangements from my own garden of Lambs Ear, Catmint, Hosta leaves, Enonymous and Comfrey. I got out the birthday flags and stuck them in arrangements and planters and set out a chalkboard wishing my mom a Happy Birthday when she arrived.

When I was finished I stepped back and fell in love with the cozy outdoor party space made entirely with things found around my home and garden. Later that night as I was blowing out candles and cleaning glasses off of my makeshift tables I realized I hadn’t noticed all night how run down the porch was. I sort of like it now.
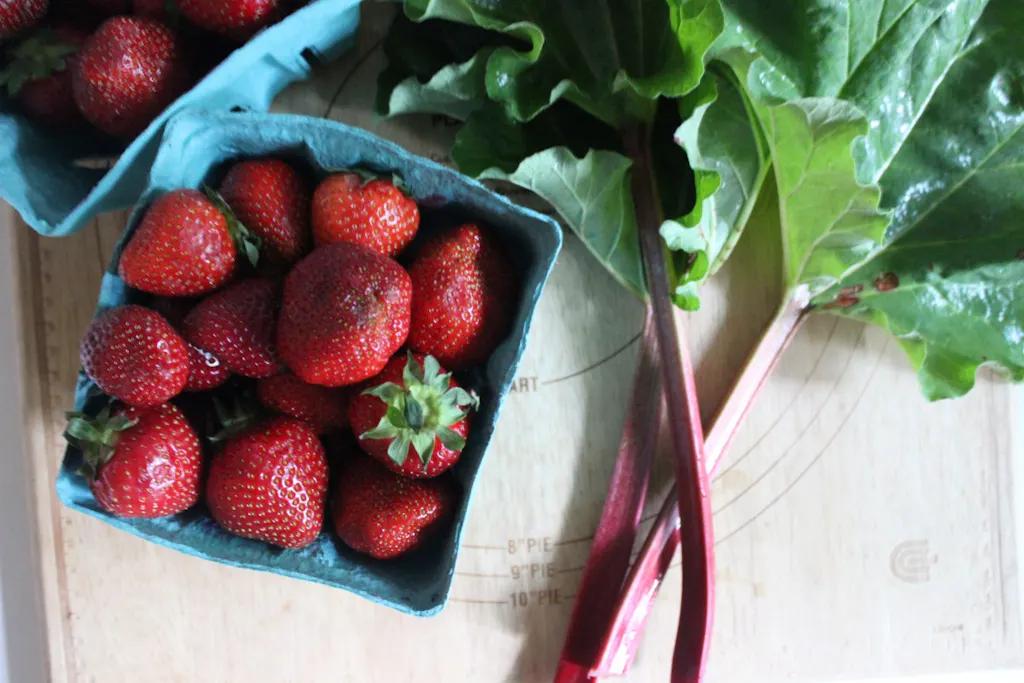
Strawberry Rhubarb Crumble

May 24, 2014

IMG_3164


It’s Friday and I am over at Tend with a Strawberry Rhubarb Crumble. Just in time for the holiday weekend.

Happy Weekend Friends! xo

Pasteli

May 22, 2014

IMG_3134
IMG_3143
IMG_3149
IMG_3154

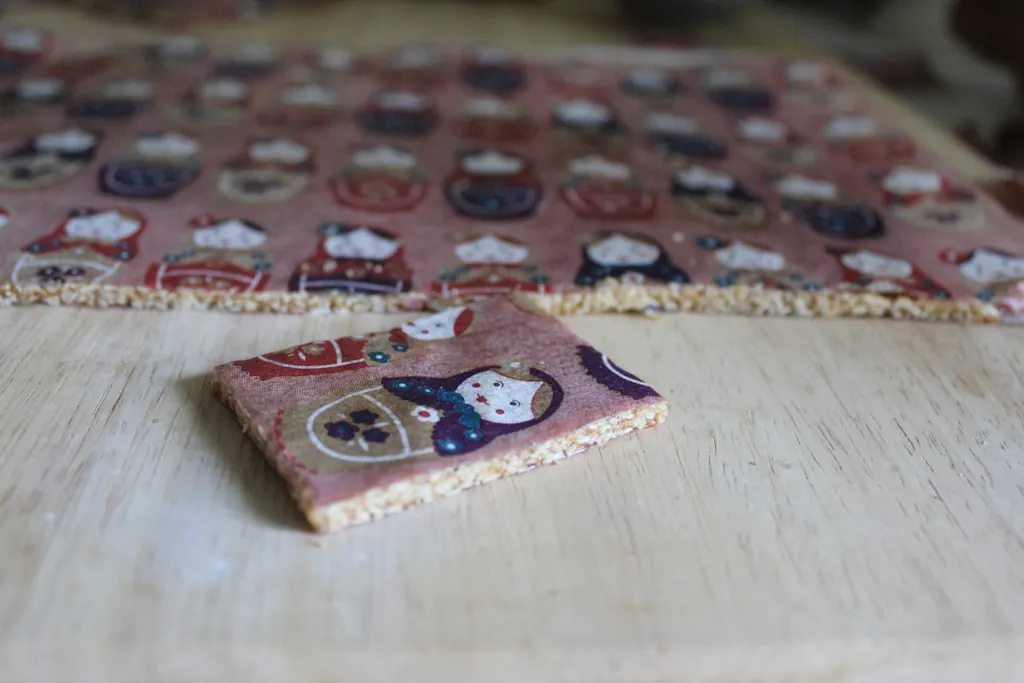
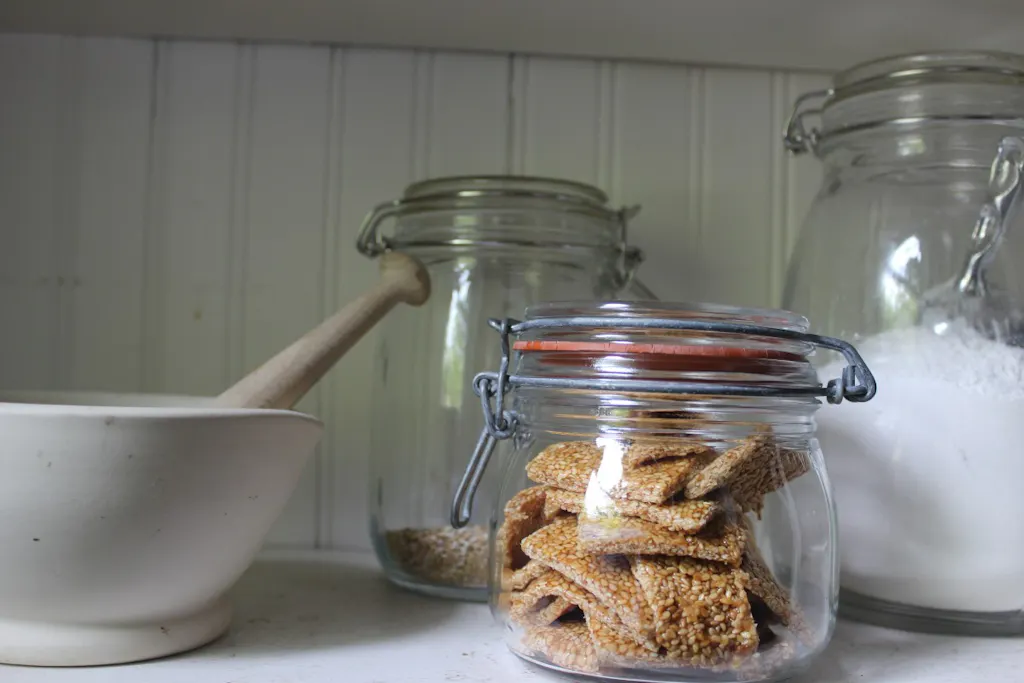
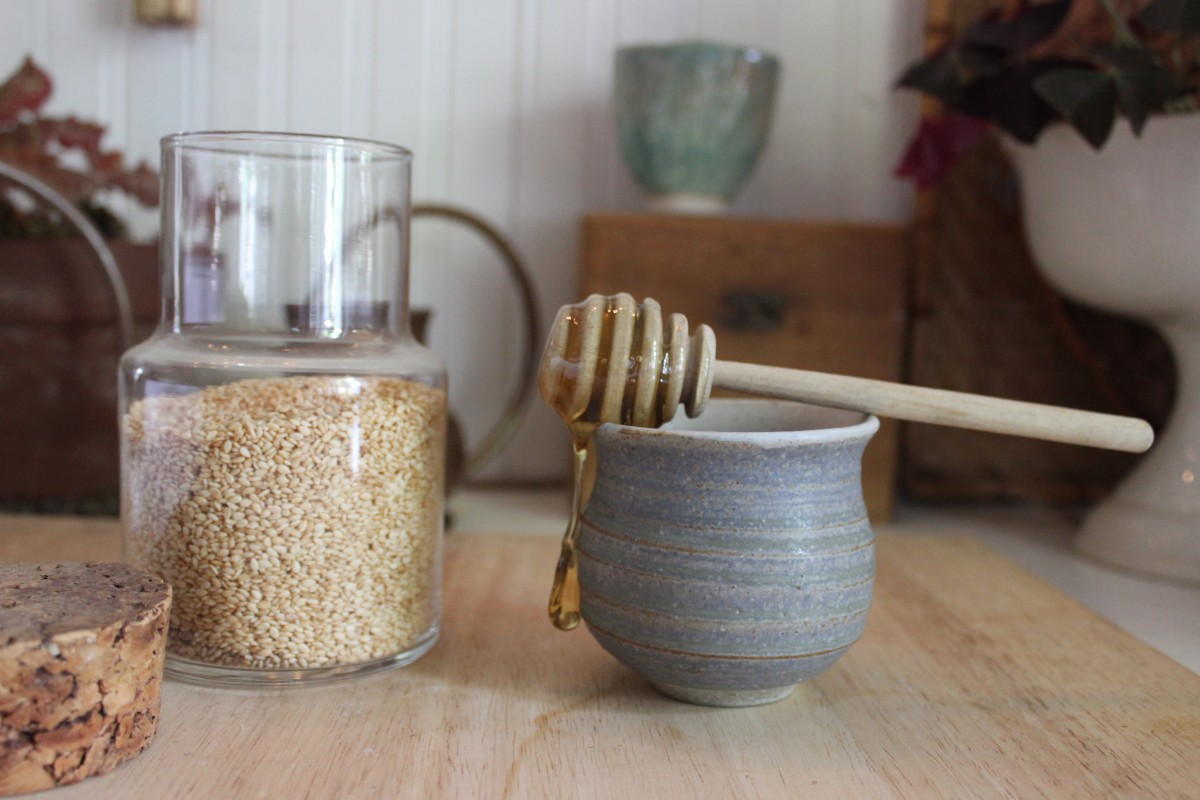
This past Christmas a friend gifted us a beautiful box full of homemade Pasteli. The minute I bit into the chewy, golden, Greek pastry I was hooked. I actually hid it away from the rest of my family and ate the entire box myself! Feeling a bit guilty I asked her for the recipe so I could make it and share the next time. This delicious candy consists of only two ingredients ~ honey and sesame seeds. With sesame seeds containing high amounts of vitamins and nutrients and honey being an antioxidant, Pasteli is the perfect energy bar. Eat it for breakfast, as a lunchbox snack, a mid day pick me up or for dessert.

Pasteli

~2/3 cup honey
~1 1/2 cup sesame seeds

Bring honey to a slow boil over medium heat. Add sesame seeds and cook until it reaches 270 degrees on a candy thermometer (hard ball stage) stirring frequently. Pour onto buttered parchment paper and cover with second sheet of buttered parchment. Using a wide dough scraper level to 1/4″. Cool completely. Oil the blades of kitchen shears and cut (through parchment and all) into bite size pieces.

*Nuts such as walnuts, pistachios, or almonds are also common in some versions of pasteli.

You can remove parchment paper and store in air tight container or use a patterned parchment and store with it on. It’s fun peeling it off individual pieces~ just like a candy wrapper!

Assateague Island and Banana Boats

May 19, 2014

IMG_2932
IMG_2940
IMG_2943
IMG_2949
IMG_2960
IMG_2971
IMG_2987
IMG_2992
IMG_3018
IMG_3049
IMG_3060
IMG_3064
IMG_3071
IMG_3081
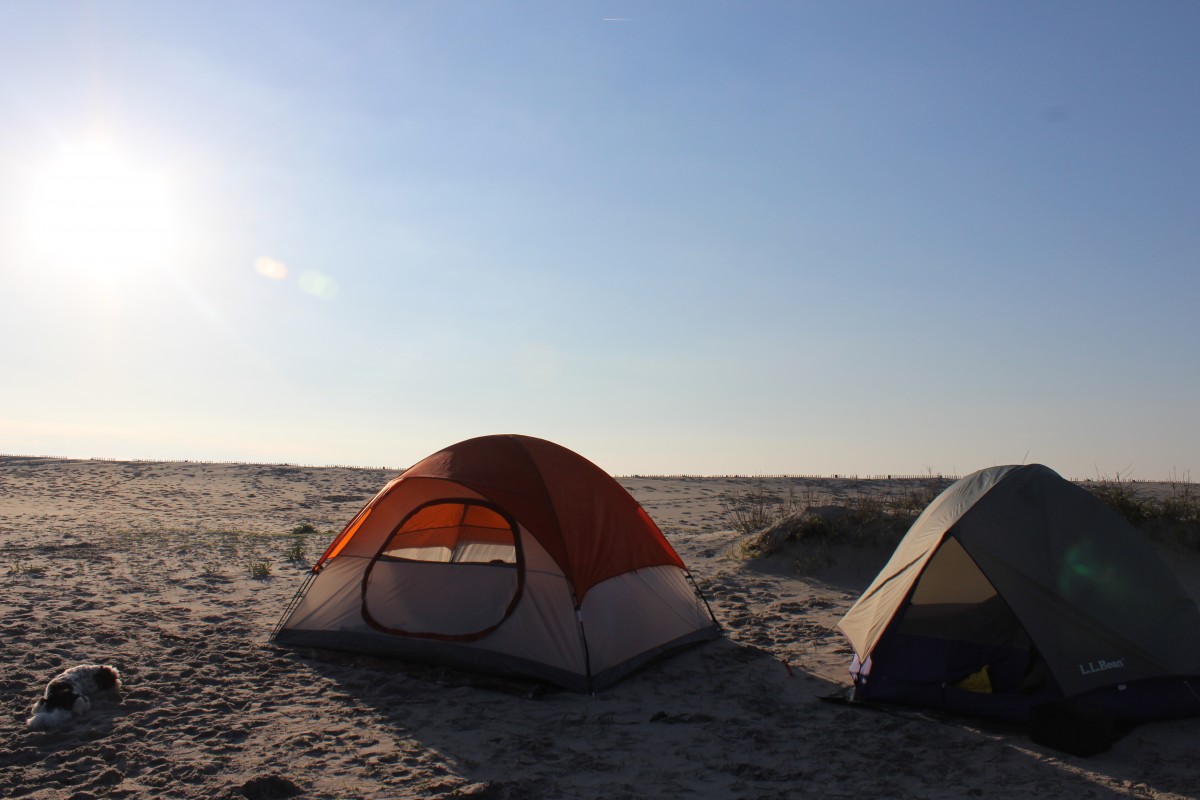
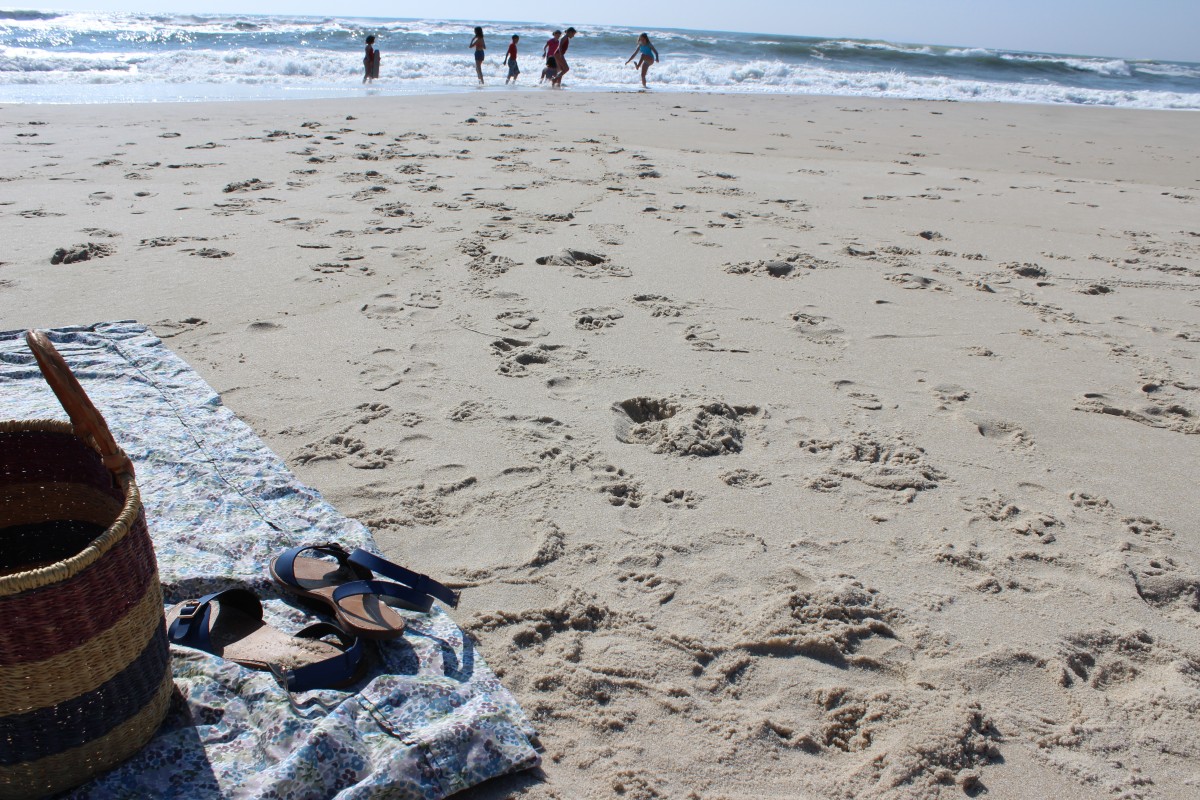
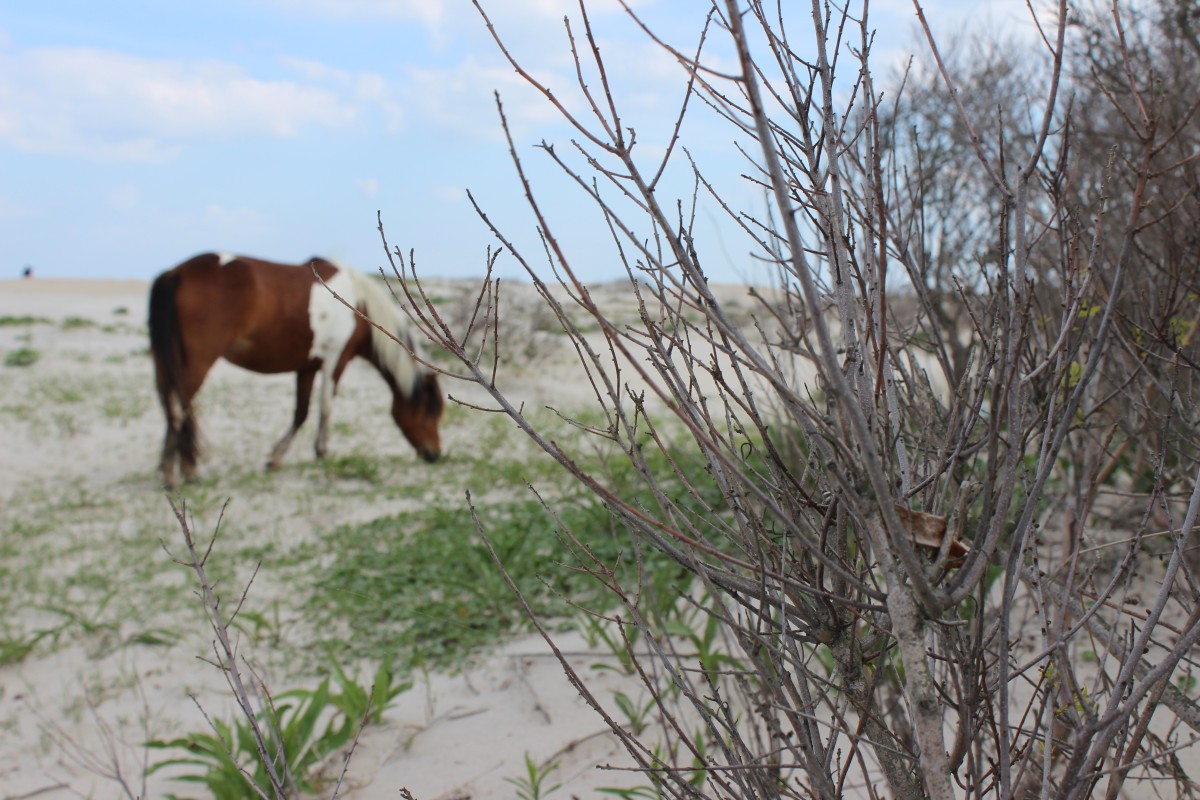
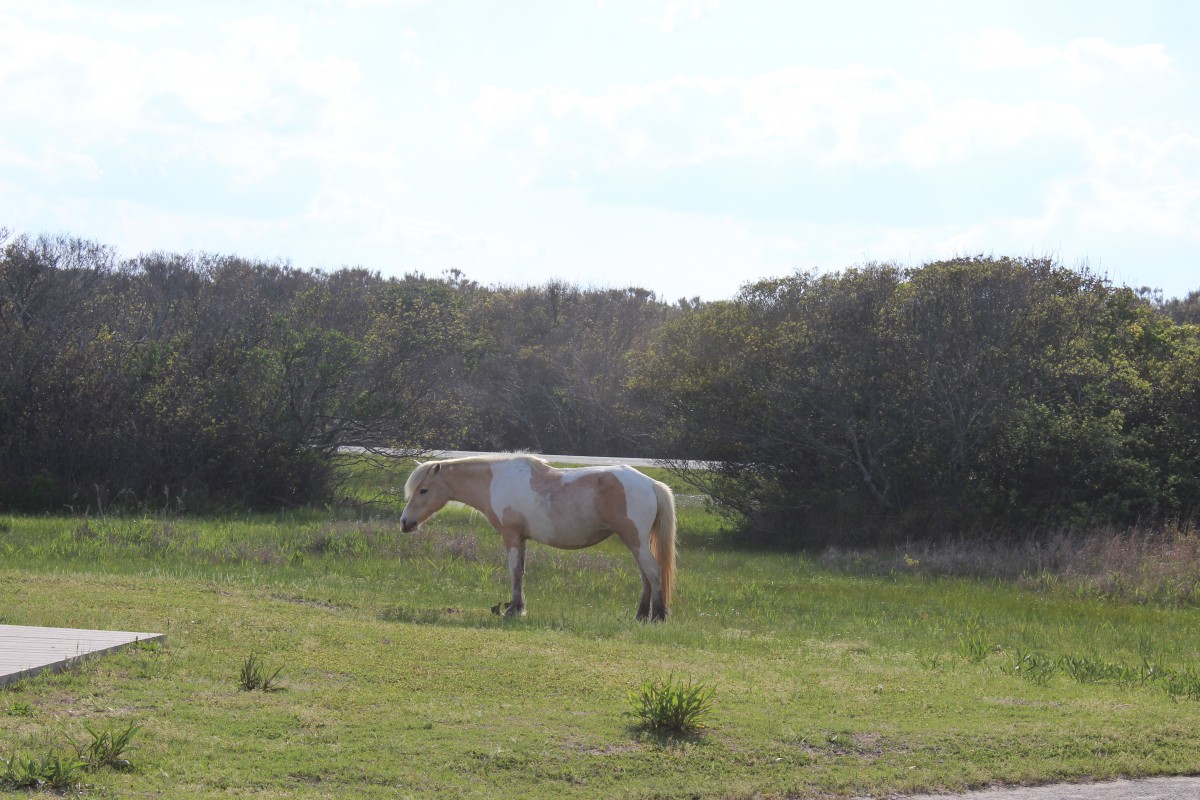
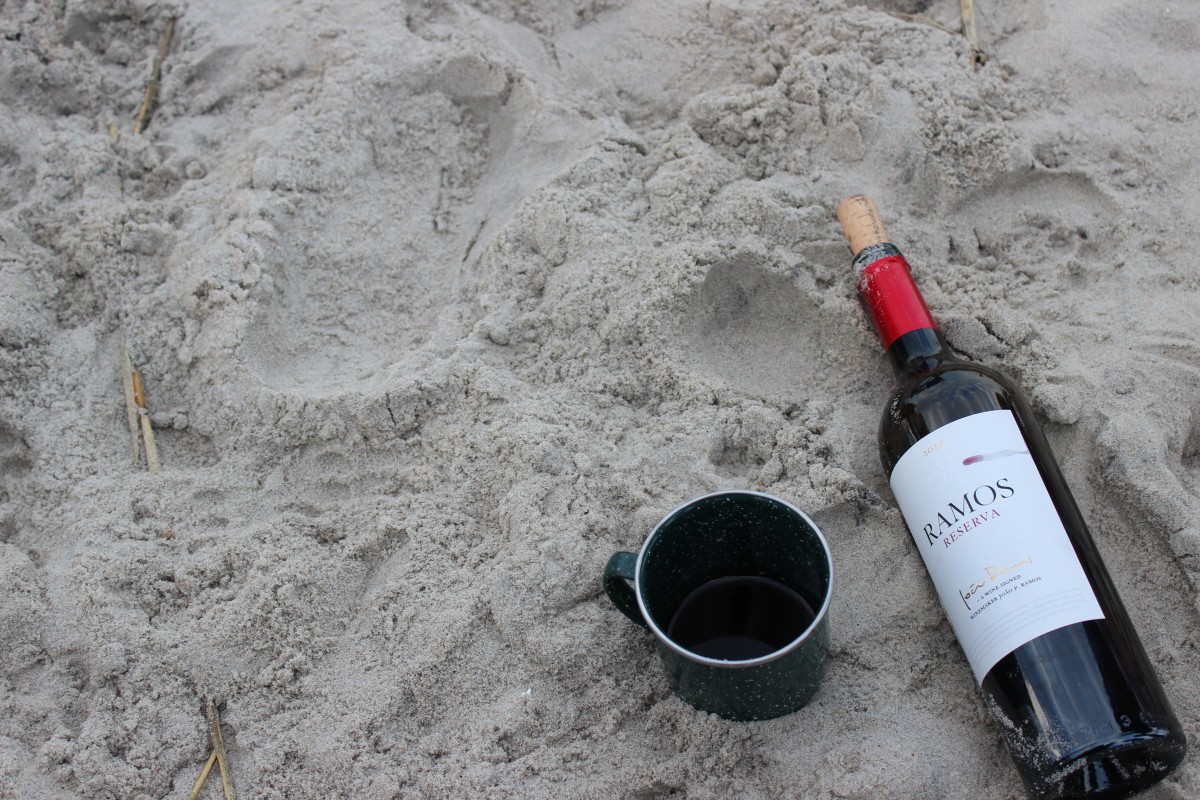
We ventured south for our annual Assateague Island getaway this past weekend. The weather was absolutely perfect and so was the time spent with our most favorite friends. If you have never camped on a beach, I highly recommend it. Falling asleep and waking to the sound of the ocean is pure bliss. The first night I was woken to a full moon streaming through our tent and the song of the Eastern Whippoorwill. The second night I fell asleep kissed by the sun and fresh air and slept like a log. Harry and I were the first ones up each morning to catch the sunrise and there were even a few wild pony sitings.
The kids romped in the water and played in the dunes which always reminds me of the book Roxaboxen.
There was a roaring campfire each night along with jokes and ghost stories.
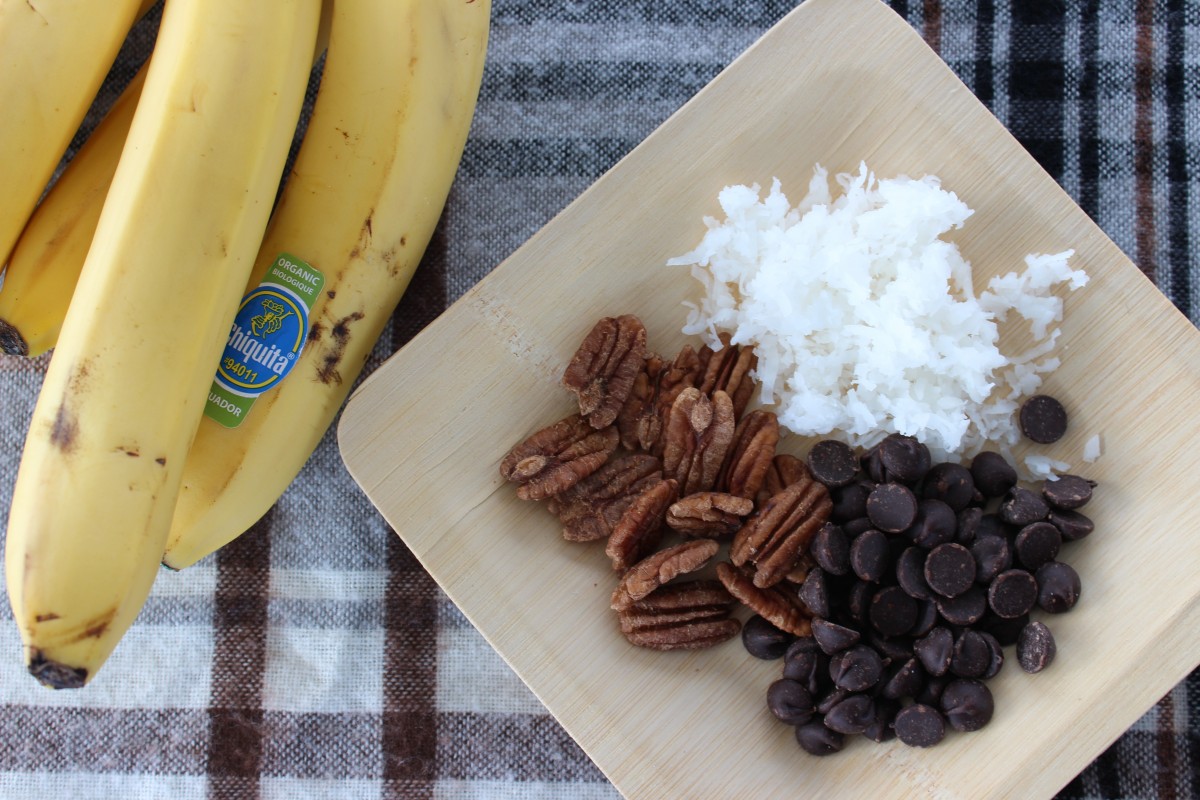
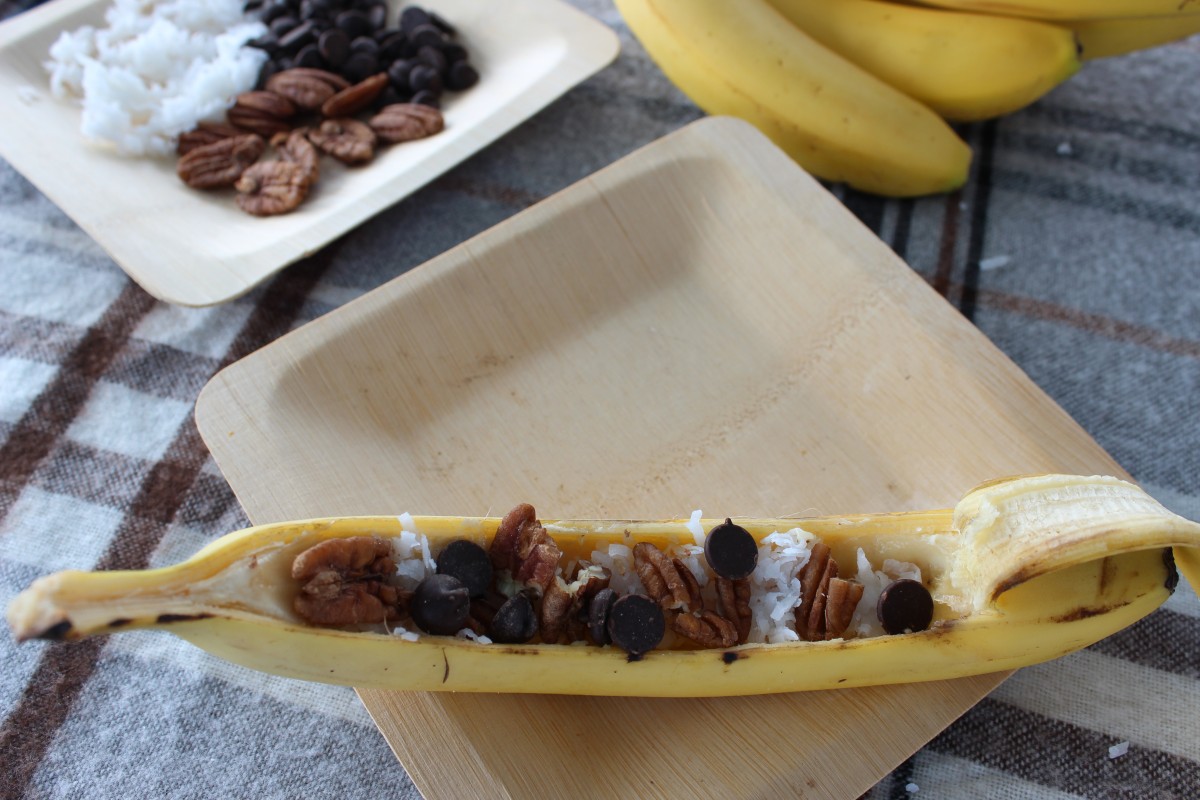
And of course there were marshmallows and s’mores. But our favorite is a banana boat hot off the flames. It’s like a campfire sundae!

Banana Boats

Peel back one piece of banana peel.
Scoop out a channel and eat.
Fill channel with chocolate chips, nuts, coconut, peanut butter, fresh berries.
Pull peel back over and wrap whole banana in tin foil.
Roast over fire until warm and gooey.
Grab a spoon and dig in.

IMG_2966
IMG_2969

Mother nature creates the most beautiful vignettes

May 14, 2014

IMG_2845
IMG_2848
IMG_2852
IMG_2853
IMG_2854
IMG_2855
IMG_2870
IMG_2871
IMG_2874
IMG_2877

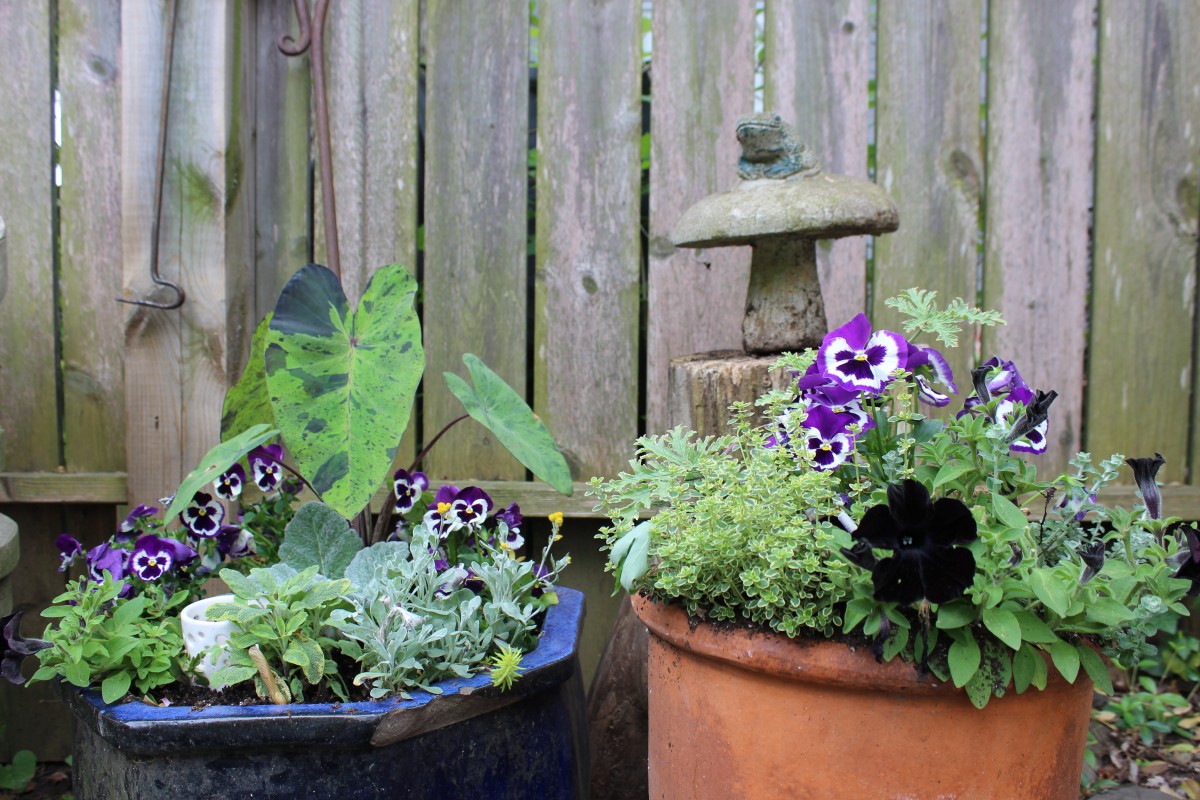
I love how at this time of year my house feels like it stretches it’s wings and extends out into the garden. Everything feels a bit more roomy, like we have put on an addition.
Our home takes a big inhale drawing in the light, palette, textures and shapes from the garden giving the inside a whole new feel.

Just as I favor certain corners of my home I am also drawn to specific corners in my garden.
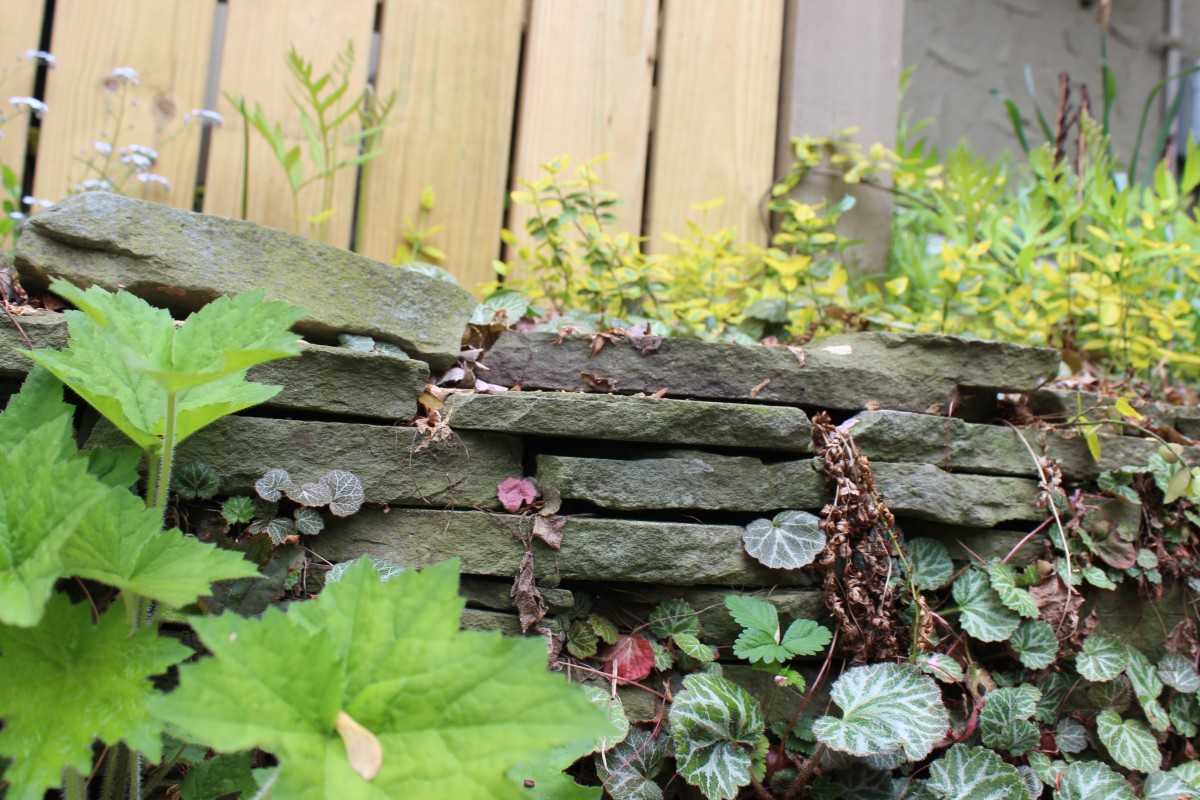
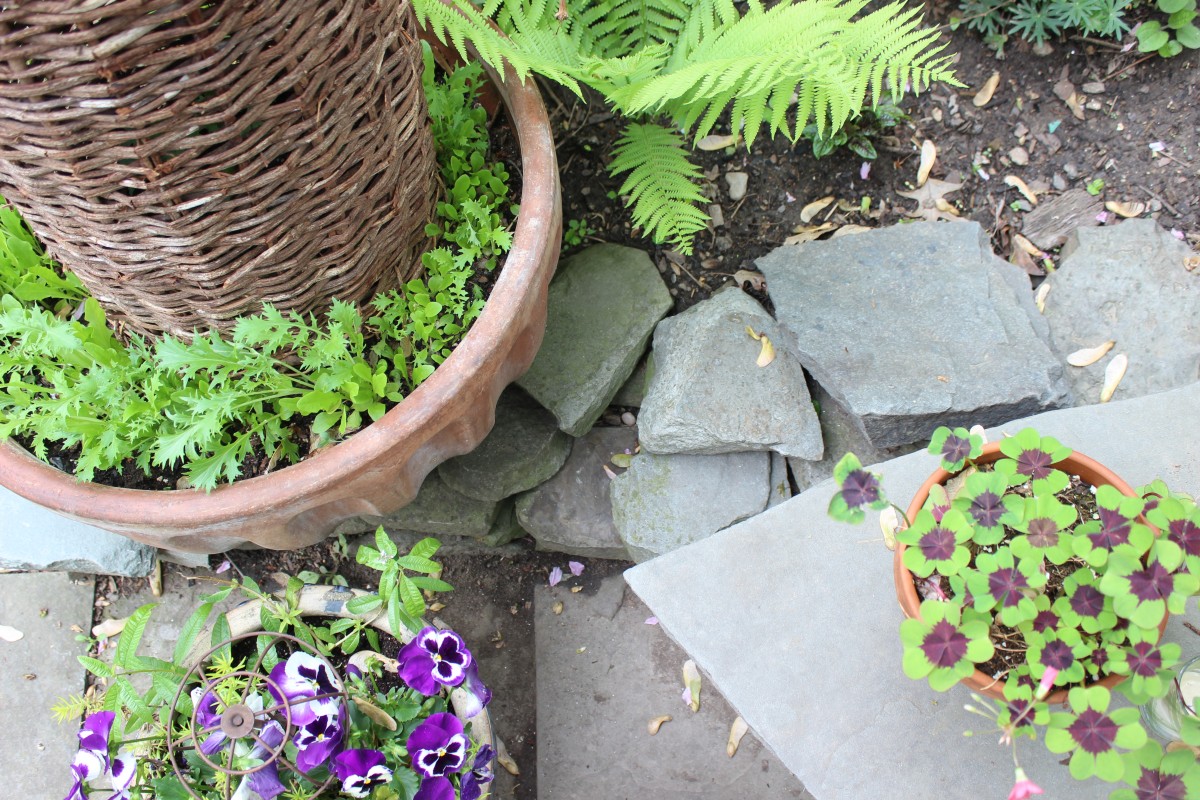
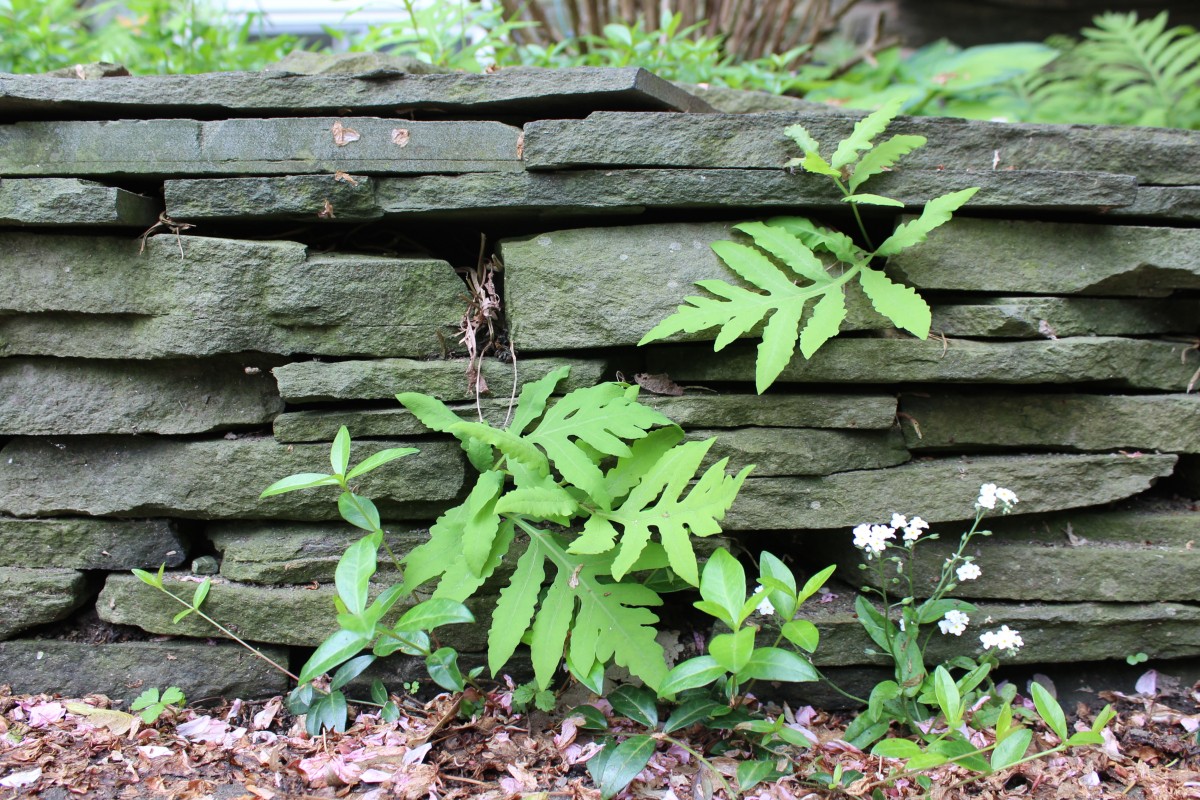
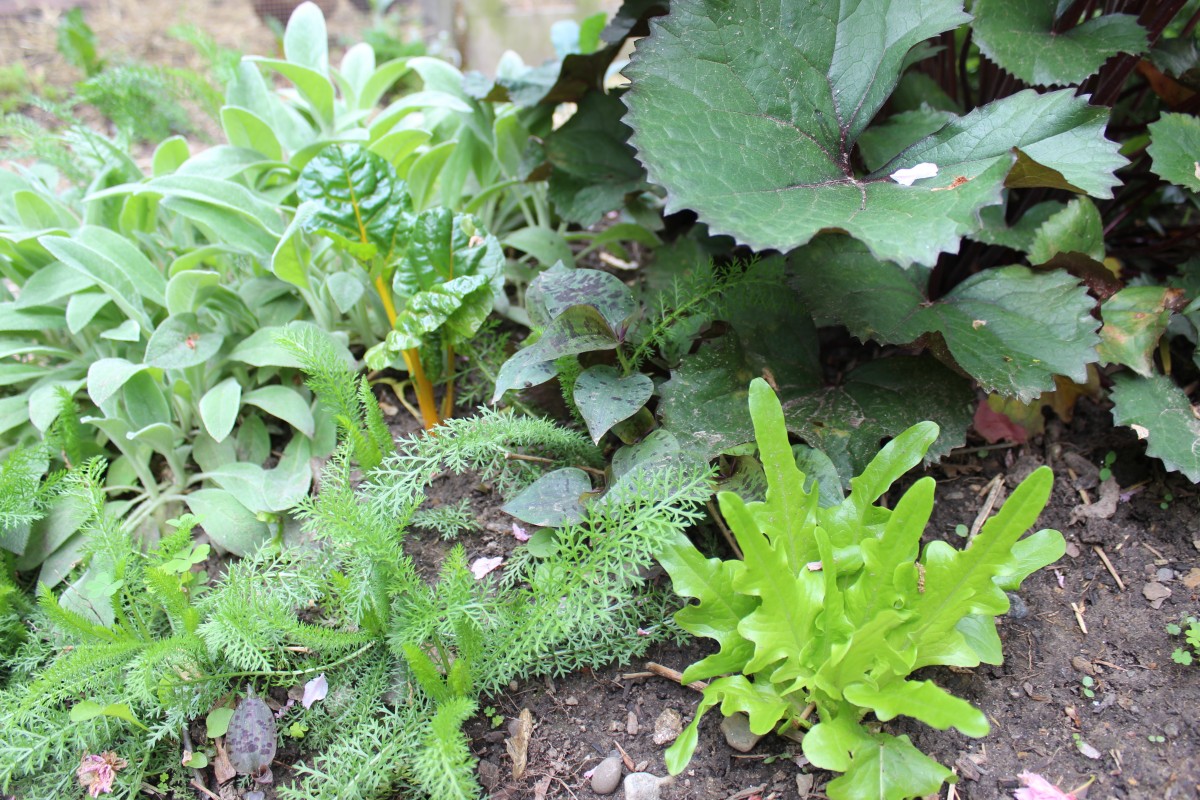
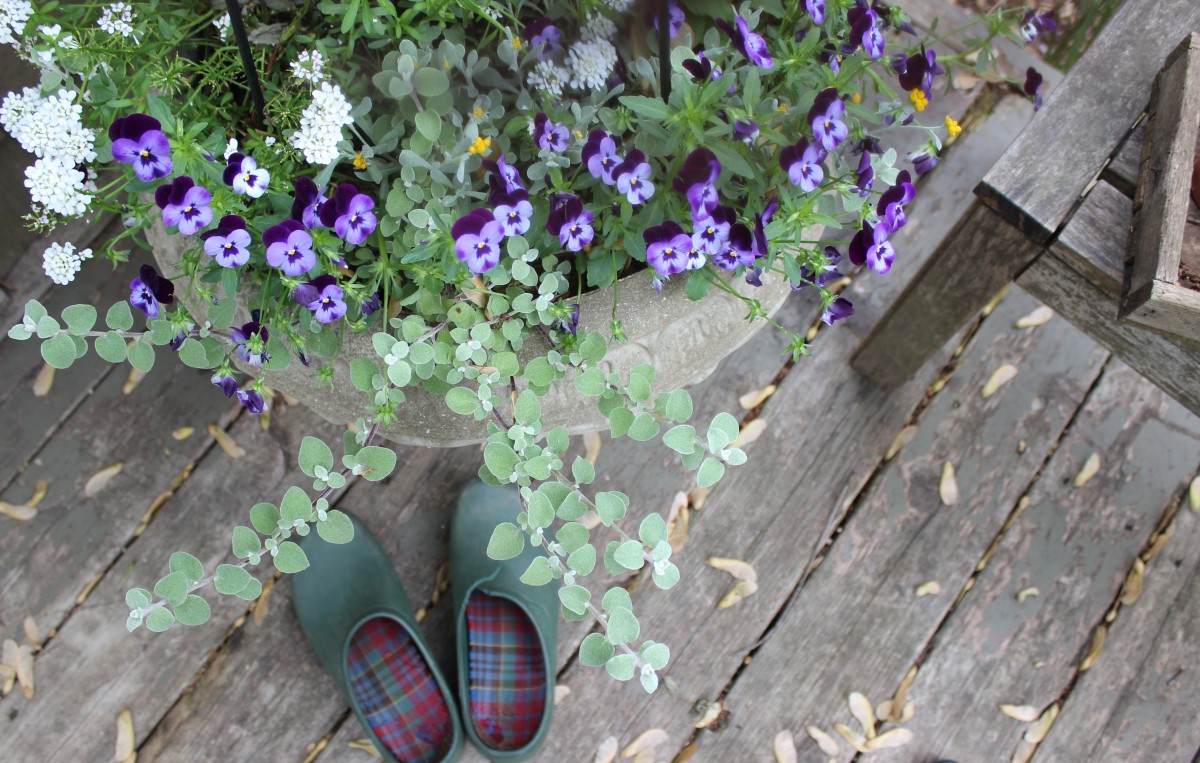
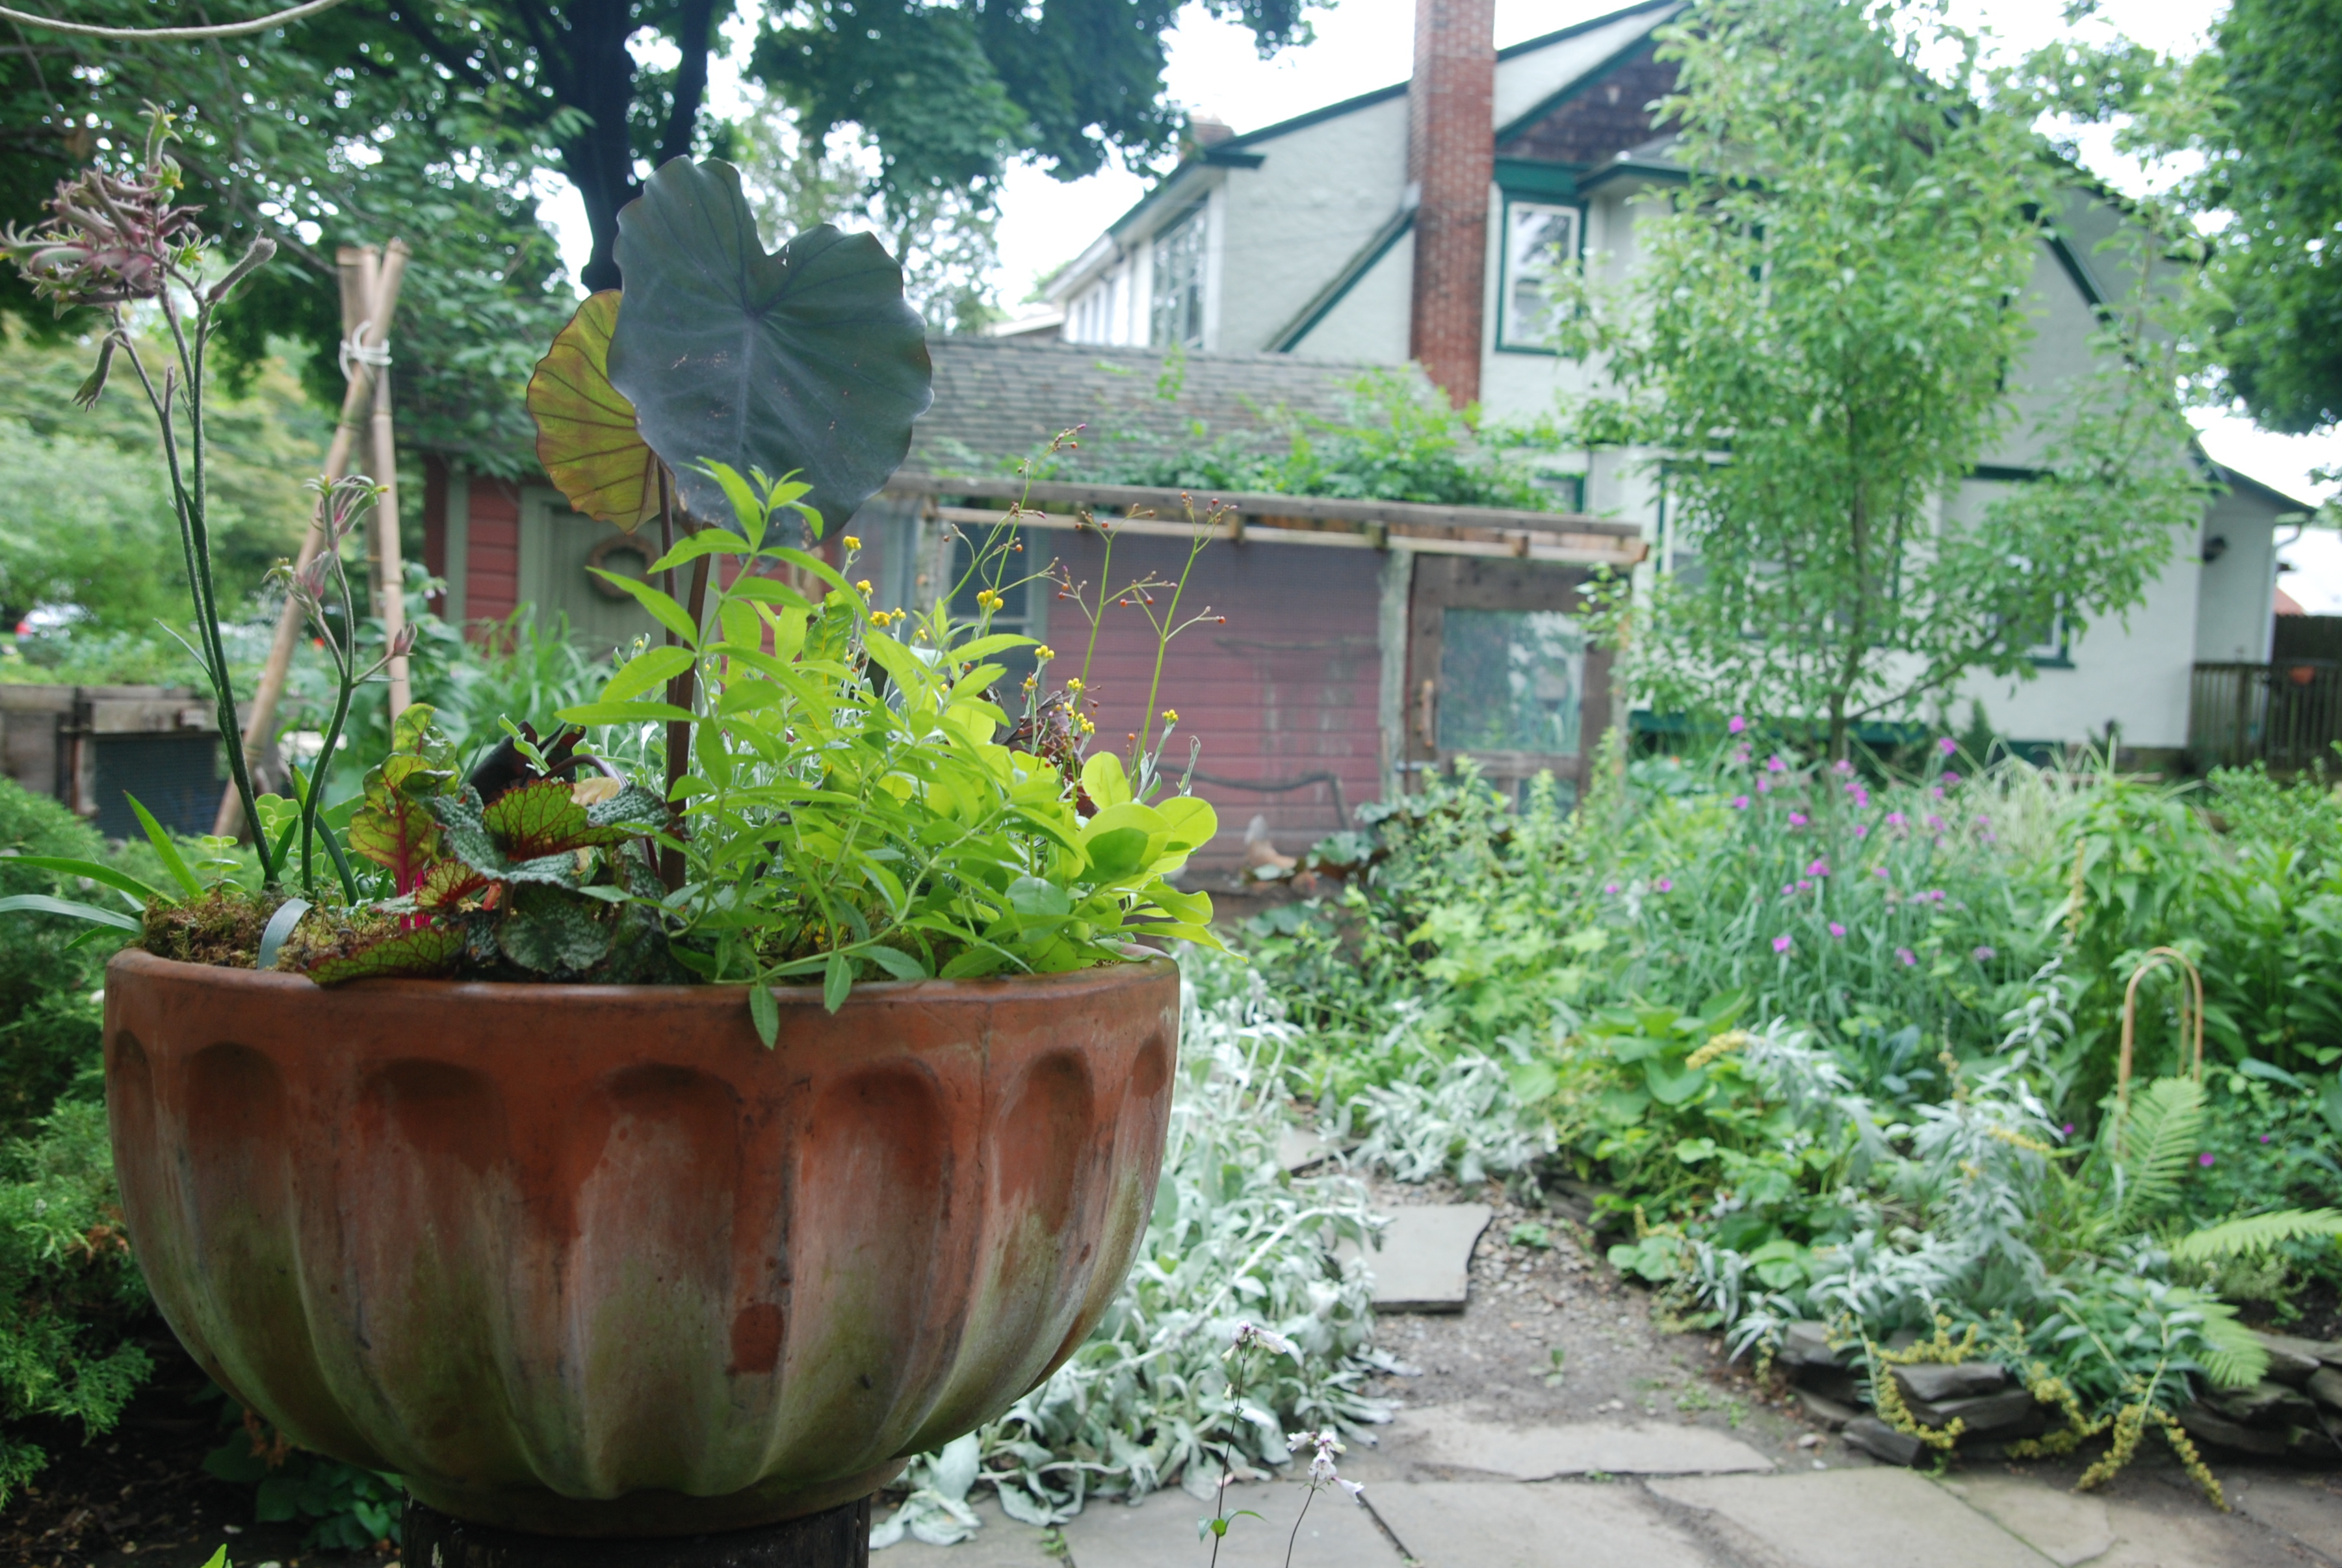
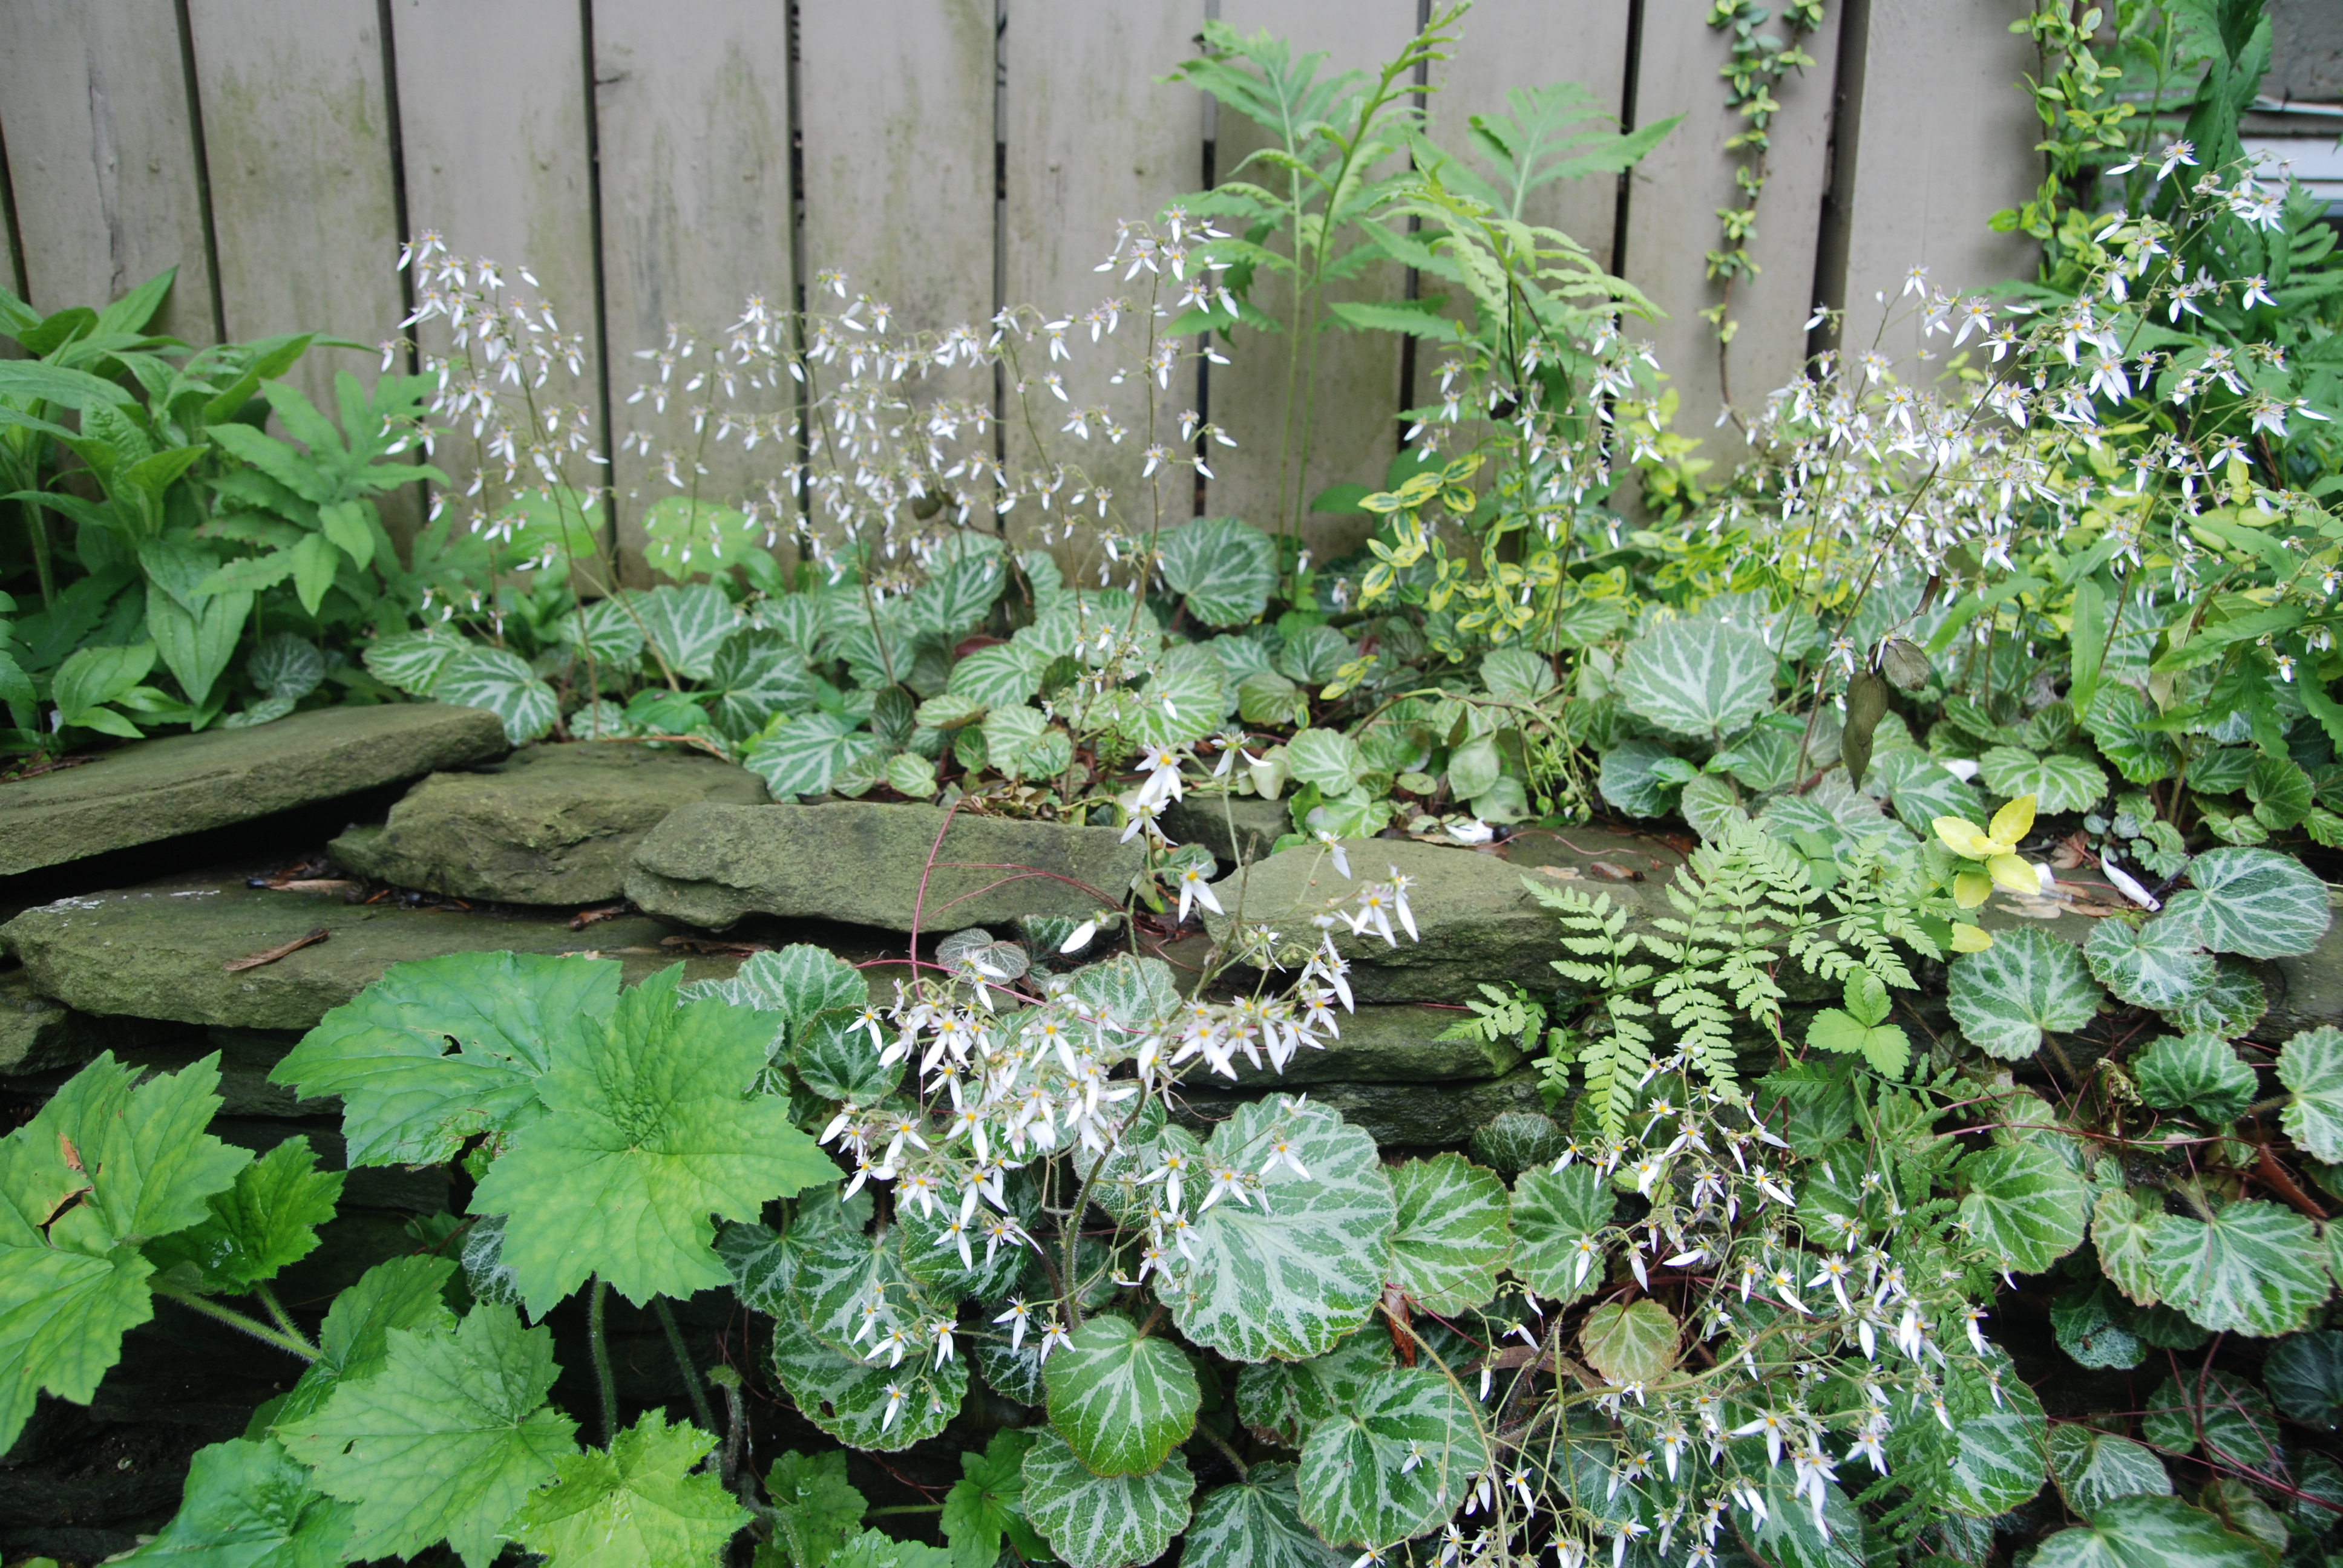
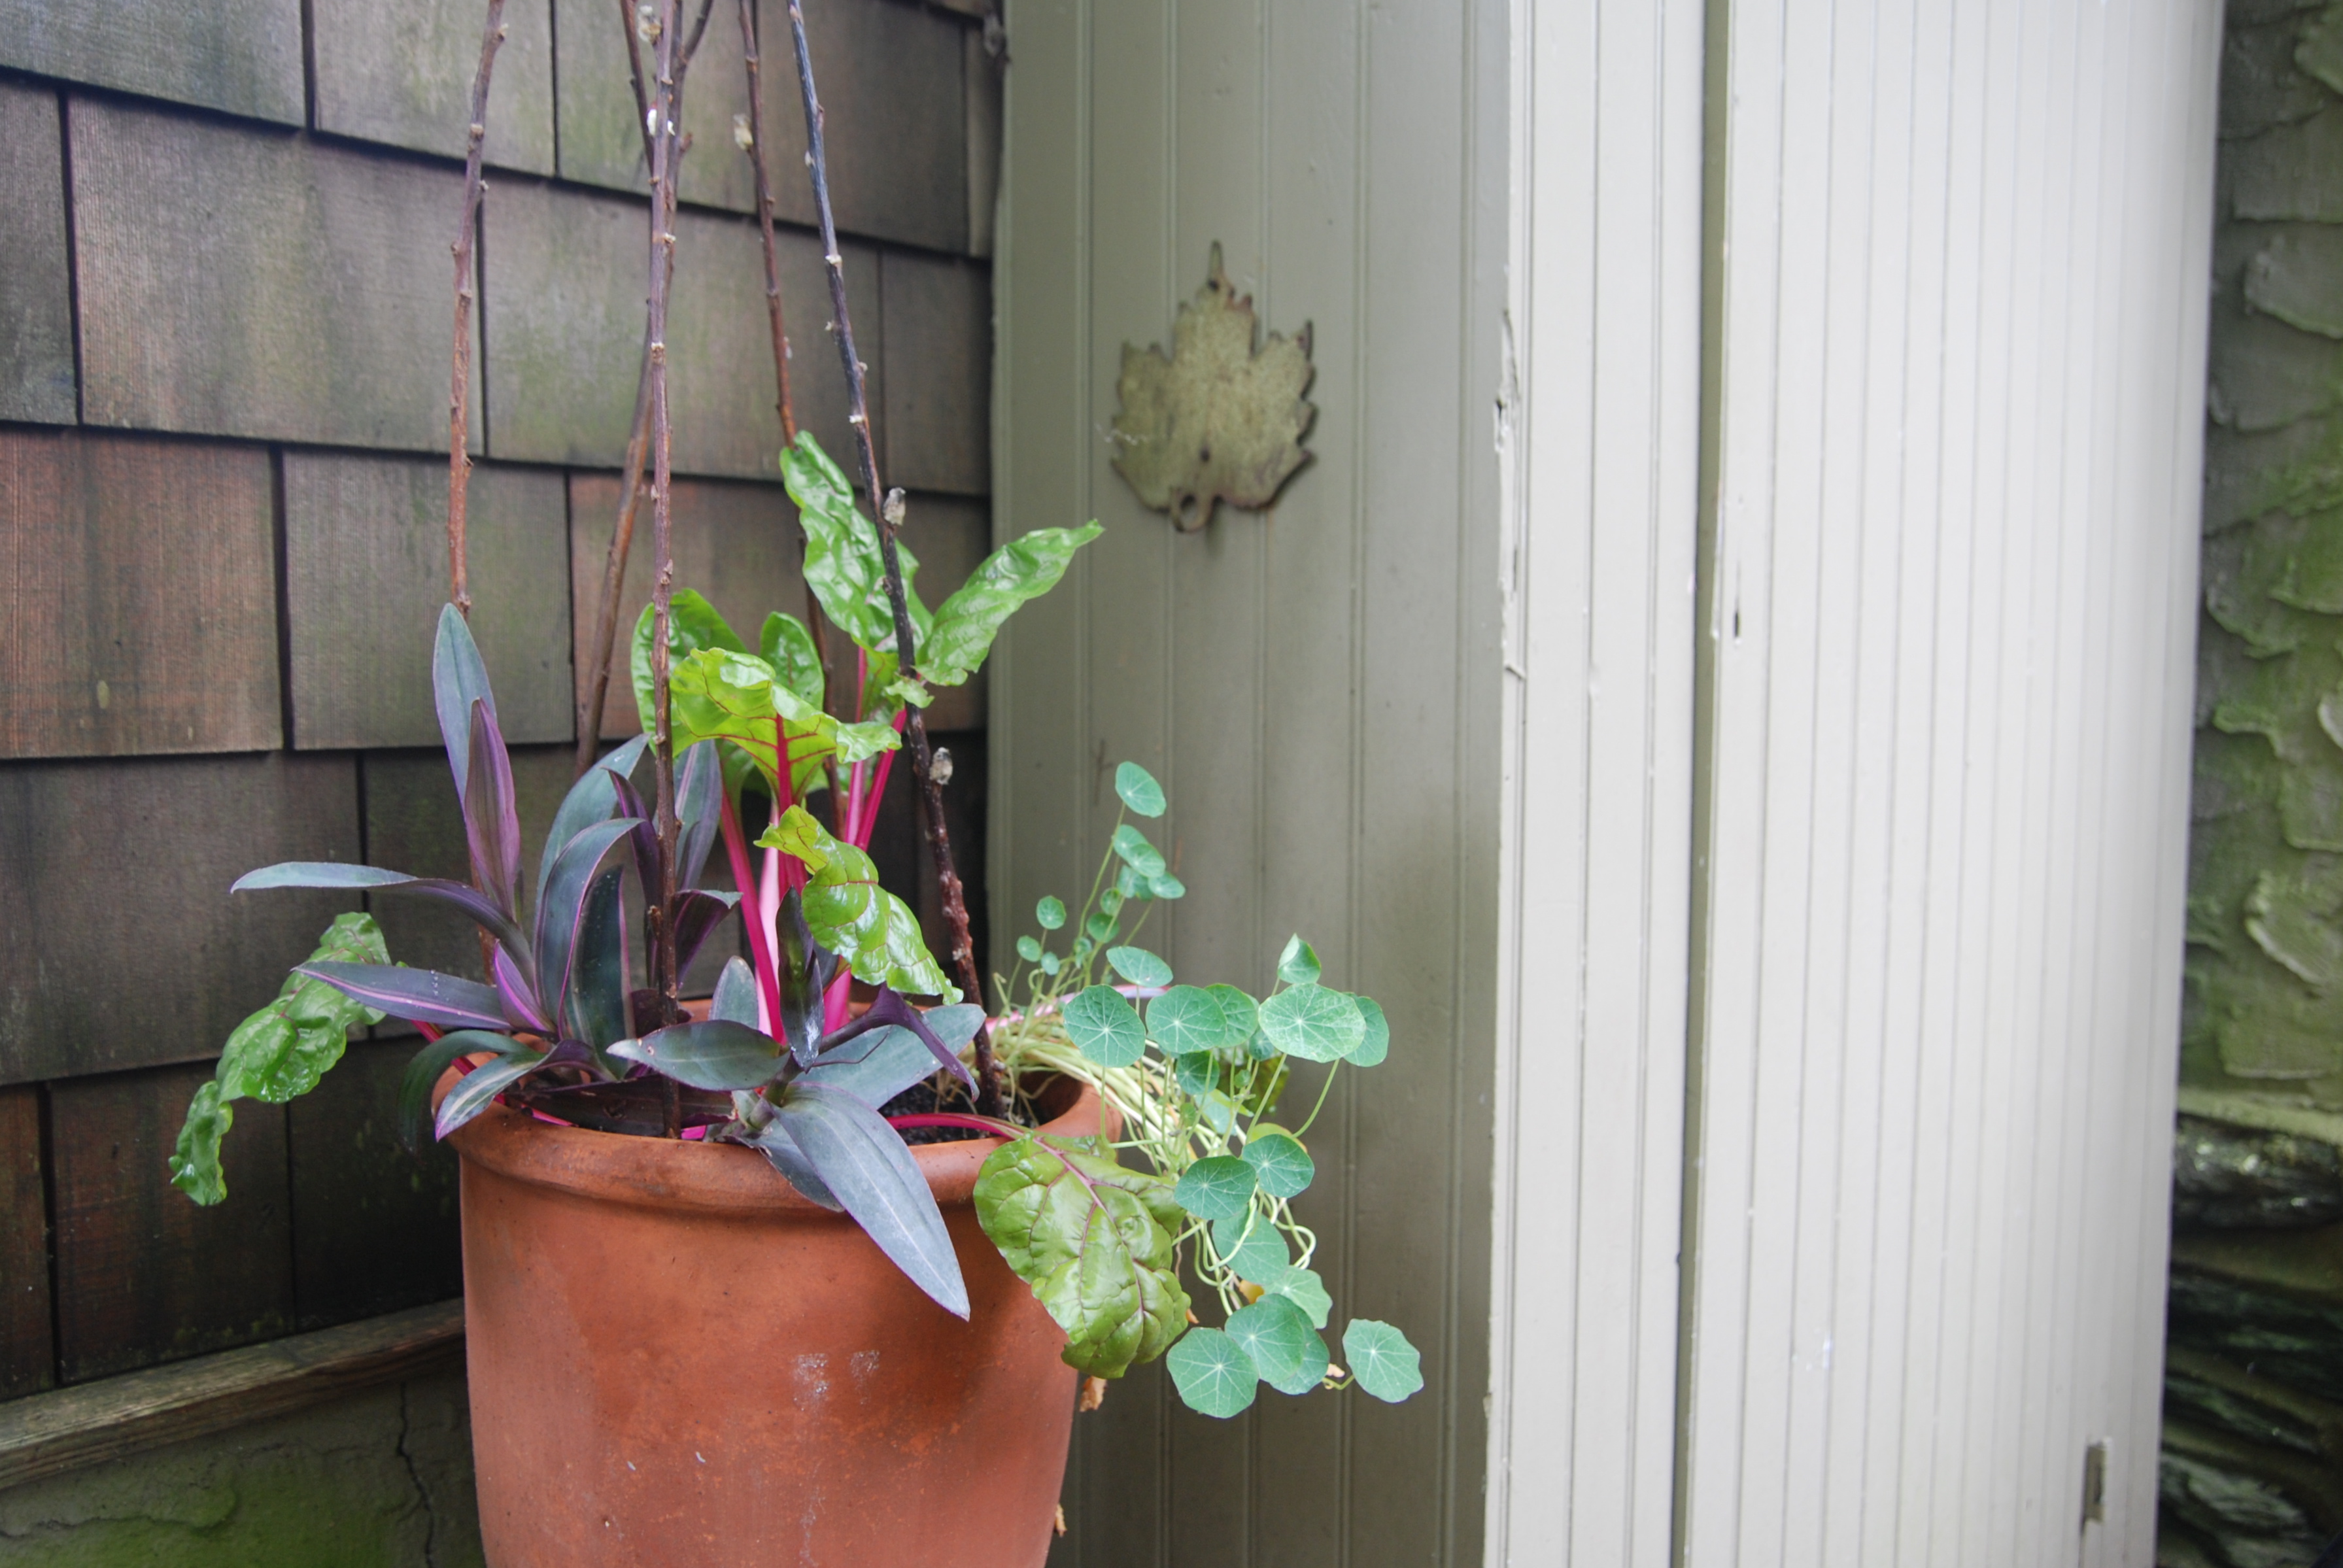
A fern growing out of a rock wall, moss growing in between the cracks of a pathway, a climbing vine peeking through a fence, a chartreuse leaf intertwined with a deep purple one.

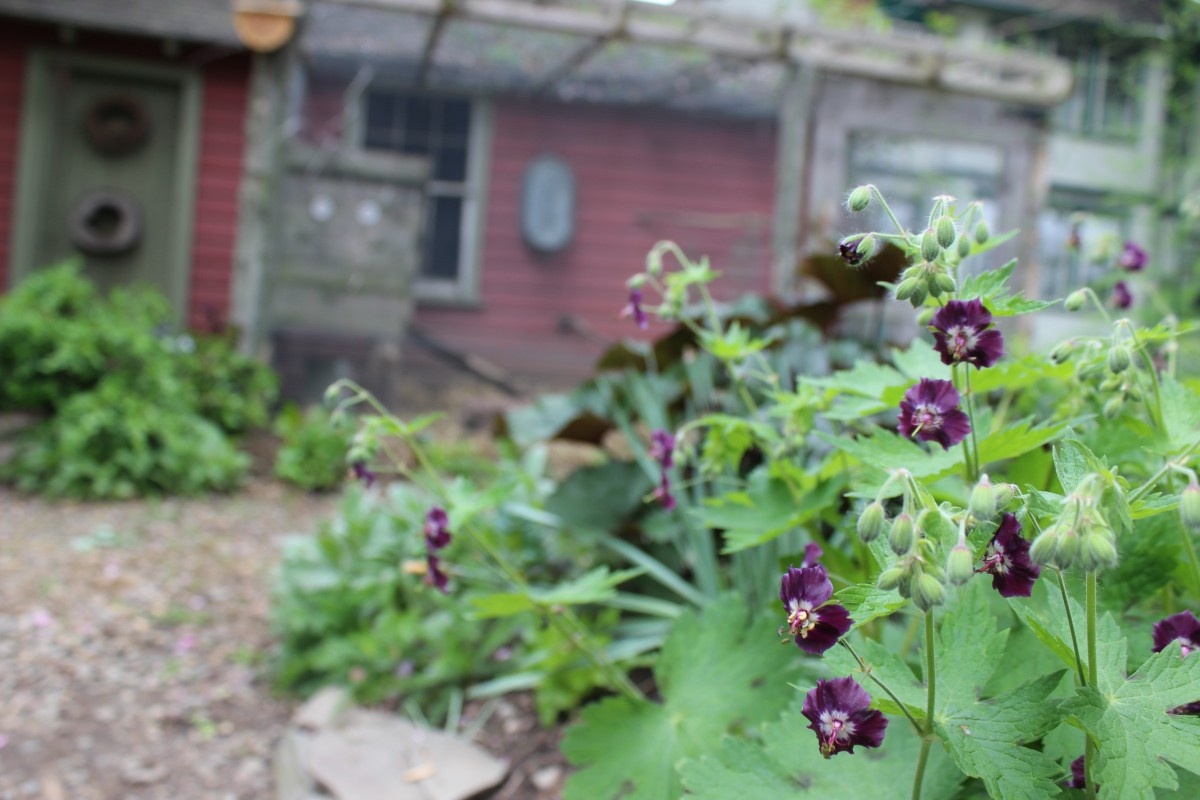
I like to create vignettes both inside and out but many times it’s mother nature that creates the most beautiful ones without my help at all.

The Beauty of a Basket

March 24, 2014

basket 13

basket 2

basket 3

basket 4

basket 5

basket 6

basket 7

basket 8

basket 9

basket1
basket 14

basket 12

basket 11
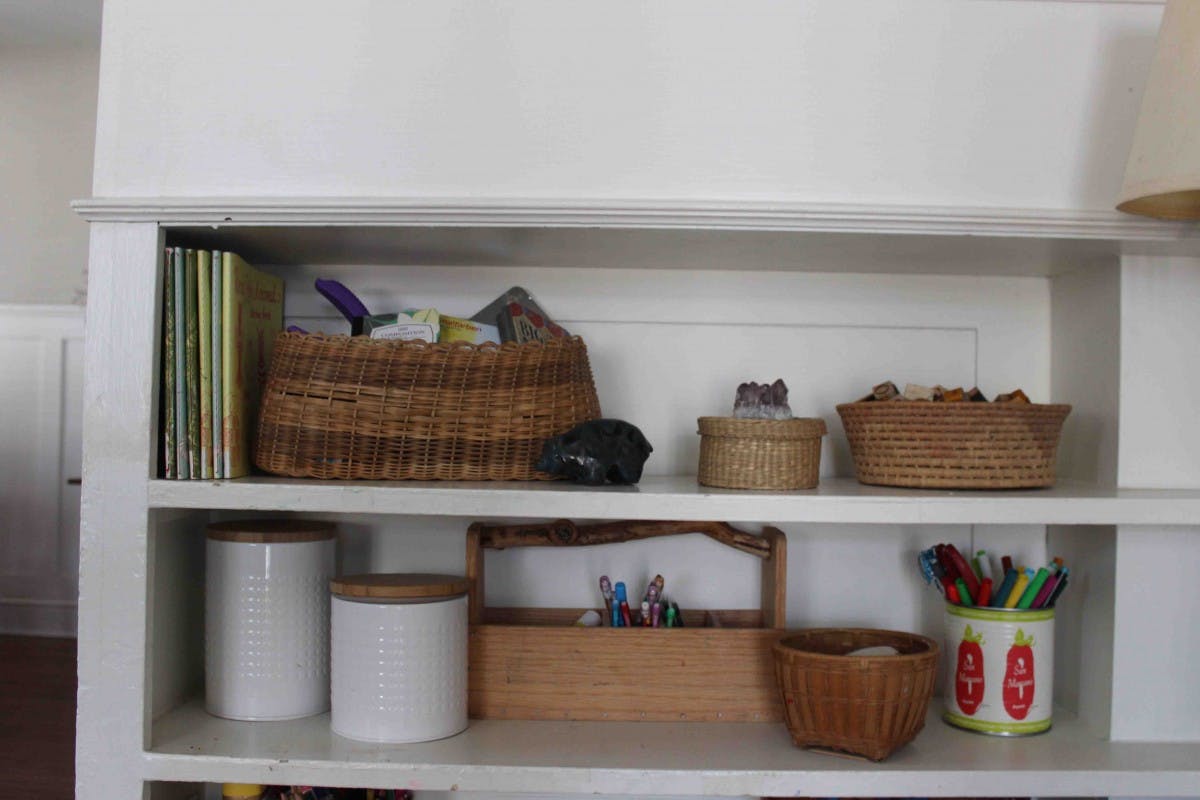
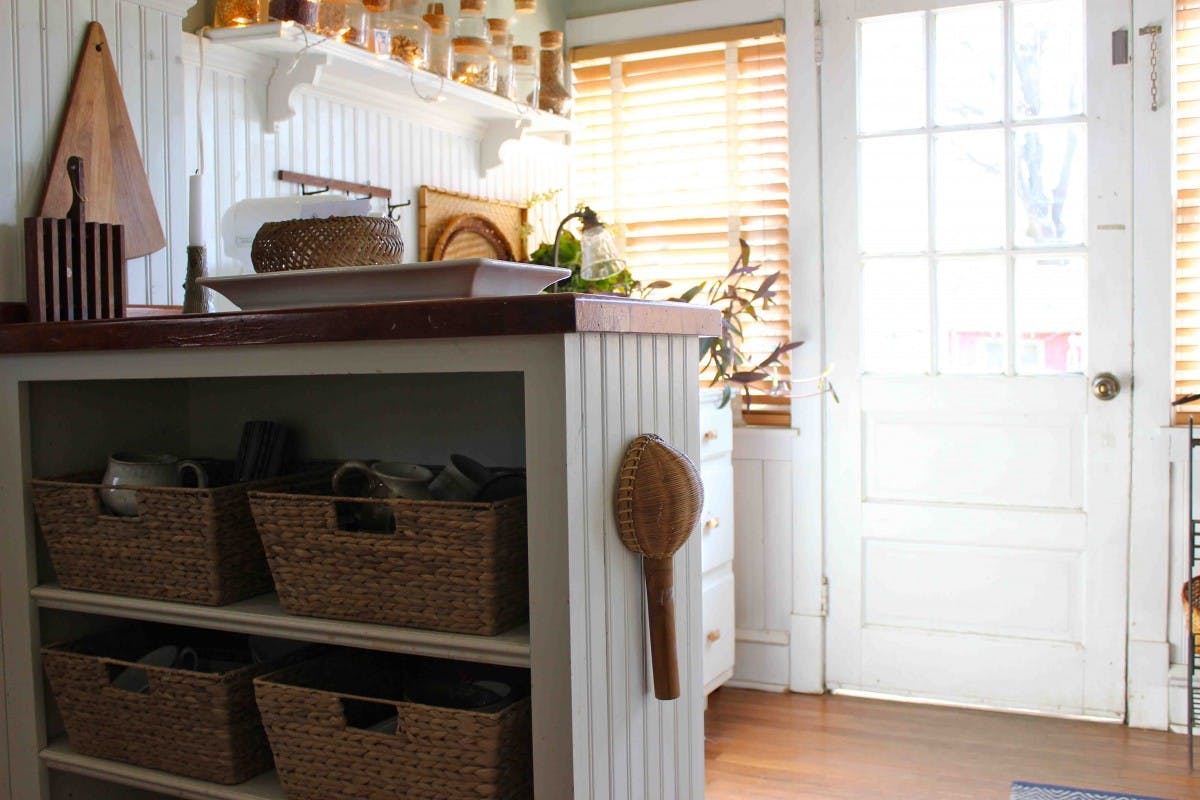
Can you tell I have a bit of a basket addiction?

I can’t help but bringing just one more home from the thrift.
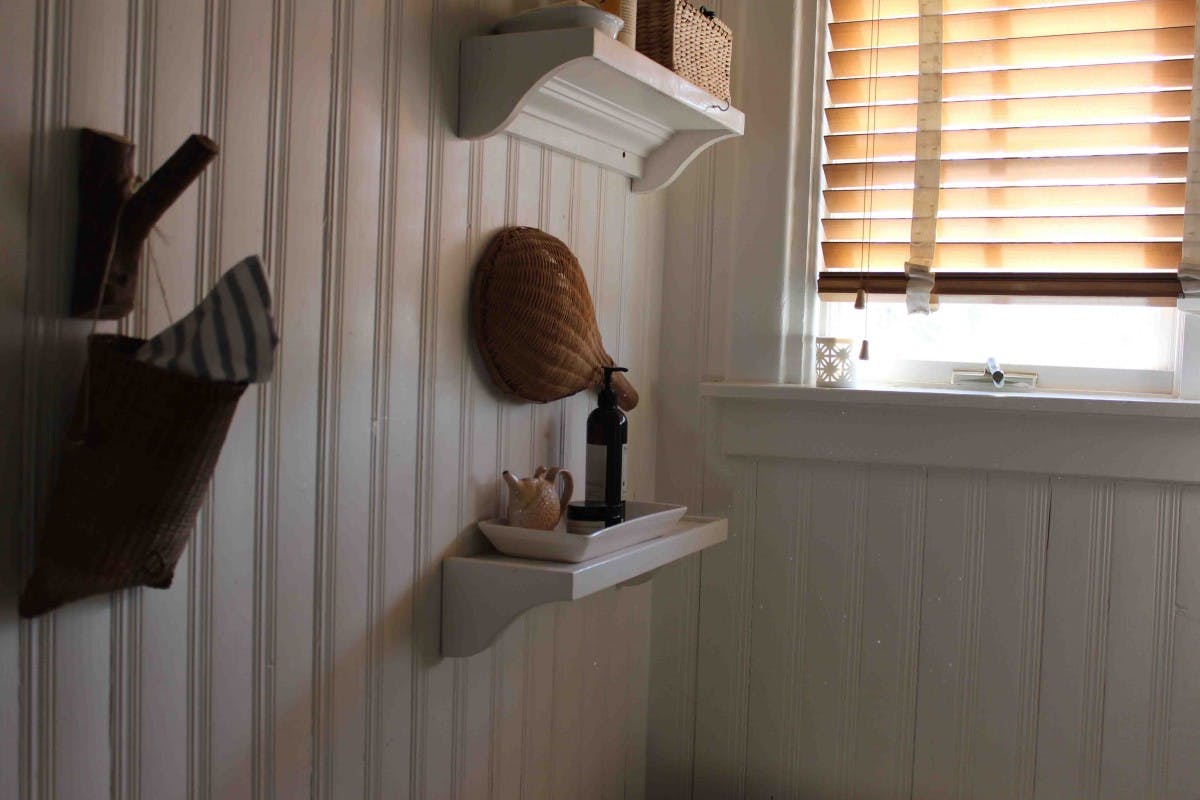
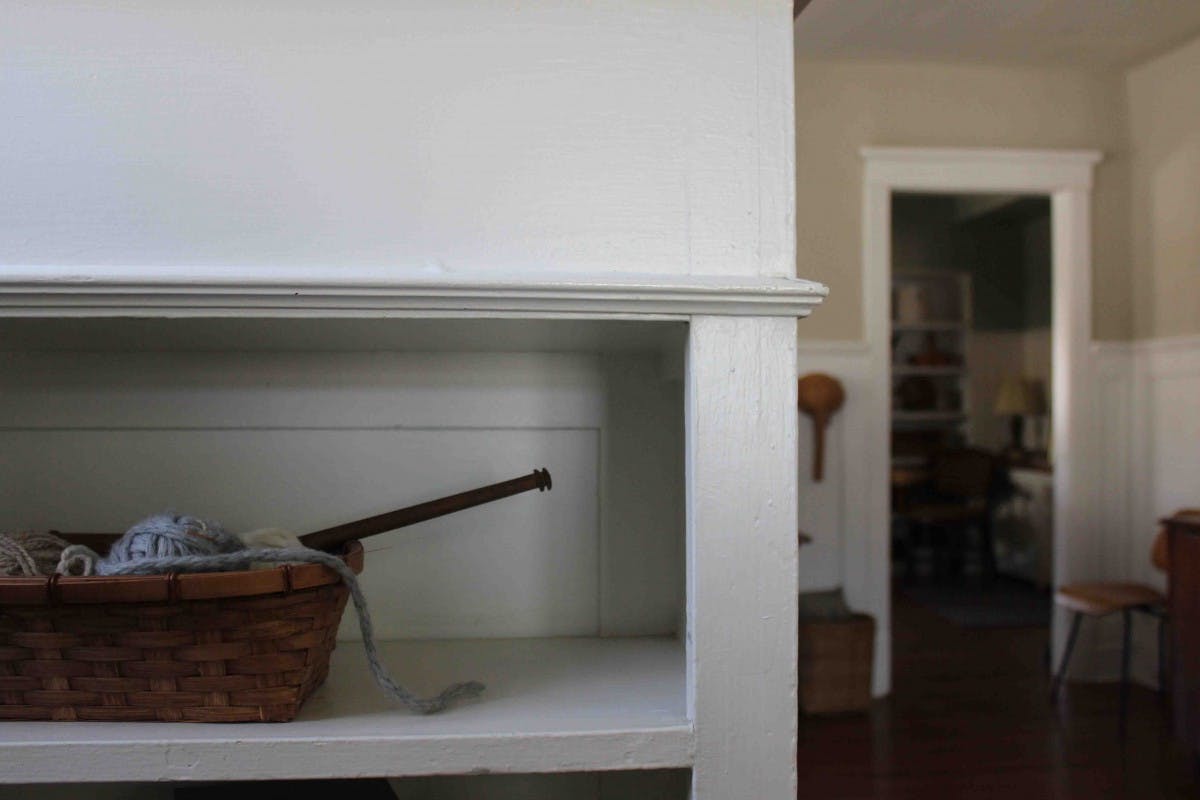
They are the pockets of my home, bringing order and beauty to the piles of stuff. Messes of toys, laundry and paper look so much prettier in a basket.

I love their texture, their handmade natural, organic feel and that they are both beautiful and useful.

Baskets can be the “jack of all trades” in your home. Think outside of the box and get creative. Give them a job and they will be sure to give a stellar performance.

::Baskets are very inexpensive at the thrift. Collect a variety. Look for different shapes, heights, color and design.
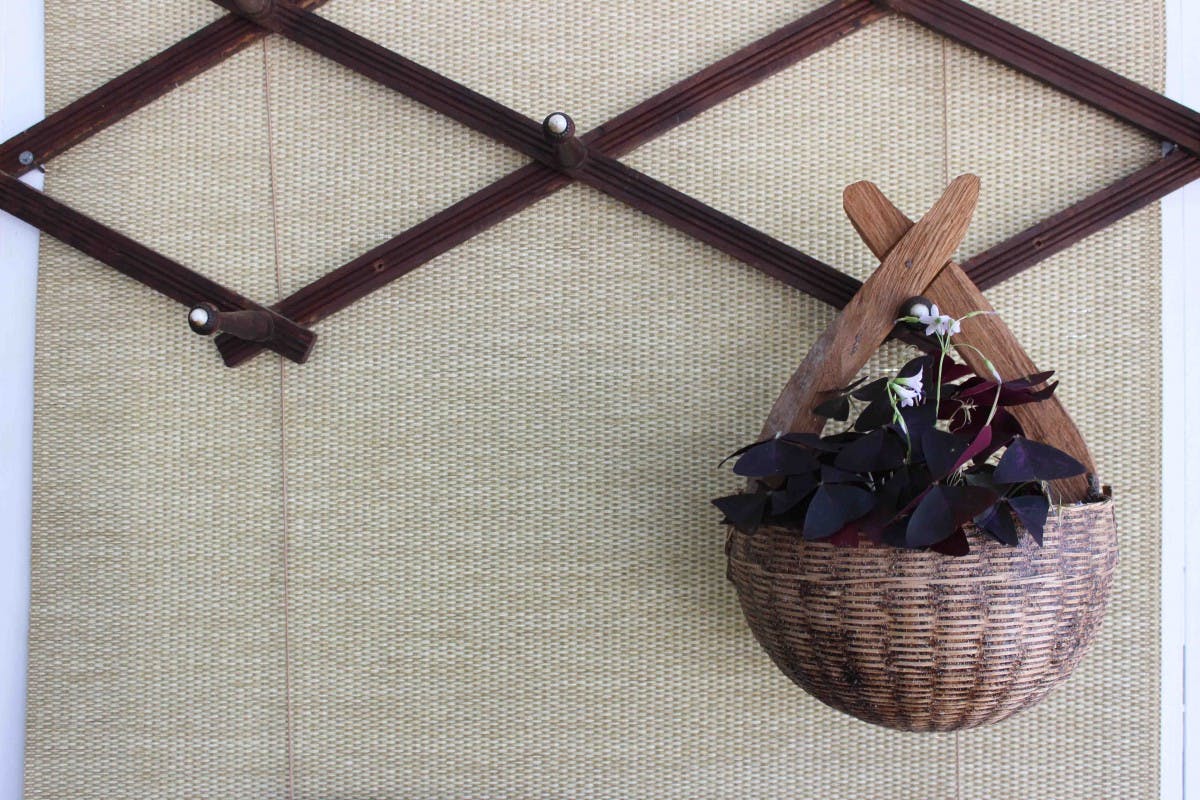
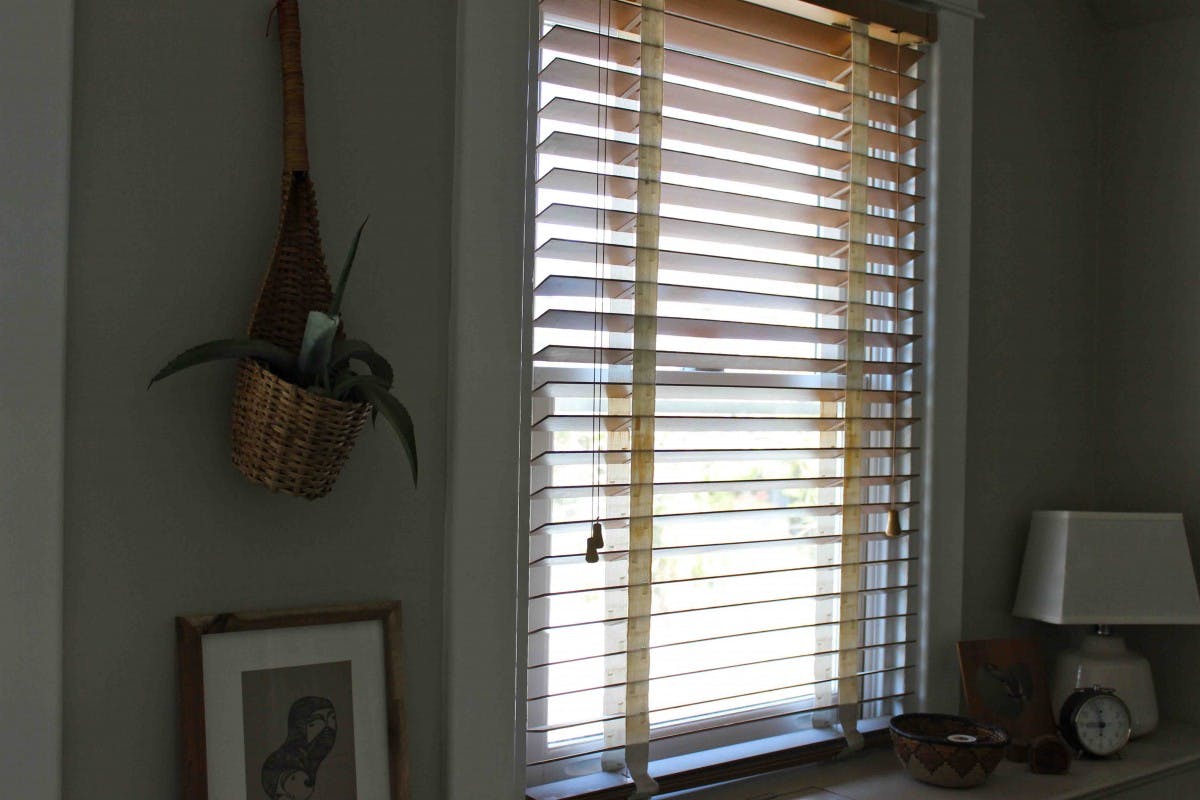
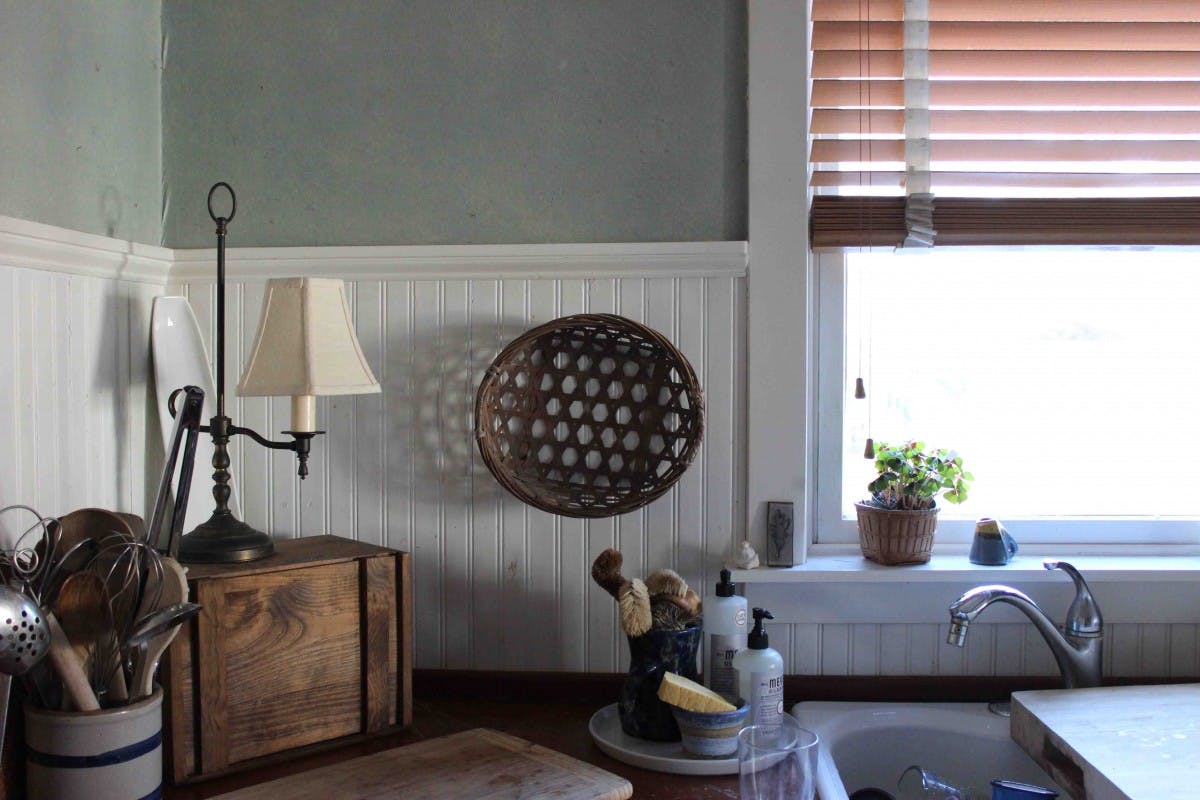
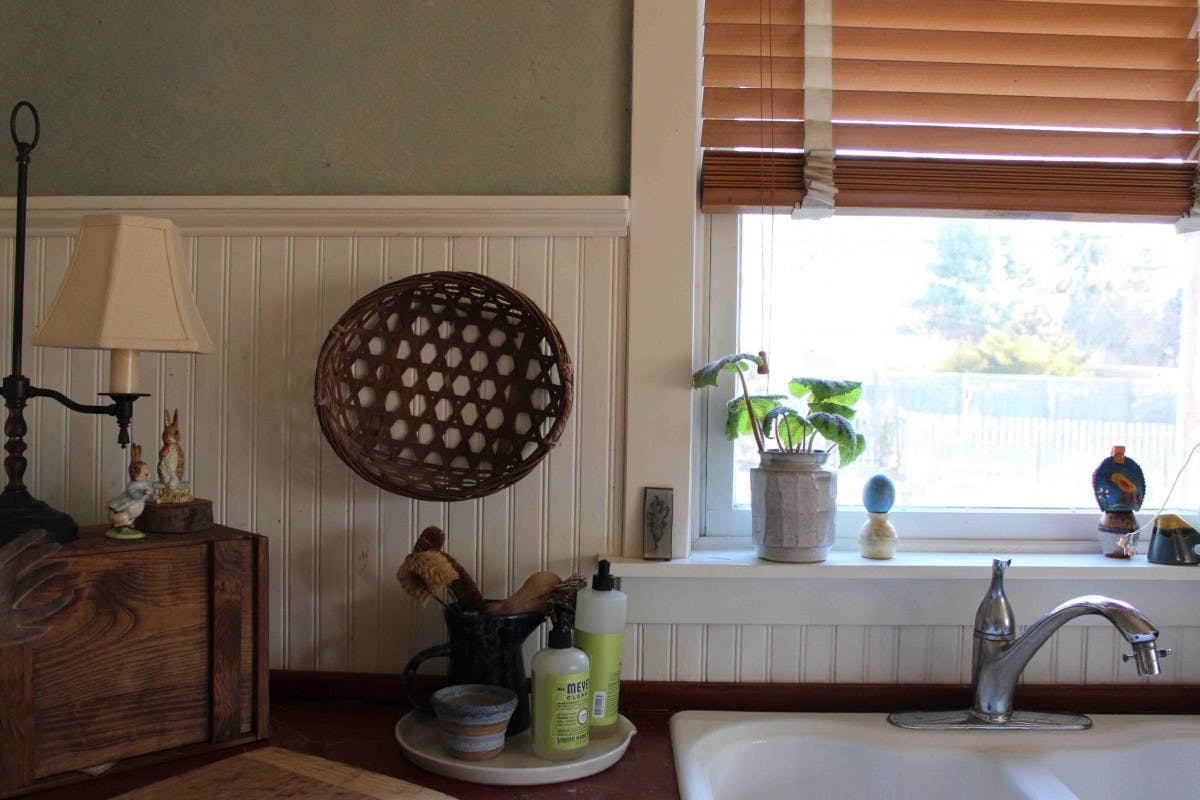
::Hang your baskets. Hang one in the bathroom to hold a hand towel, by your kitchen sink to hold dish brushes or by your desk for pens and pencils.
::Use baskets as artwork. Hang basket lids or trays for texture. Sometimes they can cast beautiful shadows.
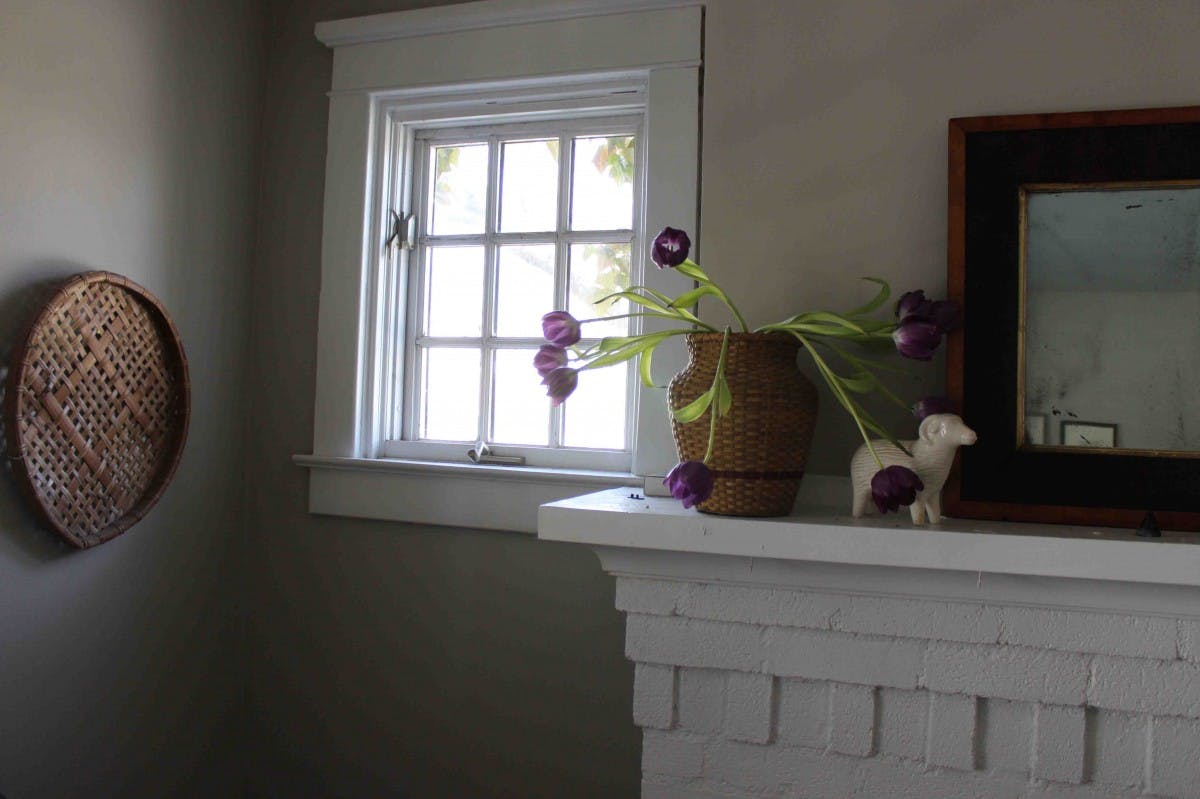
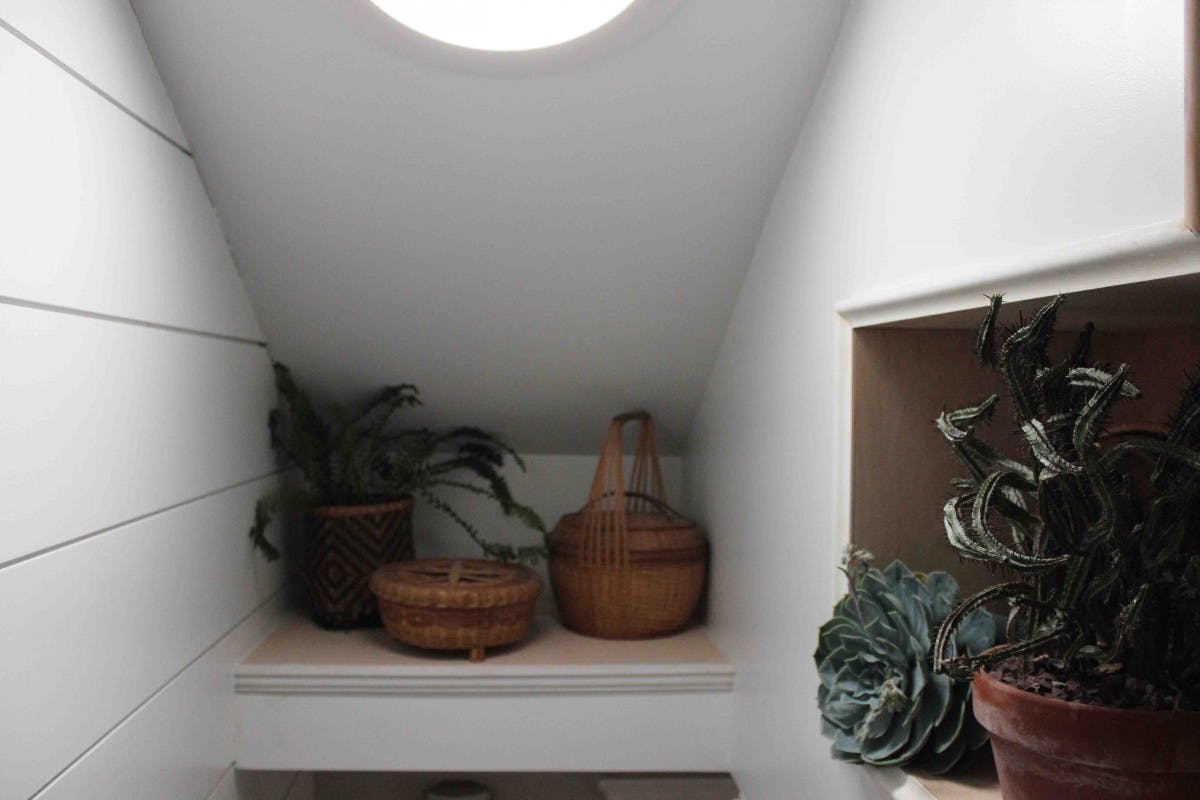
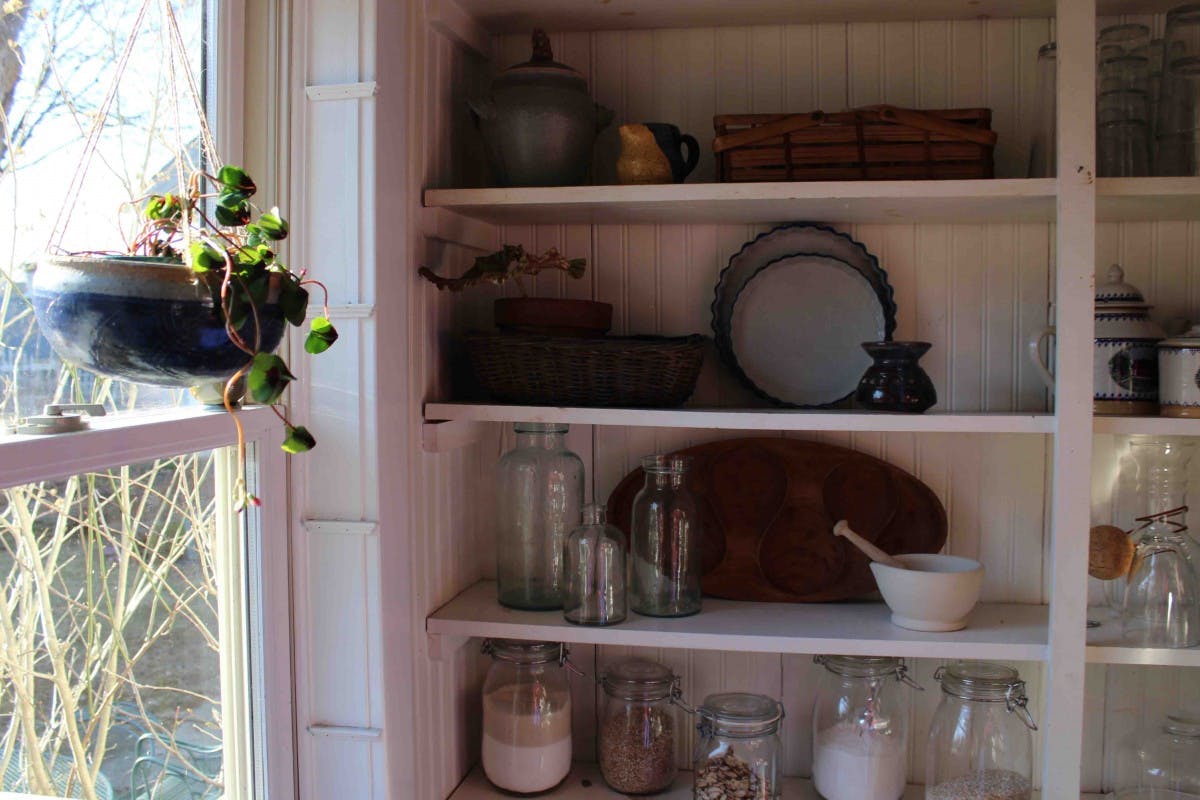
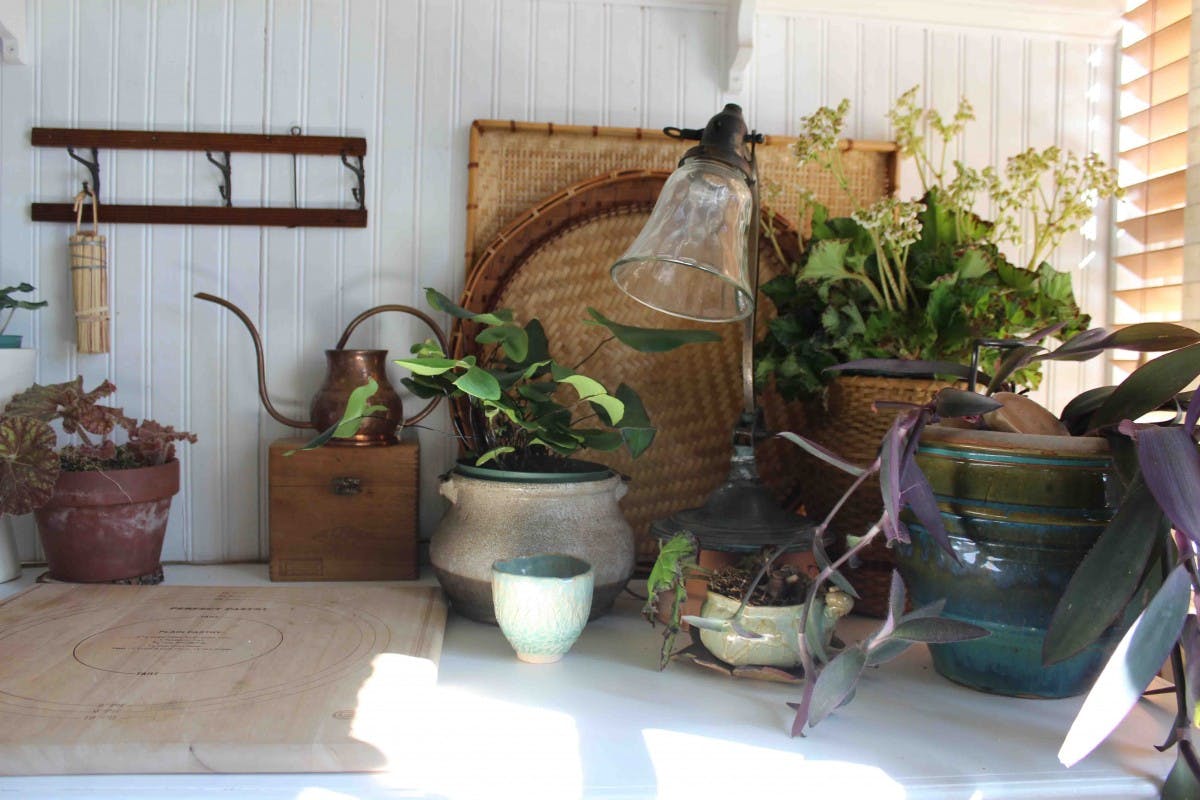
::Plants and baskets make a beautiful couple. Hide an ugly plastic pot inside a basket and give your flora a whole new feel.
::Baskets can soften a space. A basket of blankets or books can warm up an empty corner.
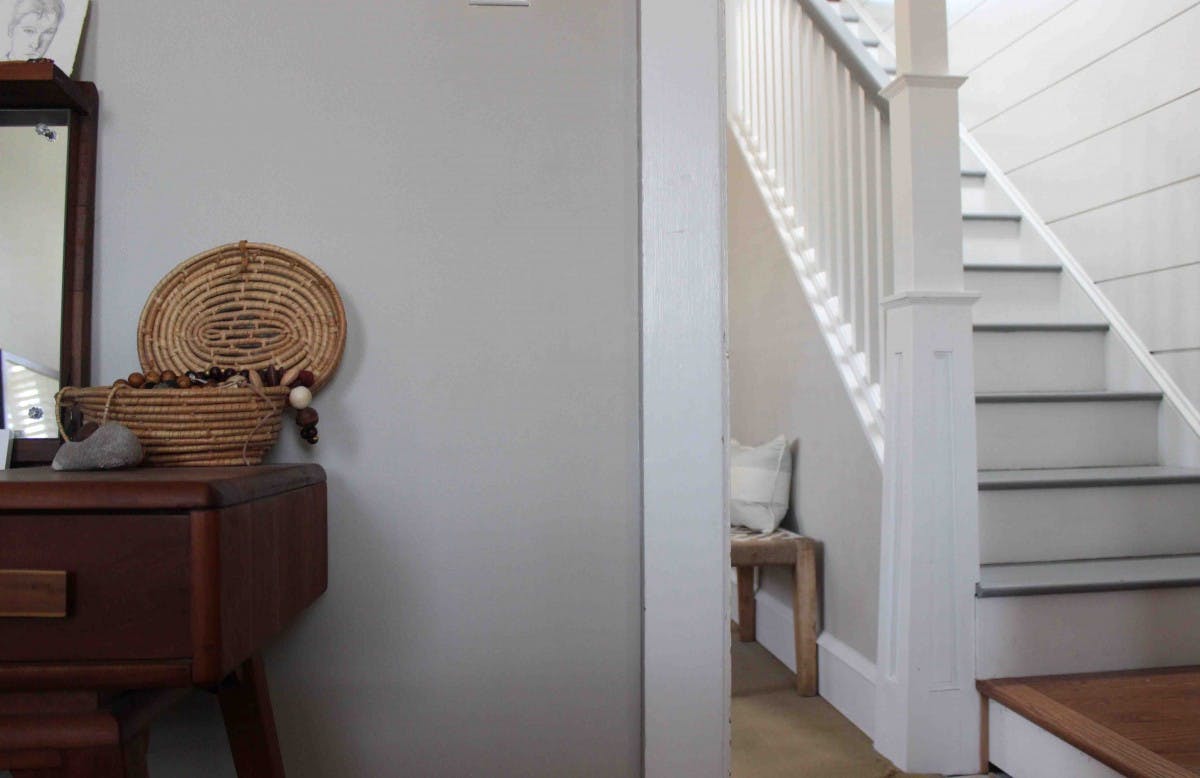
::Baskets are beautiful on their own even without a use. Use baskets in your vignettes to become part of a scene.
::Turn a basket into a vase by tucking a glass or ball jar of flowers inside. A basket bouquet!
::Keep a stockpile of baskets stored away. They make the perfect gift full of goodies.

Quick Knits

March 13, 2014

hat

seat

I love a finished project don’t you?
Freshly painted walls. A hand built rock wall. A whole new room!
It is such a satisfying feeling to complete something.
But sometimes my projects can feel overwhelming. The prep, the materials, the money!

I have my fair share of complicated projects that sit unfinished. And I have a long list of projects I would like to start one day soon. I know I’ll eventually get around to them.
But in the mean time it’s always nice to have a few simple, affordable and attainable ones that can easily be picked up on a whim. That’s why I love to knit.

Both of these patterns are from More Last Minute Knitted Gifts, a Christmas gift from my sister. I love the photographs in this book and the simple yet beautiful projects.

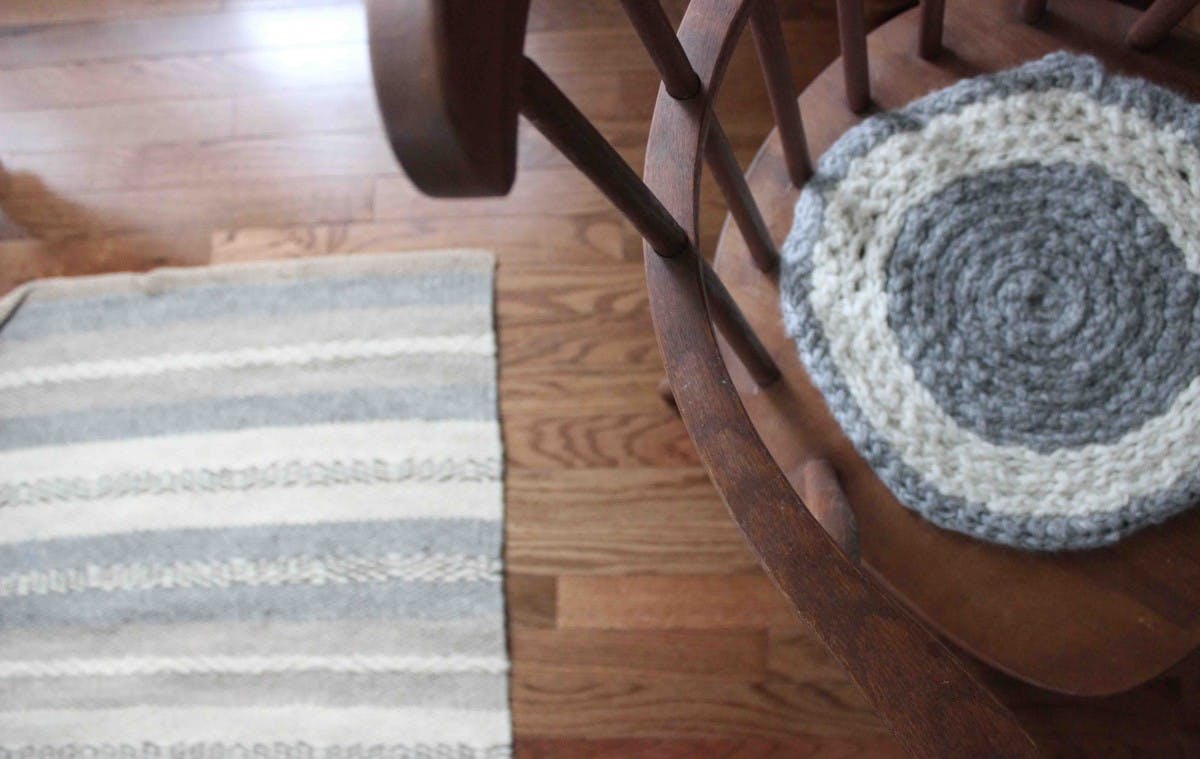
The Spiral Seat Cushion was made for Hannah’s desk chair. It was so fun to make as it’s knit in one piece without having to sew anything together. I used a super soft, bulky merino wool which made for a comfy seat. I love how the yarn pops against the wood.

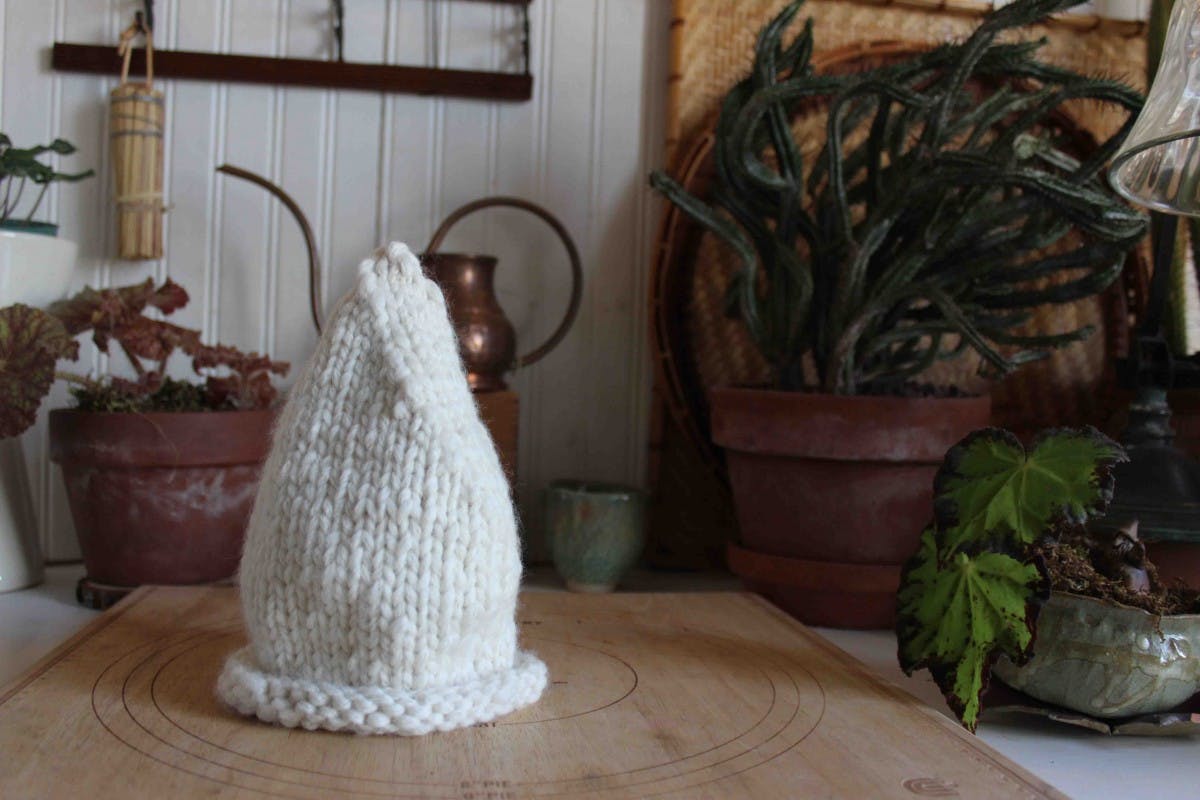
I had a bit of the white yarn left over so I decided to make the Little Pointy Elf Hat for a special friend who is due soon. It was a quick knit made in just a few hours at craft circle last night.

Now, back to scraping and spackling my kitchen walls.

Make your Bed

March 12, 2014

bed 1

bed

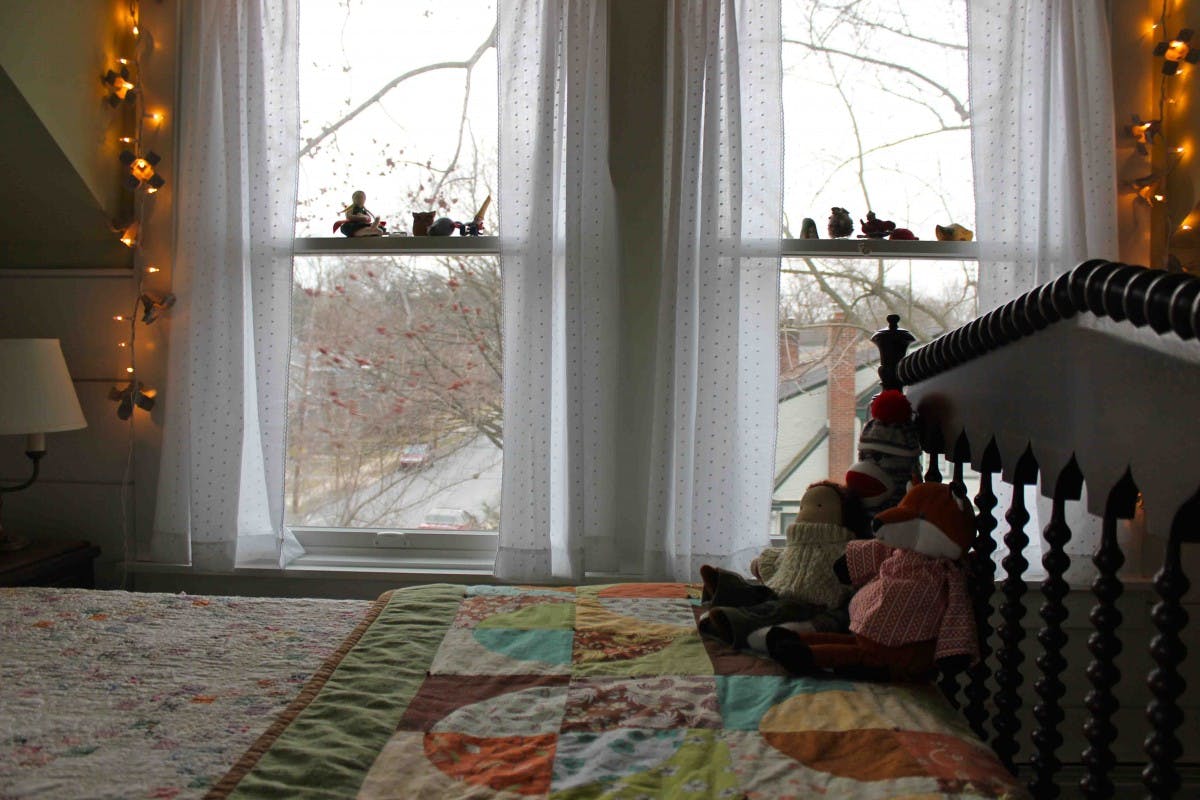
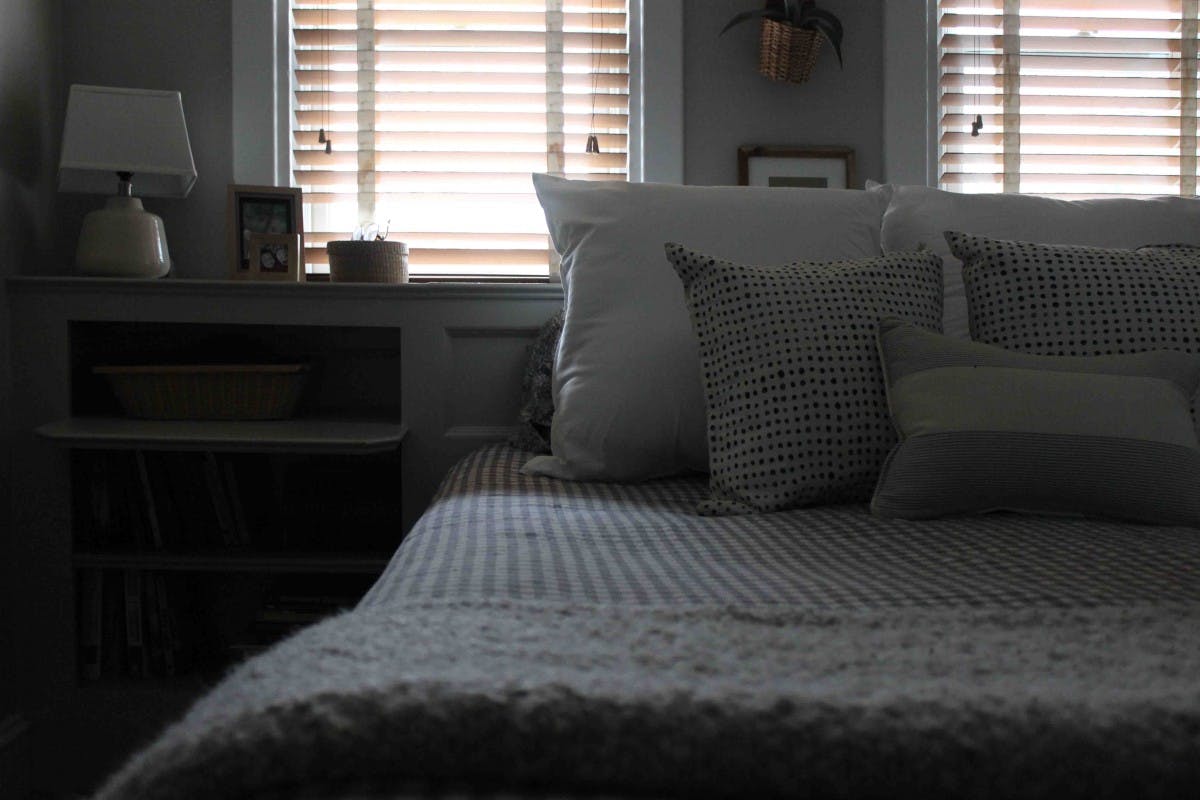
I remember making my bed as a child. I would find pleasure in pulling my quilt up and tucking it neatly under the bottom of my pillow, then placing my stuffed animals and dolls on top just so.
I also remember sitting for hours pouring over my Eloise Wilkin books, many of which involved domestic work. One of my favorites being We Help Mommy . I still have the book and now Norah likes me to read it to her. I loved the drawings of the daily chores and especially remember the making the bed page.

Funny enough, the love of making my bed sort of vanished when I moved out and on my own.
I admit that just in the last year did I start to consistently make my bed.
Maybe with tight morning schedules, small kids and just rushing out the door it never became high on my priority list.
And why would I want to take the time to make a bed when before I knew it I would be pulling it apart to sleep in?

Well I am here to tell you that I have turned a new leaf!
I now look forward to making my bed each morning and sometimes I kick Chris out earlier than he would like because I truly am excited to make our bed.

I don’t know what the turning point was but I have found that the daily routine of it brings me joy.
Also, my bedroom feels neat, orderly, clean and clutter-free when my bed is made. Even if there may be a pile of dirty clothes on the floor.

Not to mention, at the end of a day when I am tired and done, there is nothing like slipping in to a crisply made bed.

You would be surprised on how many tutorials there are out there on how to make a bed. But don’t get overwhelmed. No need to make a bed you can bounce a quarter off of. The simple act of pulling up your covers and smoothing out a few wrinkles is all you need.

A few bed making tips

::Try to make your bed as soon as you get up (or after everyone is out of it). It starts the day off on the right foot and feels good to check something off your to-do list right away. Believe it or not, leaving the house knowing my bed is made has helped me to be more productive with the rest of my day.
::Just because you didn’t get to make your bed in the morning doesn’t mean you can’t make it in the afternoon. It only takes a few minutes and you’ll be glad you took the time to do it when you are crawling in that night.
::Treat yourself to a new set of sheets, pretty ones that you love and maybe a few new throw pillows to brighten things up. They will make your bed-making experience that much more enjoyable.
::While making your bed, think of a few intentions for your day ahead. Making your bed can be a meditative experience that you will soon look forward to.
::Think of your bedroom as a place to retreat to. Walking in to a comfy, neat space mid day for a nap, to read a book or at the end of a long day can aid in relaxation and sleep.
::Lavender is a great aid for relaxing and winding down before bedtime. Sprinkle a few drops of the essential oil in your hands and rub on your pillow. Sweet dreams!
So make your bed. I promise, you’ll thank me in the morning (and at night!)
Inviting Spring Indoors

March 10, 2014

brach 3

brach 4

branch 5

branch

forsythia leaf

oxalis 2

oxalis

This has been such a fun winter full of snow, sledding, skiing, ice skating and snowmen.
But I won’t lie, I’ve got Spring fever!

Yesterday I was so tempted to put the snow boots and gear away up in the attic but then reminded myself that it’s not quite Spring yet.

Rather than let myself get in to a funk, I have a few tricks up my sleeve to get me through the
end- of- winter blues.

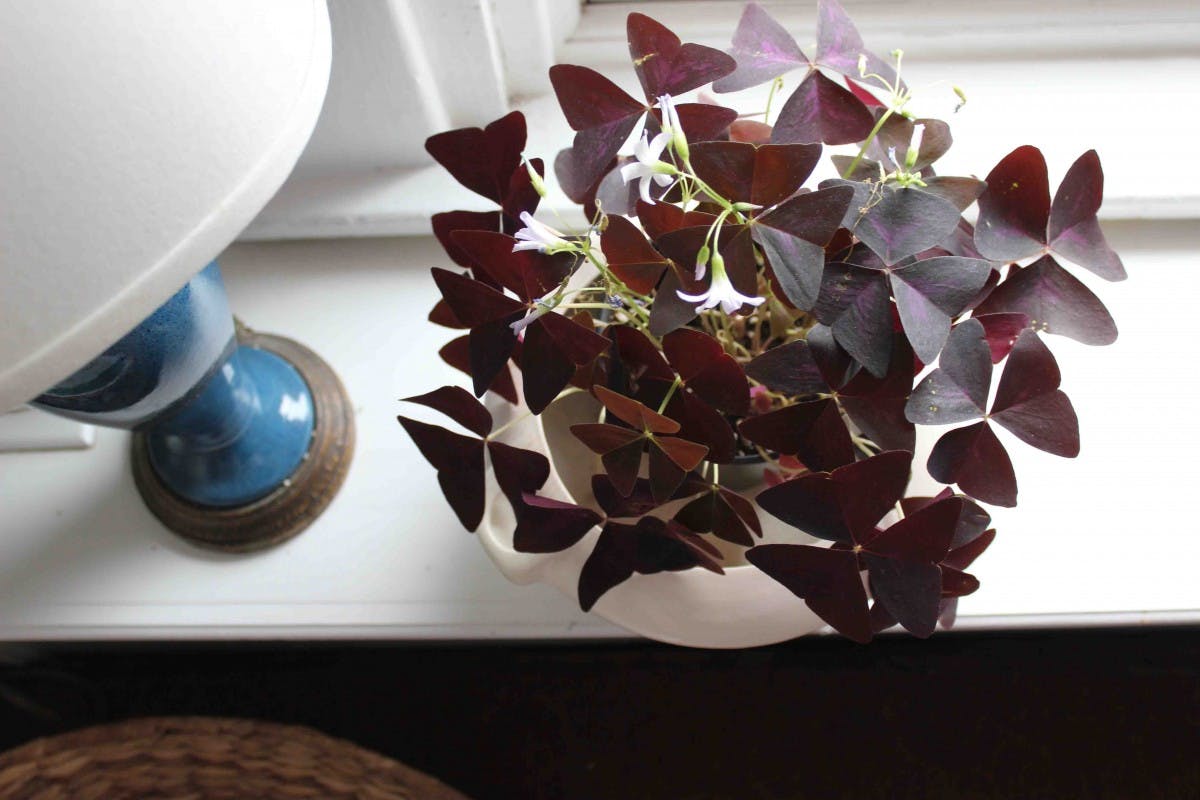
A few weeks ago I bought a few Oxalis plants to brighten things up a bit and began to force some branches.

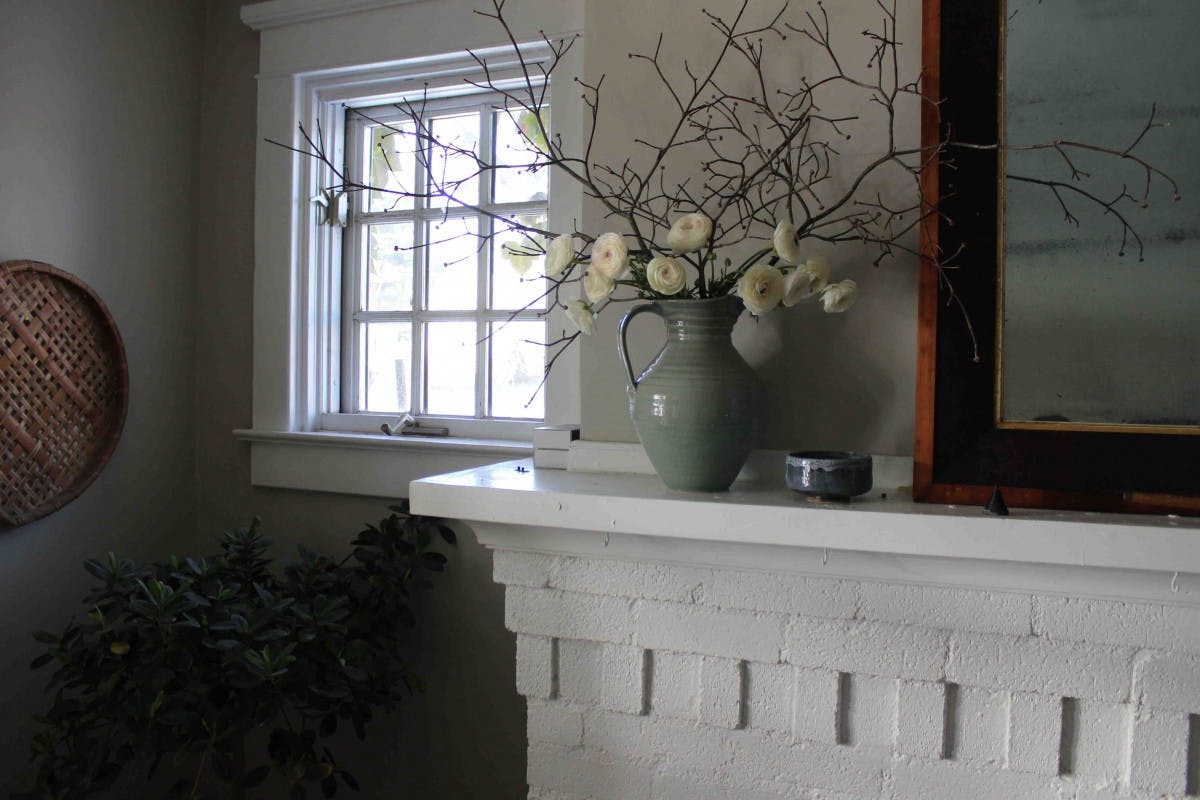
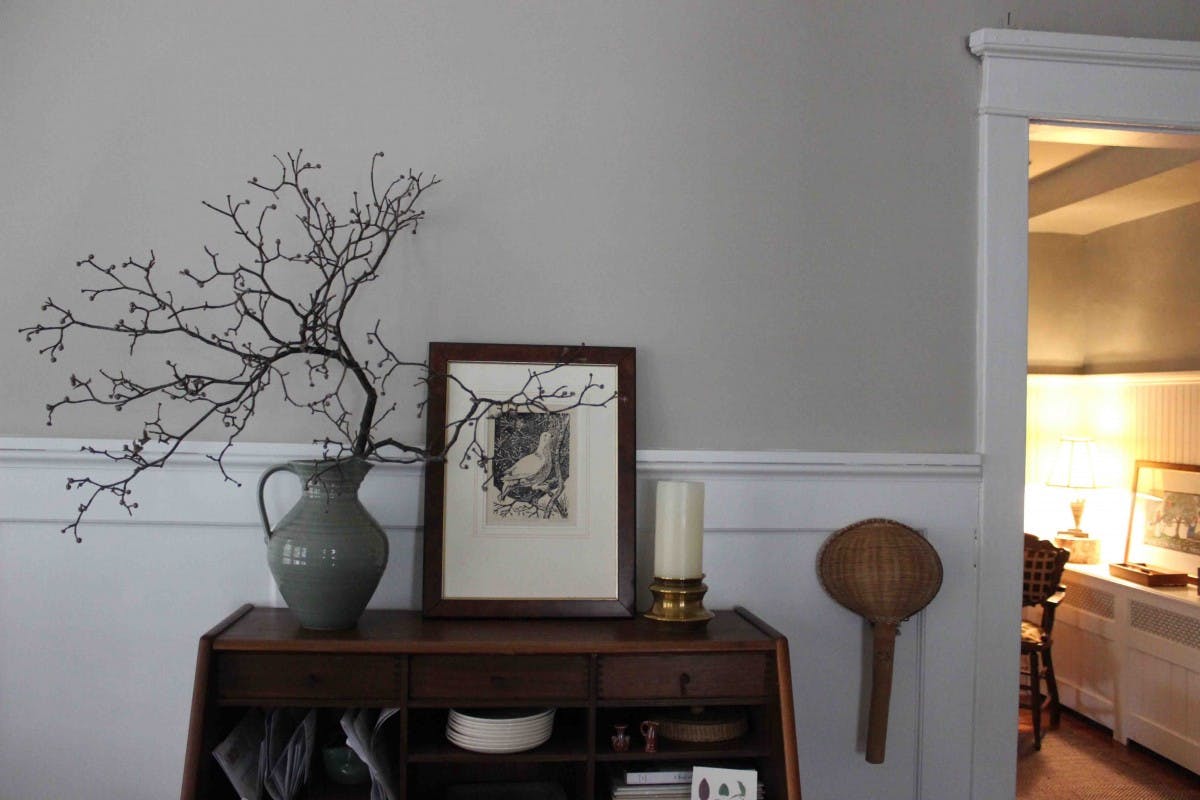
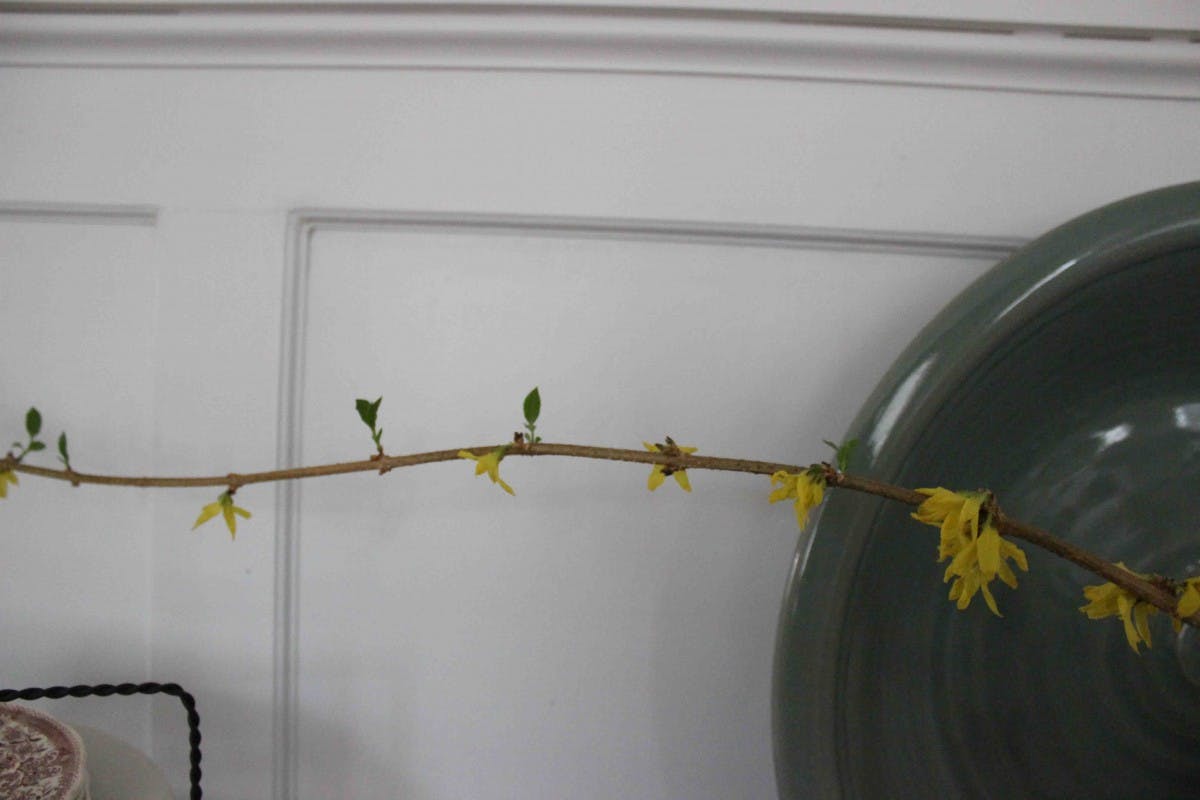
Forcing is an easy way to invite Spring indoors. A gentle nudge to a blooming tree or shrub can perform quite an amazing display and act as a reminder that soon the warmer weather will arrive. Even before they leaf out and bloom, branches are beautiful on their own, like a sculpture giving height, texture and definition to any room.

Any woody, deciduous shrub or tree that flowers in the early spring is perfect for forcing. Forsythia, flowering quince, cherry, plum, pear, crabapple, dogwood, spirea, witch hazel, magnolia and pussy willow are successful indoor bloomers. Wait until after the flower buds swell in late winter to begin the process.

I bet there are many candidates right in your own backyard. If not ask a friend or neighbor for a clipping. The forsythia pictured above is from my mother’s garden and the fallen dogwood branch I found on my morning walk.

Forcing branches

::Pick a day to cut branches when the temperature is above freezing. A rule of thumb for cutting is mid-January for forsythia, pussy willow and witch hazel. Mid-March for trees like crabapple, cherry, pear and dogwood.

::With pruning shears cut branches that have numerous flower buds.

::After you bring the branches inside, split open the bottom of stems with sharp scissors about 1 inch or if it is too woody of a stem, gently mash the ends with a hammer.
This will help the branches absorb water.

::Make a simple preservative of 1 teaspoon of sugar, 1 teaspoon of plain household bleach and 2 teaspoons of lemon or lime juice and a quart of warm water.

::Fill vase with solution and add branches.

::Place in a cool location away from direct sunlight. Remember they need springtime (not summer) conditions to bloom.

::Change water and preservative once a week.

::Forsythia and pussy willow generally take only one to three weeks to force.
Flowering fruits like crabapple and cherry can take up to four weeks.

::Be patient. Sometimes buds can be stubborn and take longer to open and occasionally some buds may not bloom at all. But you can almost be certain you’ll be rewarded with bright green foliage.

::If timed right you can have different blooms adorning your home for many weeks.

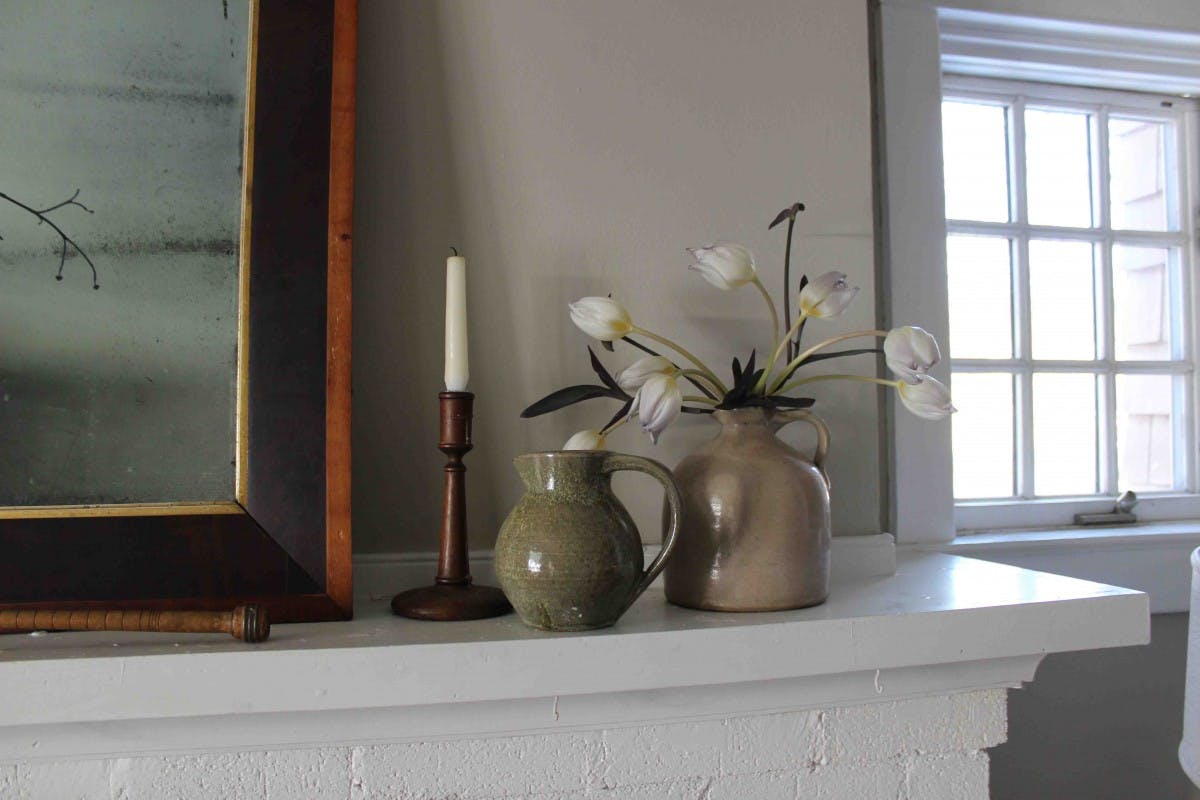
::Add store bought spring blooms like tulips and ranunculus for an extra punch.

::Experiment and have fun!

Over at Tend

June 9, 2013

DSC_1307

DSC_1312

DSC_1330
a little post up over at tend today.

  • « Previous Page
  • 1
  • 2
  • 3
  • 4
  • …
  • 9
  • Next Page »
Welcome Welcome Amy Johnson is a writer, photographer, gardener, teacher, mother and wife living on the corner of Second and Edgemont. She creates space for beauty and simplicity in all that she does.
  • Email
  • Facebook
  • Flickr
  • Instagram
  • Pinterest

Amy at Tend Collective

tend collective

Categories

  • Adventures & Getaways
  • At Home
  • Entertaining
  • In the Garden
  • In the Kitchen
  • Projects
  • Thrifting
  • Through the Seasons
  • Traditions and Celebrations

Gallery: Home

Home Gallery

Gallery: Garden

Garden
  • About
  • Garden
  • Home
  • Archive
  • Tend Collective

Tags

2012 2013 2014 2015 2016 2017 adventure april august autumn backyard beach birthday celebration christmas december february friends garden hannah holiday holidays home january july june kitchen lake lake shehawken mama march may norah november october old site papa september spring summer tend tradition traditions vacation winter

Archive

Return to top of page

Copyright © 2026 · Second and Edgemont · Site Design by Nomad Farm